When I bought my 1890s farmhouse, the kitchen had been updated sometime in the 1980s with plain white tile that felt cold and institutional. I dreamed of creating a warm, welcoming country kitchen that honored the home’s history while being practical for modern cooking. The backsplash became my focus, as it would set the tone for the entire space. After researching country styles, making some rookie mistakes, and eventually finding the perfect approach, I transformed my kitchen into the cozy gathering place I’d envisioned. Let me share what I learned about choosing materials, colors, patterns, and installation techniques that create authentic country charm.
Understanding Authentic Country Kitchen Style
My journey began with defining what “country kitchen” actually meant for backsplash design. I initially thought it simply meant rustic or farmhouse-inspired, but I discovered country style encompasses several distinct aesthetics. English country kitchens feature hand-painted tiles and soft, aged colors. French country embraces natural stone and terracotta. American farmhouse style often incorporates subway tiles, beadboard, or practical materials with vintage character.
I spent weeks studying historic kitchens and design books, learning that authentic country style prioritizes natural materials, handcrafted details, and a lived-in quality over perfection. Country backsplashes often feature texture, slight irregularities, and materials that age beautifully rather than looking perpetually new. This philosophy resonated with me, as I wanted a kitchen that felt warm and approachable rather than showroom-pristine.
The breakthrough came when I visited a restored colonial kitchen at a living history museum. The simple brick backsplash behind the wood-burning stove showed decades of use, soot, and patina. While I didn’t want actual soot in my kitchen, I understood that country style celebrates materials that tell stories and develop character over time. This guided me toward choices that would improve with age rather than deteriorate.
Choosing Classic Subway Tile with Character
White subway tile became my foundation after considering countless options. I know subway tile seems ubiquitous now, but it’s a classic for good reason, especially in country kitchens. However, I learned that not all subway tiles work equally well for country aesthetics. The perfectly uniform, glossy white tiles at big box stores felt too modern and sterile for my farmhouse.
I discovered handmade or hand-finished subway tiles that incorporate slight variations in size, color, and surface texture. These artisan tiles cost more than standard versions, running about $15 per square foot versus $5, but the difference was dramatic. Each tile had a subtle character, with edges that weren’t perfectly crisp and surfaces that caught light differently. When installed, the wall looked crafted rather than manufactured.
My installation choice made an enormous difference in achieving country charm. Instead of the standard running bond pattern with tiles stacked in neat rows, I used a traditional stacked pattern with slightly wider grout lines. I also specified slightly irregular grout spacing, allowing my installer some flexibility rather than demanding machine-like precision. These choices created an authentic, hand-laid appearance that perfectly suited my old farmhouse.
Incorporating Natural Stone and Brick Elements
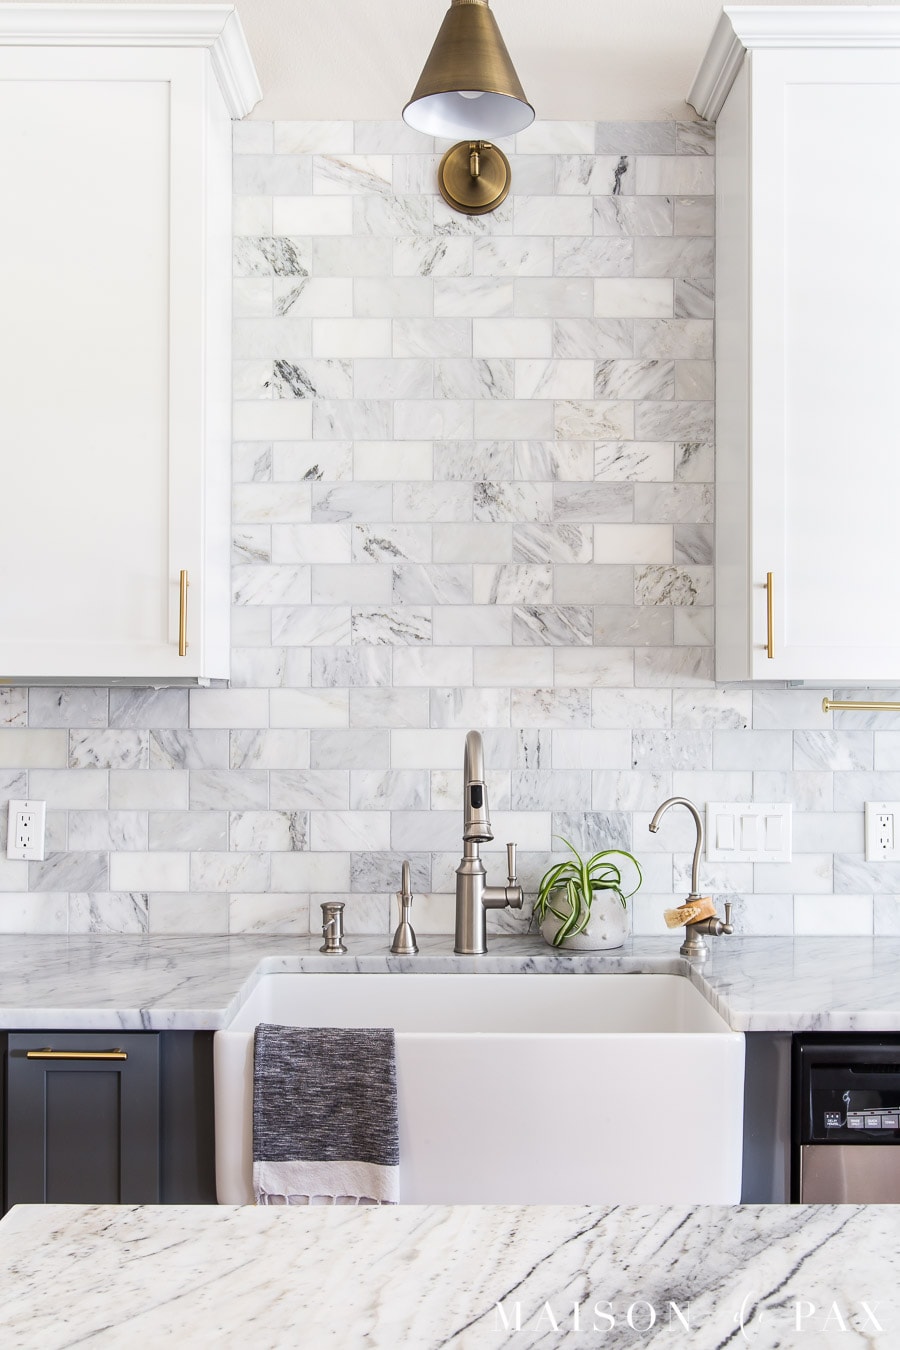
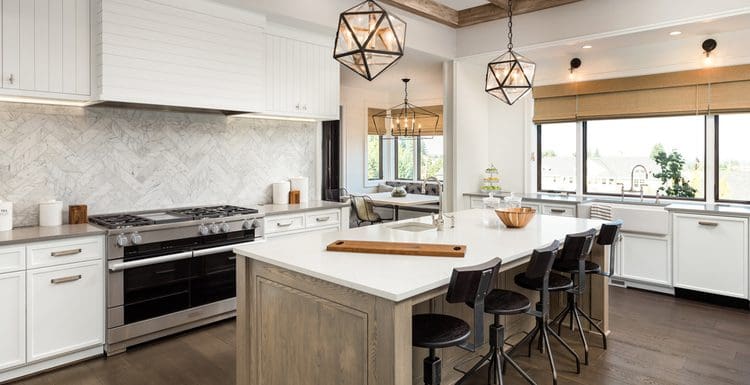
For the area behind my stove, I wanted something more substantial than subway tile, so I explored natural stone options. Tumbled marble caught my attention with its soft, matte finish and slightly irregular edges. The neutral cream and beige tones felt warm and timeless, and I loved how the stone’s natural variation meant no two pieces looked identical.
I installed a tumbled marble mosaic in a herringbone pattern behind my range, creating a focal point that anchored the kitchen. The installation required more skill than subway tile, and I’m glad I hired an experienced tile setter. The natural stone needed sealing before grouting and again after installation to protect against cooking splashes and stains. I now reseal it annually, a small maintenance task that preserves the stone’s beauty.
Exposed brick became another possibility I seriously considered. My kitchen had an original brick chimney wall that I initially planned to cover, but my contractor suggested exposing and sealing the brick instead. I loved this idea, as it added instant age and character while requiring no new materials. I sealed the brick with a matte finish penetrating sealer that protects against grease while maintaining the natural texture and color.

Adding Hand-Painted Tile Accents
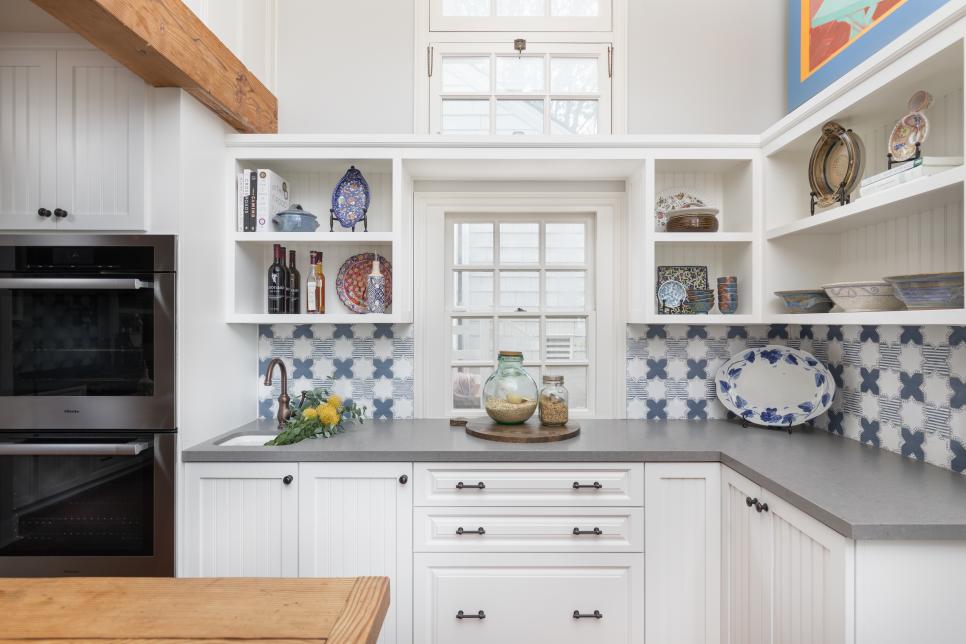
Hand-painted decorative tiles transformed my relatively simple subway tile backsplash into something special and uniquely mine. I discovered artisan tile makers who create beautiful hand-painted pieces inspired by traditional European designs. I chose tiles featuring herbs, vegetables, and simple floral motifs in soft blues, greens, and yellows that complemented my cream subway tile base.
I strategically placed six hand-painted tiles throughout my backsplash, spacing them to create visual interest without overwhelming the space. Two tiles flanked my stove, one marked the center of my main work counter, and three others appeared at roughly even intervals. This restrained approach let each decorative tile shine while maintaining the clean, uncluttered feeling essential to country style.
The cost of hand-painted tiles initially shocked me, at $40 to $80 per six-inch tile. However, using just a few as accents rather than covering entire walls made this splurge affordable. These tiles became my kitchen’s personality, the details guests notice and comment on. I’ve seen similar effects achieved with vintage tiles from architectural salvage, and several friends successfully used reproduction hand-painted tiles costing about half the price of true artisan pieces.
Beadboard and Wood Backsplash Options
For my breakfast nook area, I installed painted beadboard instead of tile, creating a cozy cottage feeling that distinguished this casual eating space from my main kitchen work zones. Beadboard’s vertical lines added height to my relatively low-ceilinged room, and the texture provided visual interest without competing with my tile backsplash nearby.
I chose moisture-resistant MDF beadboard over real wood for practical reasons. Behind a sink or cooking area, real wood risks warping and water damage despite careful sealing. The MDF version withstands moisture better while costing less and installing more easily. I painted it a soft cream color that coordinates with my subway tile, using semi-gloss paint for easy cleaning.
Wood backsplashes have become trendy, and I considered reclaimed barn wood for rustic character. However, I learned that wood behind cooking areas requires extremely careful sealing and regular maintenance to prevent grease absorption and fire hazards. I ultimately used wood only in the breakfast nook, where it wouldn’t face cooking splashes. For anyone drawn to wood backsplashes, I recommend restricting them to areas away from the stove and sink.
Pattern Mixing and Creative Layouts
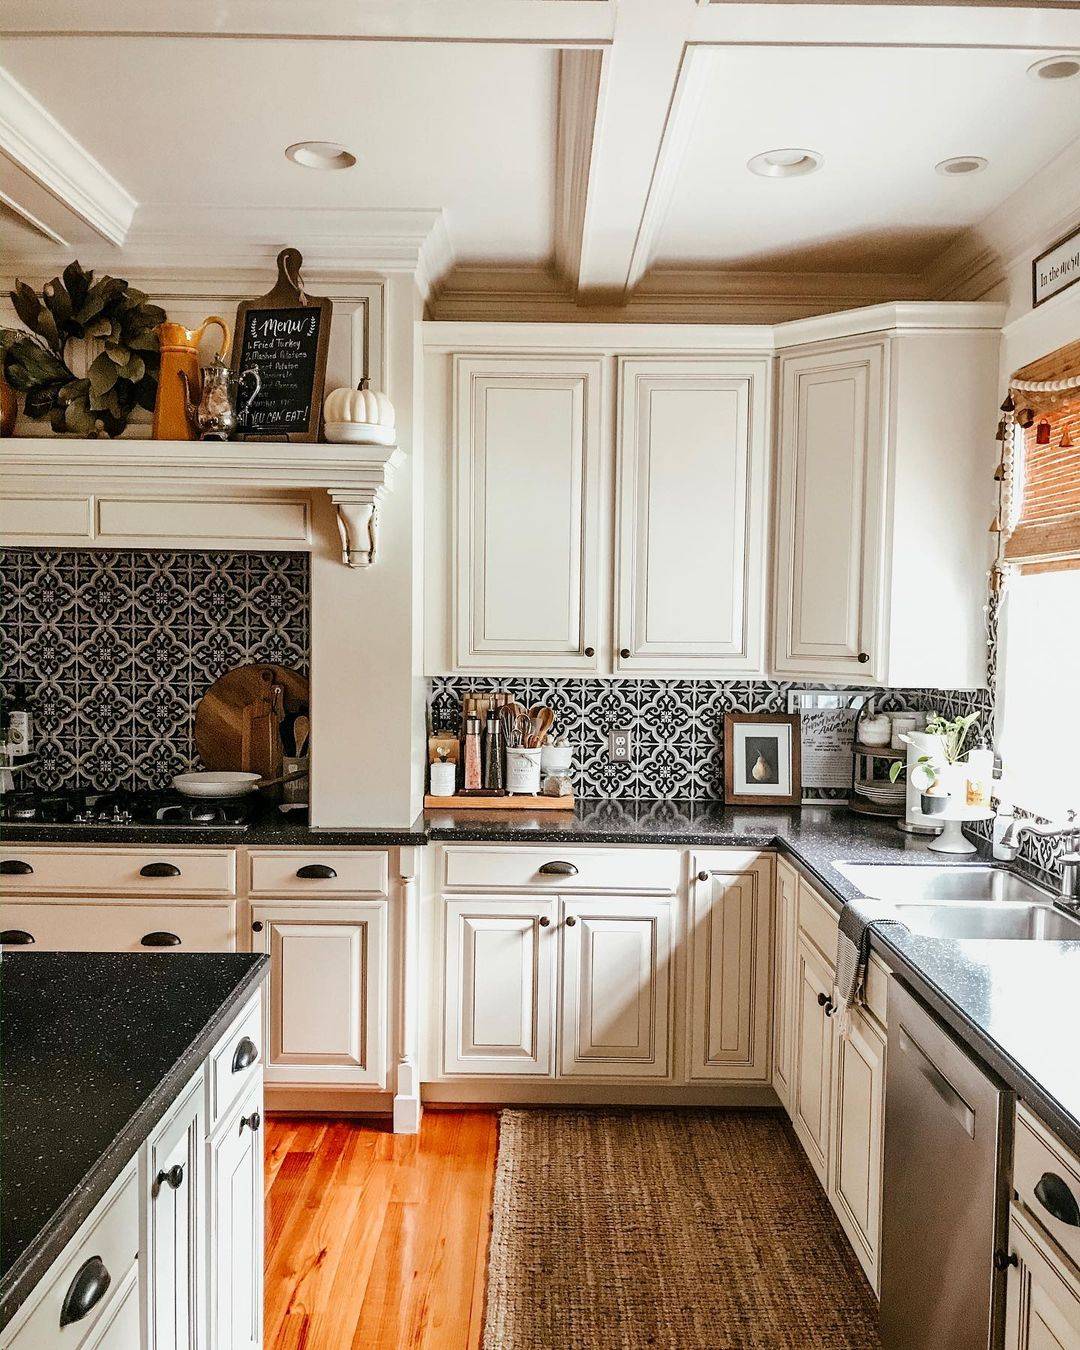
My initial instinct was to keep everything uniform, but studying country kitchens showed me that mixing patterns and materials creates more authentic, collected-over-time character. I combined my subway tile field with a decorative border of smaller square tiles in a complementary color. The border ran horizontally at countertop height, visually connecting the backsplash to my butcher block counters.
Behind my farmhouse sink, I created a focal point using a different pattern entirely. I installed small hexagon tiles in soft sage green, creating a “backsplash within a backsplash” that highlighted this area. The hexagons referenced the vintage floor tiles common in old farmhouses, creating historical continuity. This bold choice worked because I kept the hexagon area contained and surrounded by neutral subway tile.
I also varied my grout colors intentionally, using slightly darker grout on my subway tile to emphasize the handmade quality and lighter grout on my decorative elements to make colors pop. This technique added depth and visual interest while remaining subtle enough to maintain cohesion. My tile setter initially questioned these choices, but the finished result vindicated my vision of creating a backsplash that looked collected and personal rather than cookie-cutter.

How much should I budget for a country kitchen backsplash?
My backsplash cost about $2,800 for 40 square feet, including materials and professional installation. Basic subway tile runs $5-8 per square foot for materials, while handmade versions cost $12-18. Add $8-12 per square foot for installation. I spent extra on hand-painted accent tiles and natural stone behind my stove. You could complete a simpler version for $1,200-1,500, or splurge up to $5,000 with premium materials throughout.
Can I install a country backsplash myself or should I hire a professional?
I tackled my breakfast nook beadboard myself successfully, but hired a professional for tile work. Basic subway tile installation is DIY-friendly if you’re handy and patient. However, patterns like herringbone, natural stone, and detailed layouts benefit from professional expertise. I recommend getting quotes, then deciding based on your skill level and time. My tile setter completed in two days what would have taken me two weeks.

How do I clean and maintain different backsplash materials?
Daily cleaning requires only warm water and mild dish soap for most surfaces. I avoid harsh chemicals or abrasive scrubbers. Natural stone needs annual resealing, which takes about an hour. Grout requires periodic cleaning with baking soda paste or a specialized grout cleaner. My beadboard wipes clean easily thanks to semi-gloss paint. I deep-clean my entire backsplash quarterly, and it still looks great after three years.
What backsplash height works best for country kitchens?
I installed a standard height backsplash, running from the countertop to the bottom of the upper cabinets, about 18 inches tall. In areas without upper cabinets, I stopped at a natural break point or continued to picture rail height. Full-height backsplashes to the ceiling can work, but risk feeling too busy in country kitchens. I prefer letting painted walls show above the backsplash for visual breathing room.

Should my backsplash match my countertops?
Not necessarily. I have butcher block counters with cream subway tile, and they complement without matching exactly. Country style works best when materials coordinate through tone and feeling rather than exact color matching. I chose warm, natural materials throughout, which creates cohesion despite different colors and textures. Avoid overthinking matches and trust materials that share similar warmth or coolness.
How do I achieve country style on a tight budget?
I’d suggest using affordable subway tile as your base and splurging on just a few hand-painted accent tiles for personality. Paint existing walls in areas you’re not tiling. Consider beadboard in some areas, as it costs less than tile and adds country charm. Shop architectural salvage for vintage tiles. I found beautiful old tiles for $3 each that would cost $50 new. Mix budget and splurge items strategically.

Farmhouse Backsplash Ideas
Farmhouse Backsplash ( COZY & STYLISH ) – Backsplash Ideas


Farmhouse Backsplash Ideas for Your Kitchen

Best Farmhouse Kitchen Backsplash Ideas

Gorgeous Modern Farmhouse and Cottage Kitchen Tile Ideas

Related Posts:
- French Kitchen Backsplash Ideas
- Cottage Kitchen Backsplash
- Country Kitchen Backsplash
- Retro Kitchen Backsplash
- Rustic Wood Kitchen Backsplash
- Vintage Kitchen Backsplash Ideas
- Modern Farmhouse Kitchen Backsplash
- Mid Century Modern Kitchen Backsplash Tile
- Turquoise Kitchen Backsplash Tile
- Mediterranean Tile Kitchen Backsplash