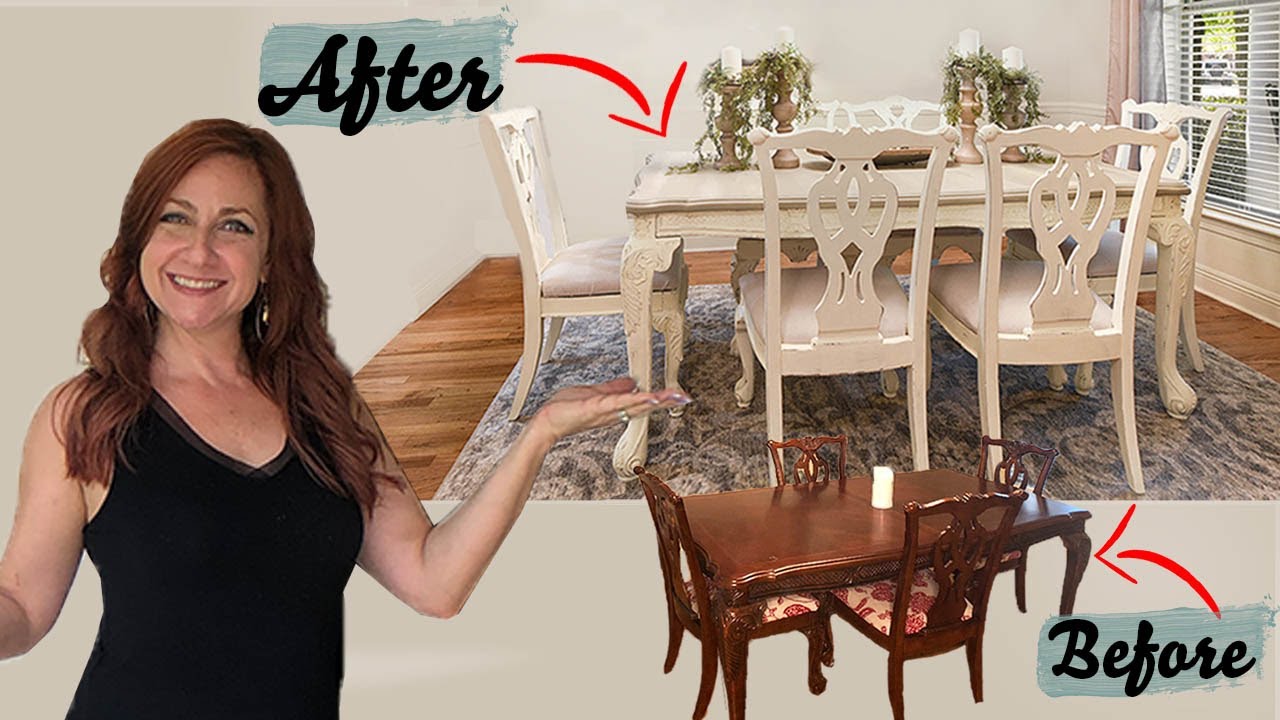
A chalkboard paint kitchen table is a creative way to add personality and practicality to your home. I’ve transformed several tables with chalkboard paint, and each one becomes a hub for family notes, meal planning, and even impromptu artwork. Whether you’re updating an old table or customizing a new one, this project is simple, affordable, and endlessly versatile. From grocery lists to kids’ doodles, a chalkboard table turns an ordinary surface into an interactive centerpiece.
Choosing the Right Table for Chalkboard Paint
Not every table works well with chalkboard paint, so selecting the right one is key. I prefer smooth, solid wood surfaces because they take paint evenly and provide the best writing experience. Laminate tables can work, but they require extra sanding and primer for proper adhesion. Avoid tables with deep grooves or heavy textures—they make writing difficult and collect chalk dust. A round or rectangular kitchen table with a simple design is ideal for this project.
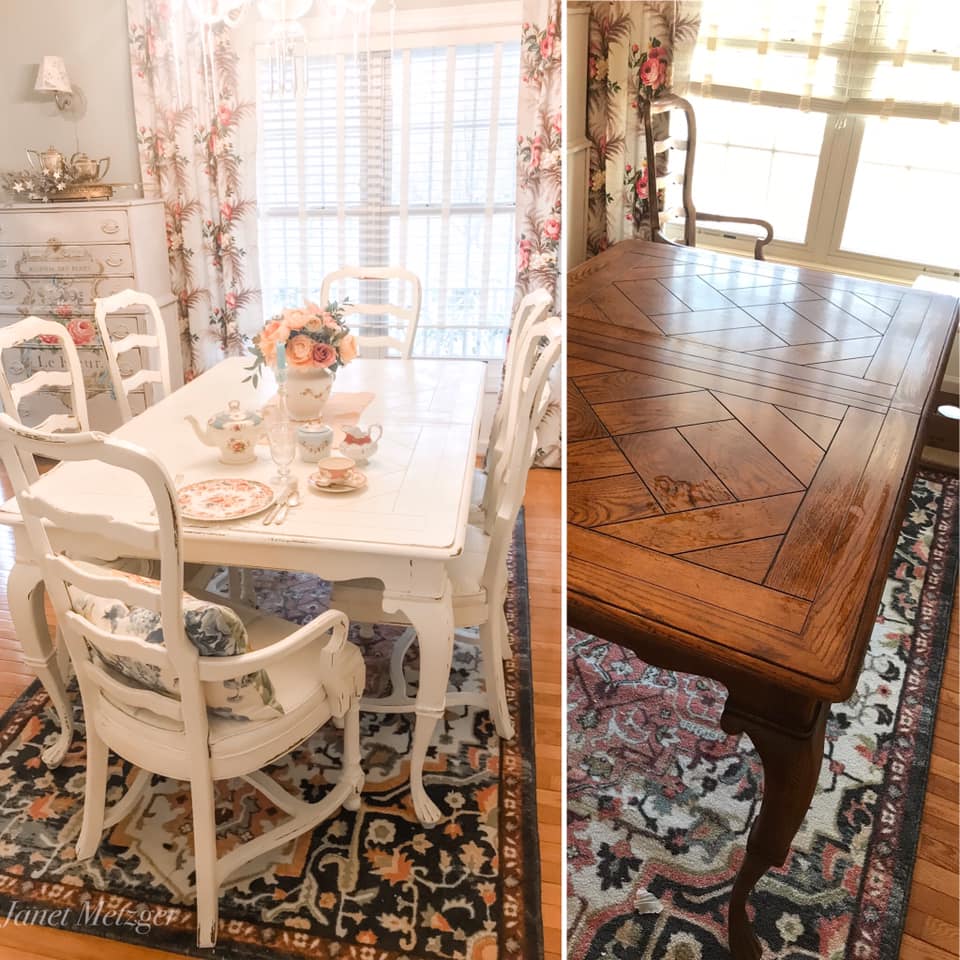
Size matters too. A smaller bistro-style table is perfect for cozy kitchens, while a large farmhouse table offers more writing space for families. If you’re upcycling an old table, check for stability—wobbly legs or cracks should be fixed before painting. I’ve also seen great results with just painting the tabletop and leaving the base in its original finish for contrast.
Consider how you’ll use the table. If it’s mainly for writing, a flat, smooth surface is best. For a table that doubles as a dining space, choose a high-quality chalkboard paint that withstands frequent wiping. Some people even section off part of the table for chalkboard use while keeping the rest as a regular surface.
Prepping and Painting Your Table
Proper prep ensures a smooth, long-lasting finish. Start by cleaning the table thoroughly to remove grease and dirt—I use a mix of mild soap and water, then let it dry completely. Sand the surface lightly with 220-grit sandpaper to help the paint adhere better. Wipe away dust with a tack cloth or a damp rag before painting.
If your table has a glossy finish, a primer is essential. I recommend a bonding primer for laminate or varnished surfaces. For raw wood, a quick coat of standard primer helps prevent bleed-through. When applying chalkboard paint, use a high-density foam roller for even coverage. The first coat might look streaky, but don’t worry—the second coat will even it out.
Let the paint dry fully between coats (usually 4 hours). Most chalkboard paints require 2-3 coats for full coverage. After the final coat, wait at least 24 hours before conditioning the surface. Rubbing a chalk stick sideways over the entire table and then wiping it off “seasons” the surface, making it easier to write on later.

Decorating and Using Your Chalkboard Table
Once your table is ready, the fun begins. I like to keep a small bucket of colorful chalk nearby for spontaneous notes or drawings. For a polished look, use chalk markers—they create bold, clean lines and don’t smudge as easily as regular chalk. Stencils are another great tool for neat lettering or decorative borders.
For families, the table can serve as a daily communication spot—meal plans, reminders, or even a weekly chore chart. I’ve seen creative uses like leaving dinner guests handwritten place cards or letting kids practice spelling words. Some people even use it as a rotating art display, changing designs for holidays or seasons.
To keep the surface looking fresh, wipe it down with a damp cloth every few days. Avoid harsh cleaners—they can damage the paint. If the surface starts to look dull over time, a quick re-seasoning with chalk brings it back to life.
Pairing Your Chalkboard Table with Kitchen Decor
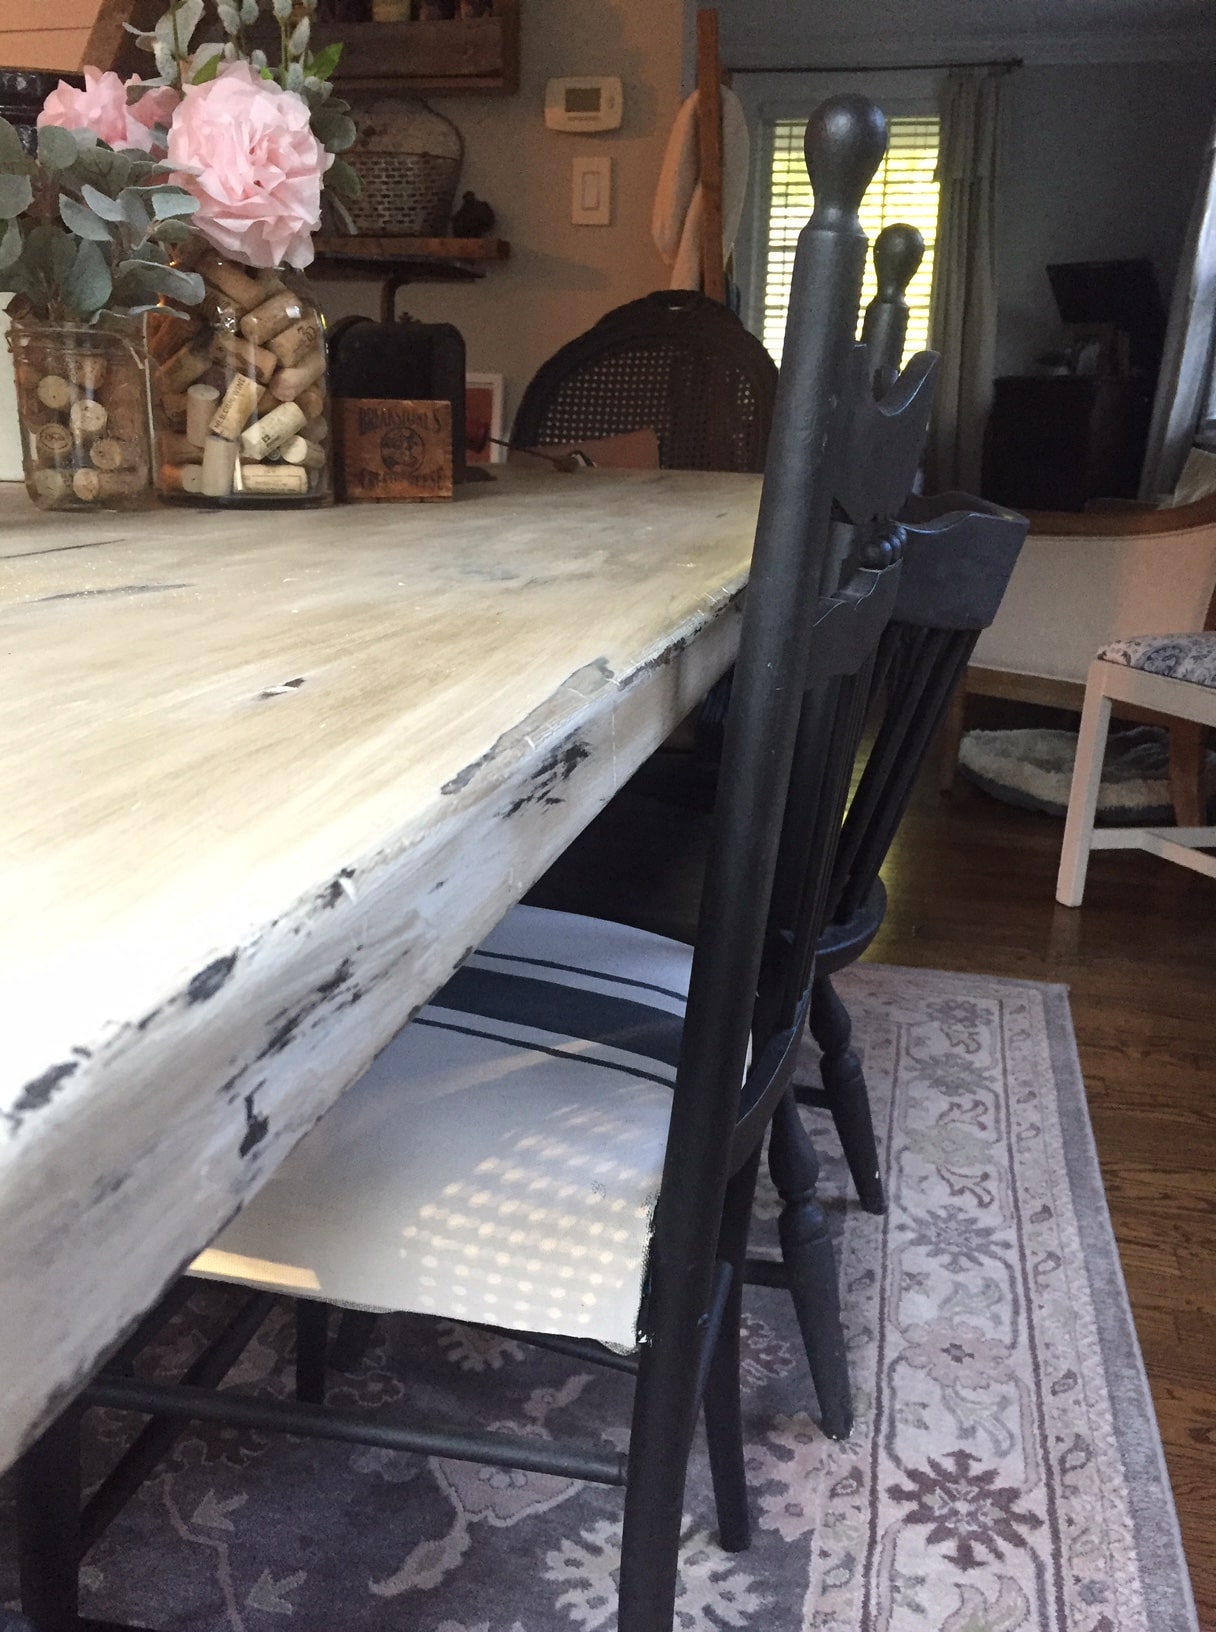
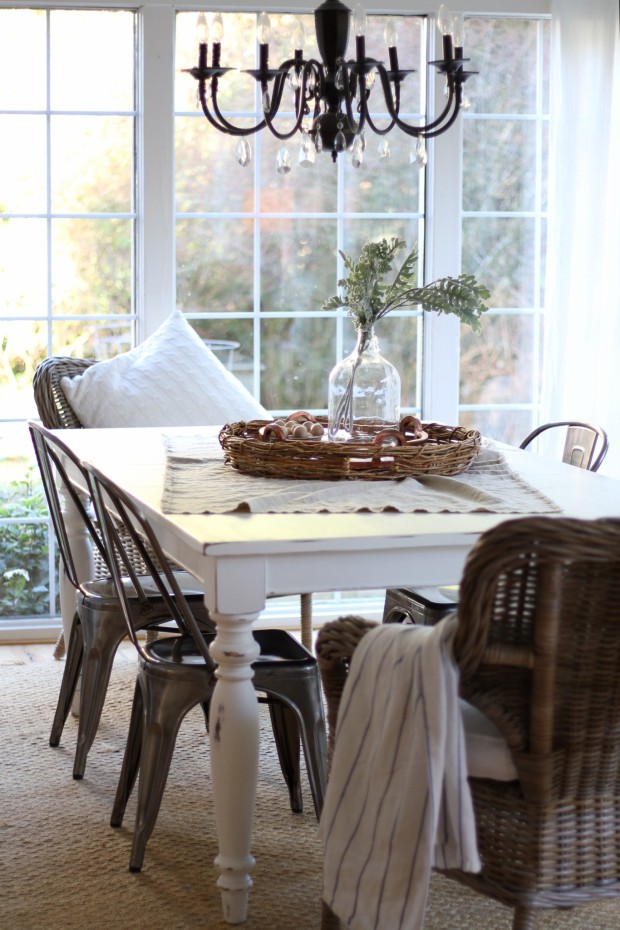
A chalkboard table can fit almost any style, depending on how you style it. For farmhouse kitchens, pair it with rustic wood chairs and mason jar centerpieces. Modern spaces look great with sleek metal chairs and minimalist chalk designs. I love the contrast of a black chalkboard top with brightly colored chairs for a playful vibe.
If you want a subtler look, consider painting only the center of the table or creating a framed chalkboard section. Another idea is to paint just the table’s edge as a border, leaving the middle as a traditional surface. For a cohesive design, match the table’s base color to other kitchen accents like cabinet hardware or light fixtures.
Accessorizing around the table enhances its charm. A small tray with chalk and an eraser keeps supplies handy without clutter. A vase of fresh flowers or a bowl of fruit adds color against the dark surface. The key is balancing functionality with aesthetics so the table remains useful and stylish.

Maintaining Your Chalkboard Table
Regular care keeps your table looking great. Dust it frequently with a dry cloth to prevent chalk buildup. For deeper cleaning, a barely damp microfiber cloth works best—too much water can damage the paint over time. If stubborn marks remain, a magic eraser gently lifts them without scratching.
Over time, the surface may develop a “ghost” effect from old chalk residue. A quick repainting of the chalkboard area refreshes it easily. If you used regular chalkboard paint, consider upgrading to a premium brand for better durability. Some newer versions are even dishwasher-safe for easier cleaning.
To prevent scratches, use placemats or a tablecloth during meals if the table sees heavy use. Rotating between chalk designs and bare sections keeps the surface from wearing unevenly. With minimal upkeep, a chalkboard table stays functional for years.
Creative Alternatives to Full Chalkboard Paint
If you’re hesitant to commit to a full chalkboard table, there are other options. Painting just the center or a geometric section creates a smaller writing area. Another idea is using chalkboard contact paper—it’s removable and works well for renters. I’ve even seen tabletops with interchangeable chalkboard panels for flexibility.
For a subtle touch, paint the underside of the tabletop with chalkboard paint. Kids can draw there while adults use the top normally. Another fun variation is using colored chalkboard paint—dark green or navy can be striking alternatives to classic black.
If DIY isn’t your style, many retailers sell pre-made chalkboard tables. Some even come with built-in chalk storage or magnetic surfaces for added functionality.
How long does chalkboard paint last on a kitchen table?
With proper care, chalkboard paint can last several years before needing a refresh. High-quality brands hold up better to frequent use and cleaning. If the surface starts looking worn or develops unremovable stains, a light sanding and a new coat of paint will restore it. Areas with heavy writing may wear faster, but touch-ups are easy.
Can I use chalkboard paint on a glass table?
Yes, but it requires special prep. Clean the glass thoroughly, then use a primer designed for non-porous surfaces. Some chalkboard paints are specifically formulated for glass and metal—these adhere better. The writing experience will be smoother than on wood, but the surface may be louder when using chalk.

Is chalkboard paint safe for food surfaces?
While the paint itself is non-toxic once fully cured, it’s not food-safe for direct contact. Always use plates or placemats when eating on a chalkboard table. If you’re concerned about chalk dust near food, reserve one section for writing and keep the eating area clean.
How do I prevent chalk dust from getting everywhere?
Liquid chalk markers create less dust than traditional chalk. If using regular chalk, keep a small damp cloth nearby to wipe hands. Store chalk in a covered container when not in use. Some people apply a chalkboard sealer, but this can reduce writability.
Can I paint over chalkboard paint if I don’t like it?
Absolutely. Just sand the surface lightly, apply a primer, and then use your new paint. Chalkboard paint covers well, so you’re not locked into it forever. I’ve transformed several chalkboard tables back to regular finishes with no issues.
What’s the best way to season a new chalkboard table?
After the paint fully cures (usually 24-48 hours), rub the side of a white chalk stick over the entire surface. Then wipe it off with a dry cloth. This fills microscopic pores in the paint, preventing “ghosting” where old drawings remain faintly visible. Repeat this process whenever the surface becomes difficult to write on.

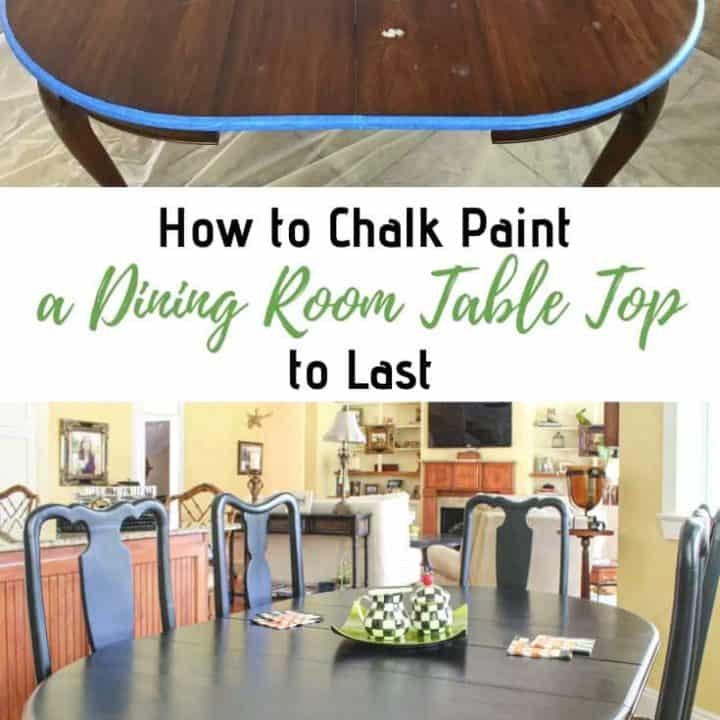
How to Chalk Paint a Table Top to Last
DIY Projects – Chalk Paint Dining Table Makeover Sarah Joy Blog

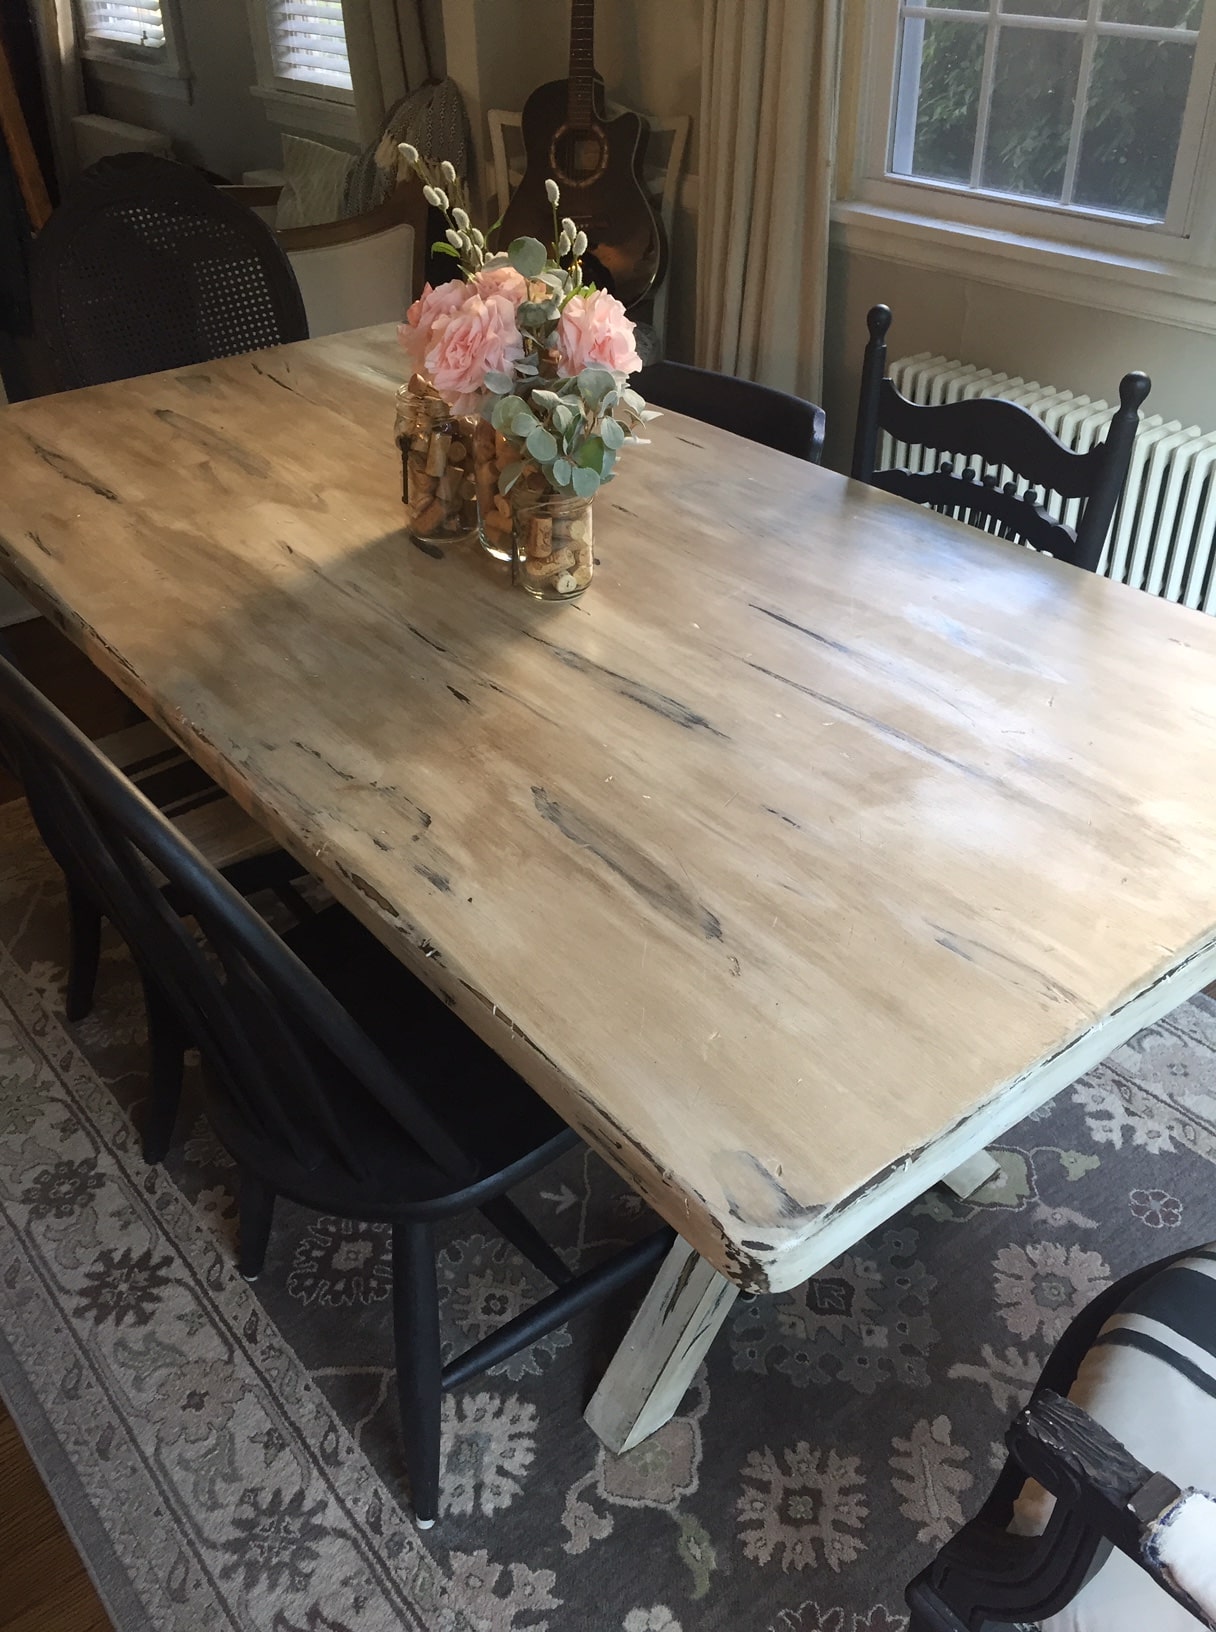
Kitchen Table Makeover Using Chalk Paint and Wood Stain ⋆ Love
![]()
Chalk Paint Dining Room Table u2013 Is it a Good Idea? – West Magnolia
Oval Dining Set in Annie Sloan Chalk Paint in Pure White

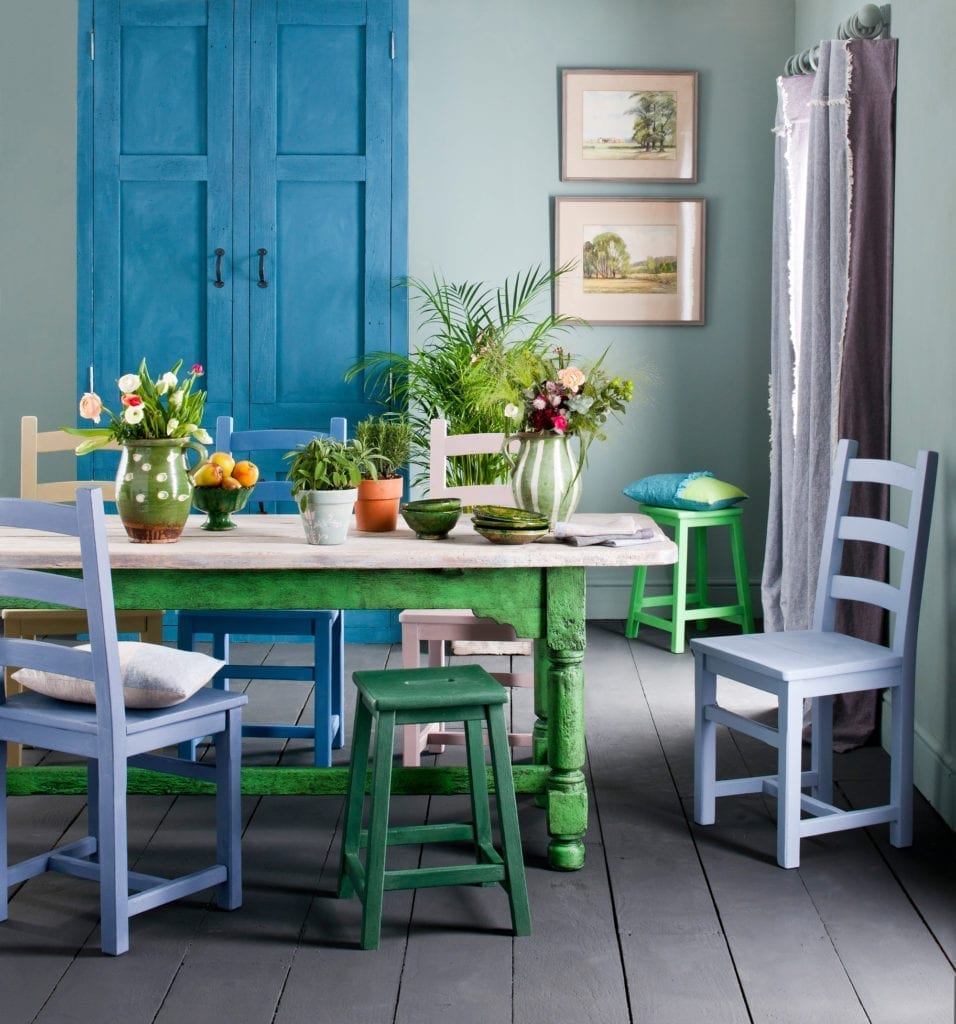
Rustic Dining Table Painted in Chalk Paint® Annie Sloan
Related Posts: