Building a little kitchen table can be an extremely gratifying endeavor! There’s something very amazing about making your furniture and knowing it’ll be a focal point in your kitchen. I’ve always enjoyed the process of woodworking, from choosing the right lumber to applying the final finish. A tiny kitchen table allows you to blend efficiency and personal flair, which is especially useful when space is limited. Over the years, I’ve experimented with many designs and approaches for creating these vital parts, and I’m delighted to share some of my findings with you.
Plan Your Design
Before even picking up a saw, I discovered that meticulous planning is the most important step in making a compact kitchen table. Consider the size of your kitchen and how much space you can easily dedicate to the table. Consider how many people you regularly need to seat and whether you’d prefer the ability to expand on occasion. Sketching out a couple alternative shapes and sizes on paper may help picture the finished piece and ensure that it fits perfectly in your space.
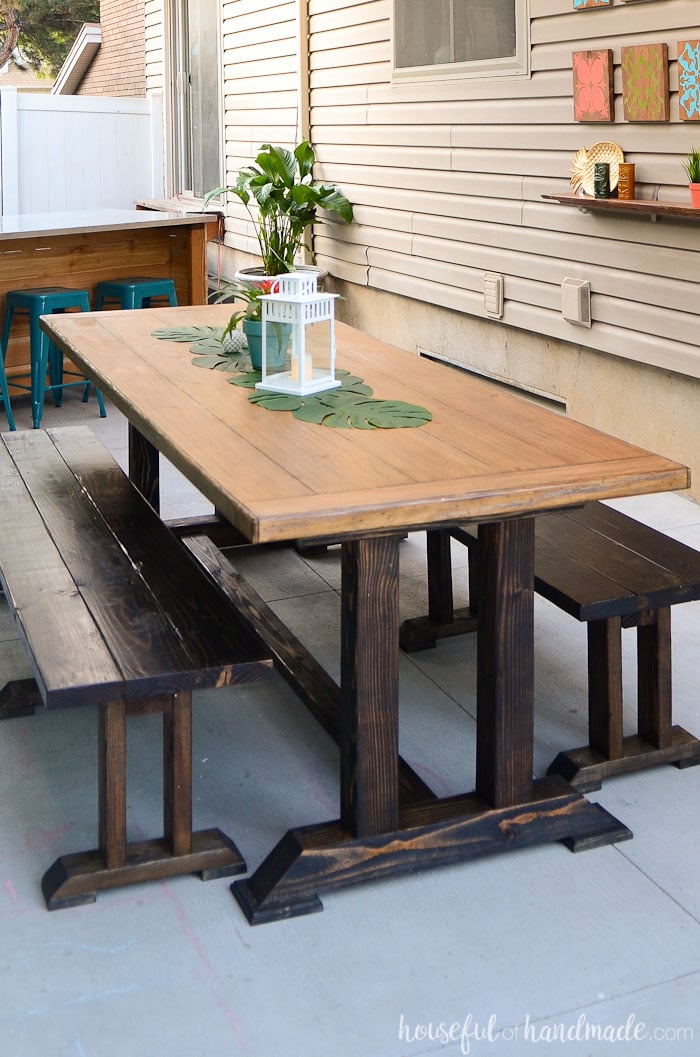
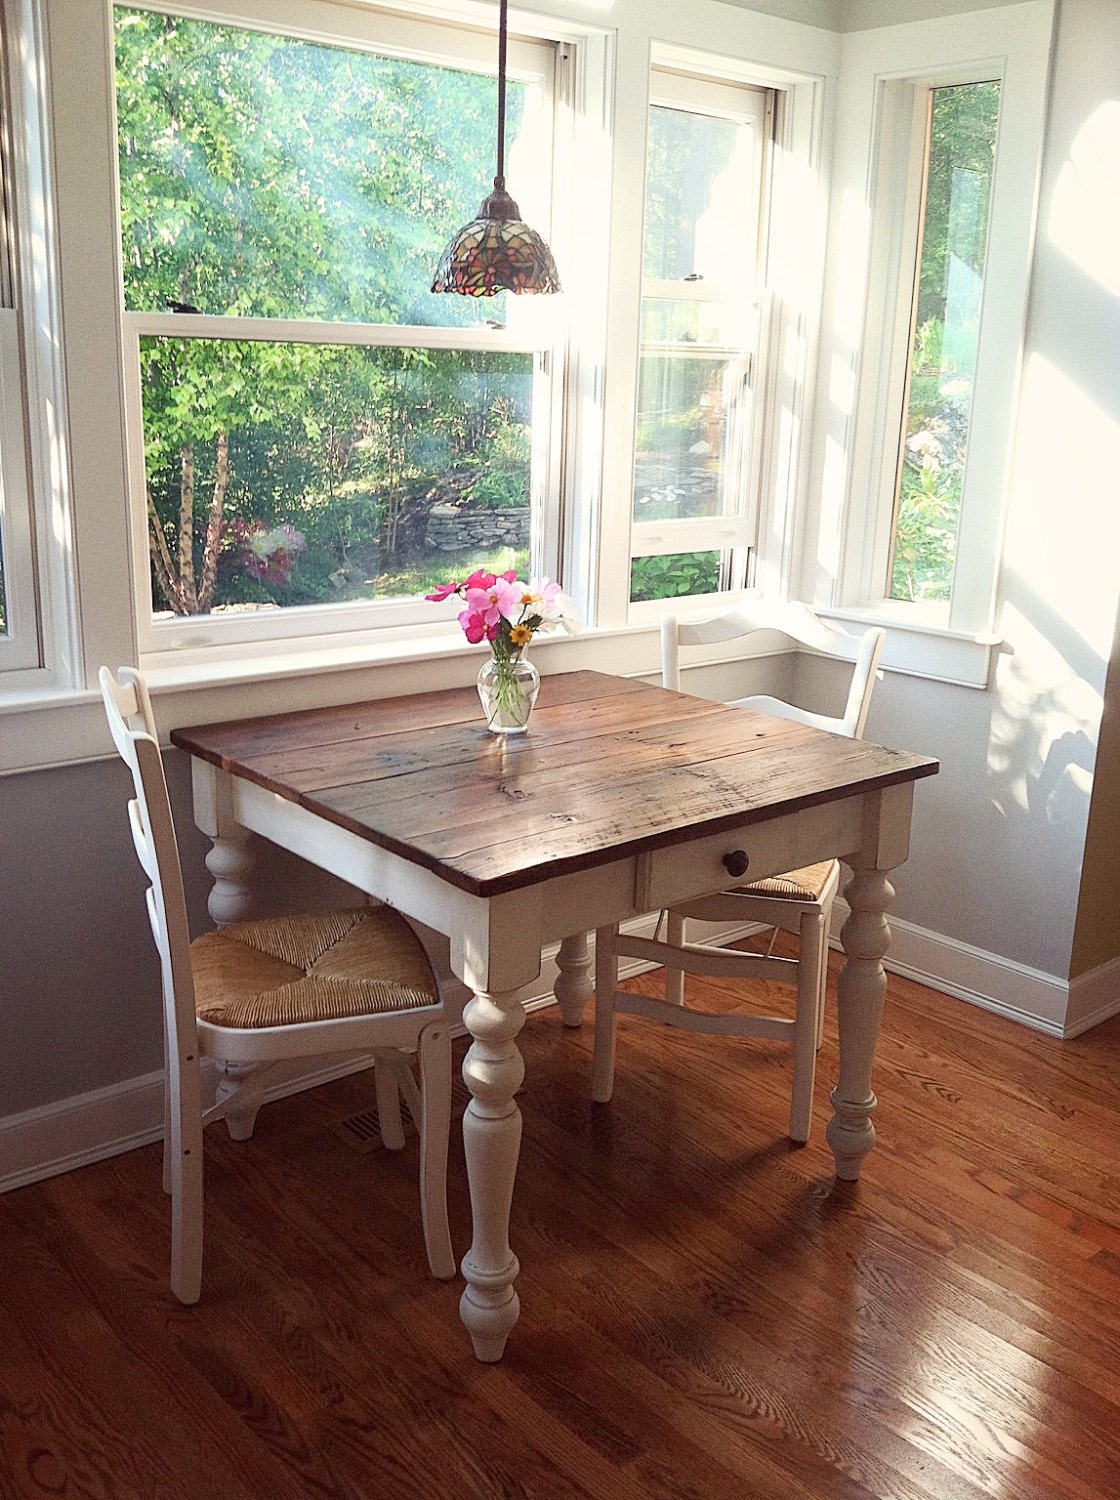
Next, I think about the style of my kitchen and the overall look I want to accomplish. A rustic farmhouse kitchen could require a robust wooden table with thick legs, whilst a more modern setting might benefit from a sleek design with clean lines and metal accents. I frequently look at inspirational photographs online or in magazines to generate ideas and recognize design characteristics that speak to me. This allows me to limit down the supplies and construction methods I’ll require.
Finally, I consider the utility of the table. Will it be primarily utilized for quick breakfasts, or will it also function as an office or a location for informal meals? This will determine the size, shape, and even the finish that I select. A kitchen table that will be used regularly requires a long-lasting, easy-to-clean finish. Taking the time to carefully arrange these details means that the finished table is not only gorgeous but also precisely tailored to your needs and lifestyle.
Choosing the Right Materials
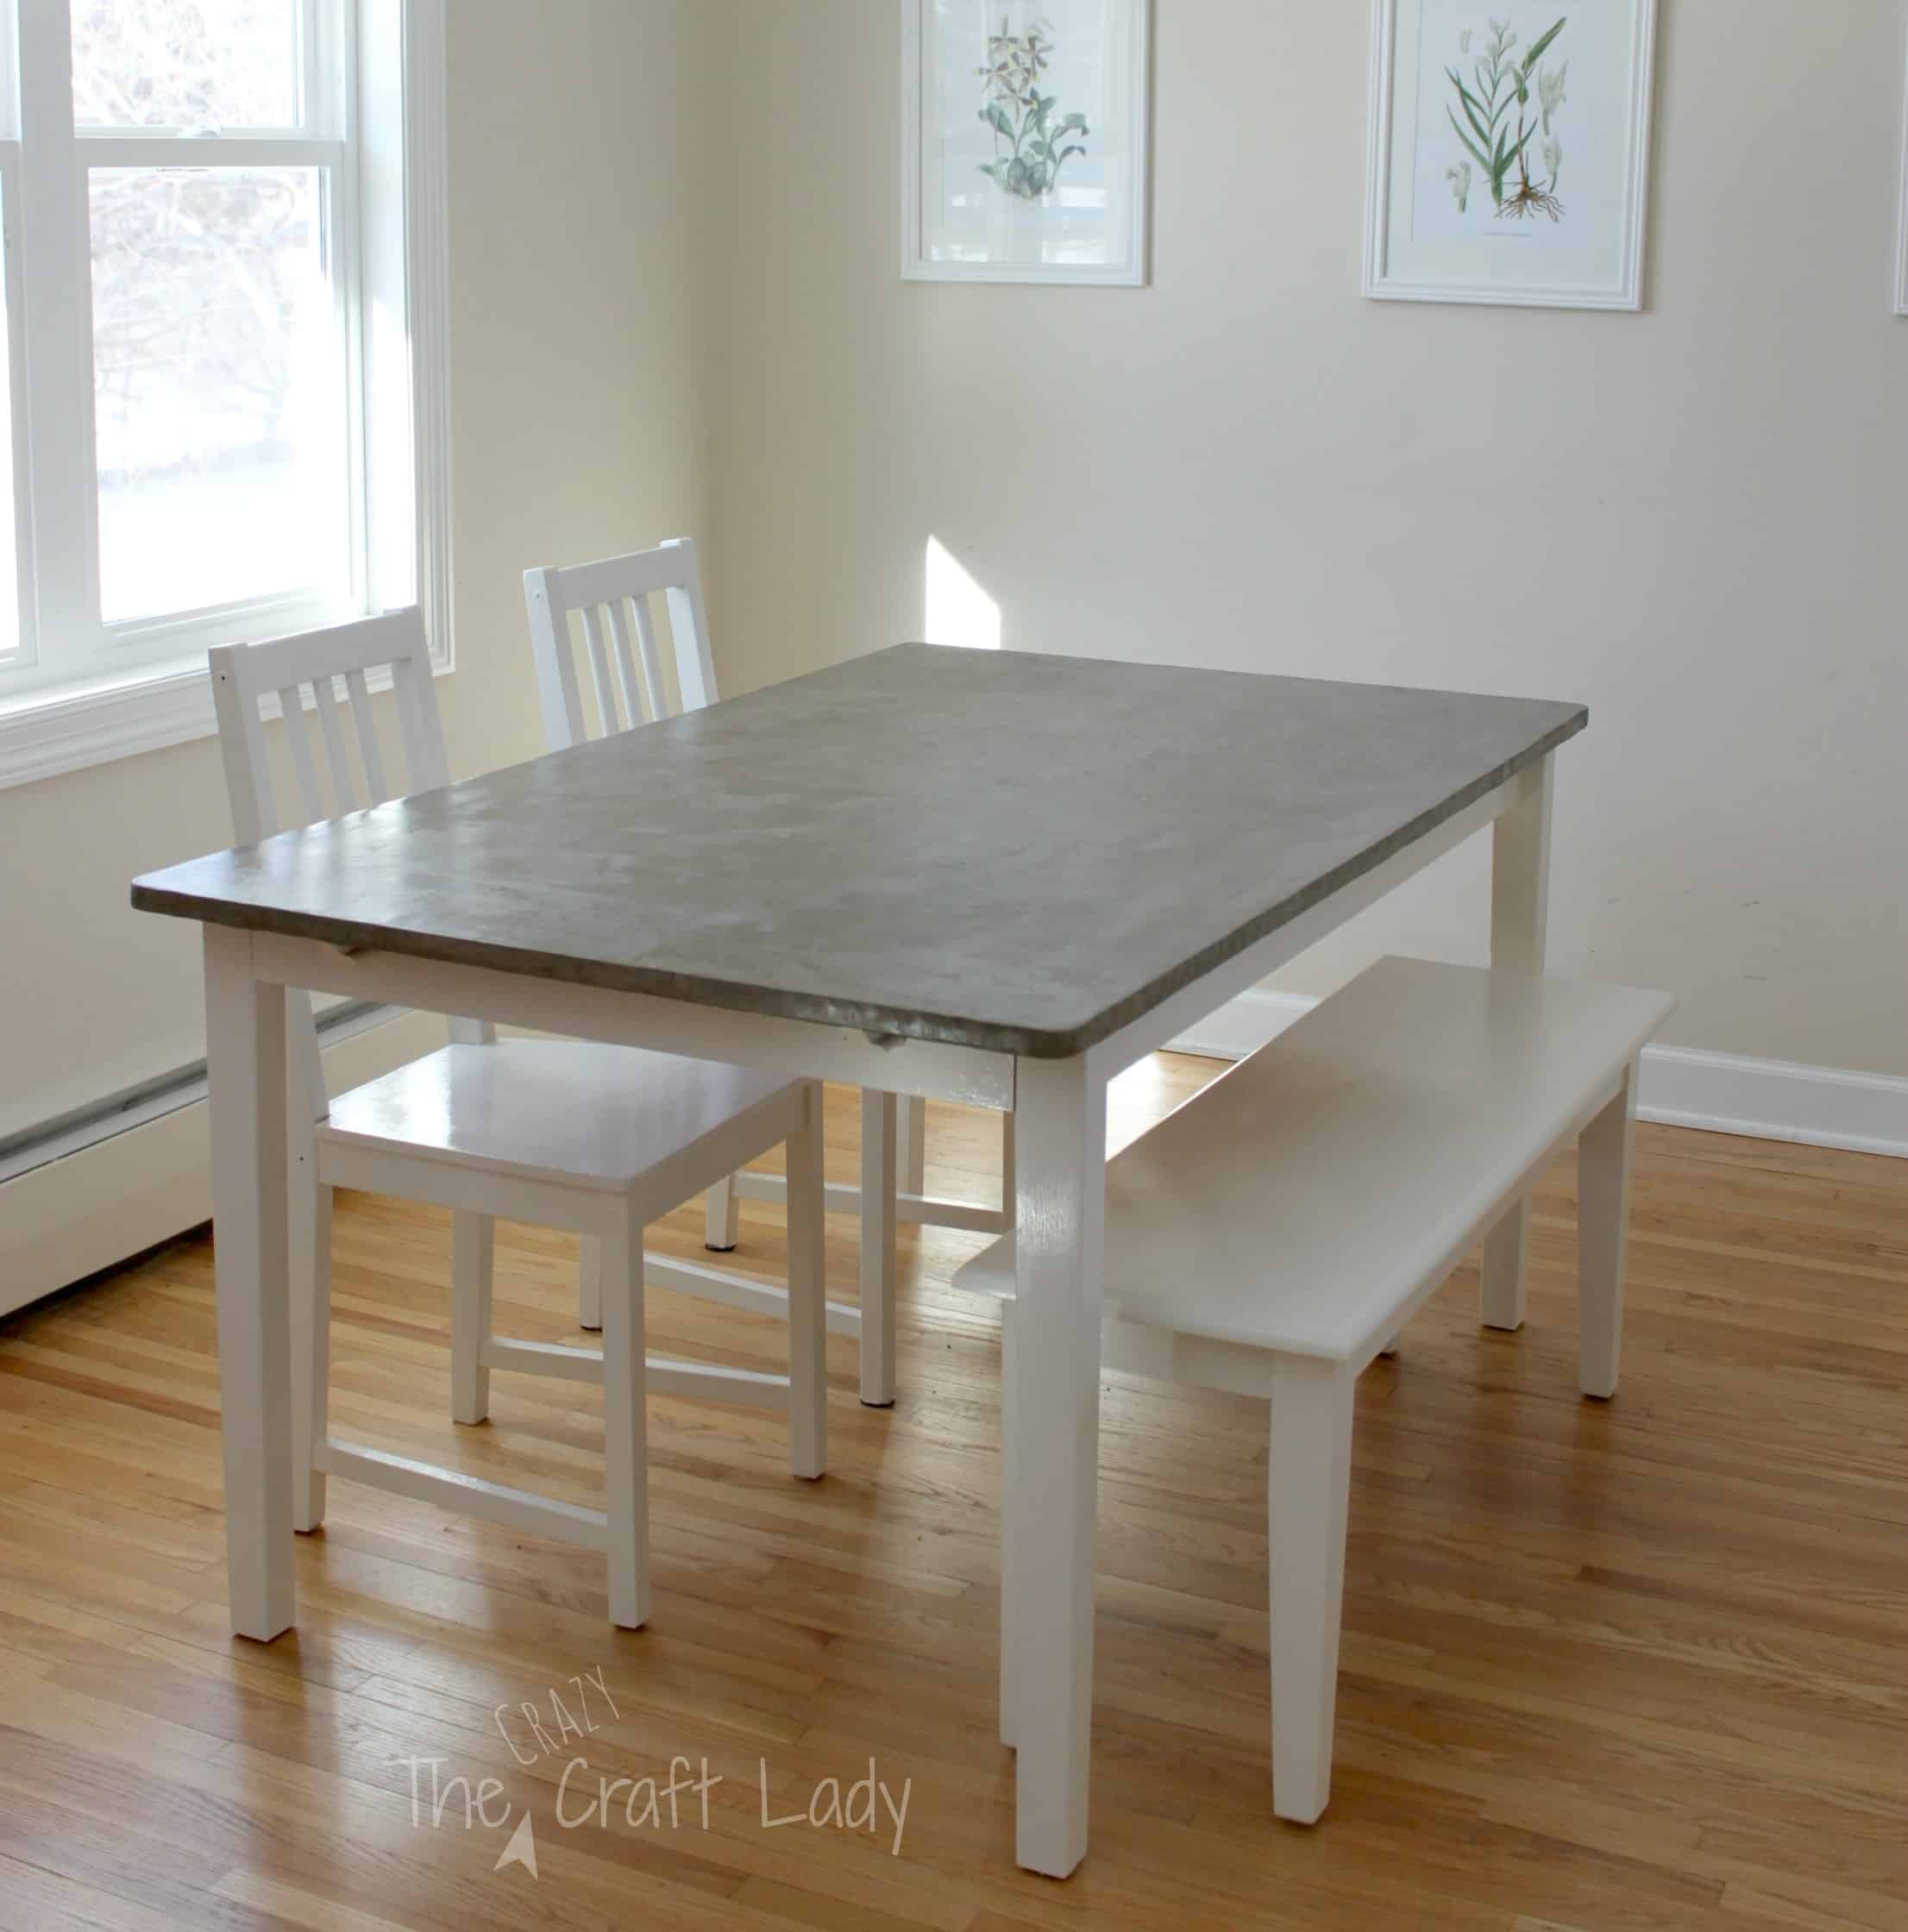
Choosing the correct materials is essential for any woodworking job, and creating a tiny kitchen table is no different. Solid woods such as maple, oak, and pine are popular tabletop materials due to their durability and natural beauty. I prefer working with solid wood since it can be polished and refinished over time, ensuring that the table lasts for many years. Plywood with a veneer can also be a more affordable choice for a tabletop, providing a smooth surface and stability.
For the table legs, I consider both structural integrity and aesthetics. Solid wood is a dependable option, and you may choose from a variety of shapes and styles, from simple straight legs to more ornamental twisted legs. Metal legs are another option for adding a modern or industrial feel. If I want a smooth, consistent appearance, I seek for wood with a good grain pattern and few knots.
Beyond the major materials, I consider the hardware and finishing goods. Strong screws and wood glue are required for a solid construction. The finish options include polyurethane for durability and water resistance, as well as natural oils and waxes for a more matte and natural appearance. I normally try different treatments on scrap wood to see how they look and feel before using them on the finished piece. The proper materials not only affect the durability of the table, but also have a significant impact on its entire beauty.
Building the Tabletop
Building the tabletop is frequently the first important step after planning and acquiring materials. If I’m using solid wood, I may have to put several boards together to attain the appropriate breadth. This usually entails carefully sanding the edges of the boards and then using wood glue and clamps to form a strong and flawless bond. For bigger tabletops, I occasionally use biscuits or dowels to ensure alignment and strength during the glue-up process.
After the adhesive has completely set, I sand the tabletop to achieve a smooth and even finish. Starting with coarser grit sandpaper and progressing to finer grits helps to remove flaws and prepare the wood for finishing. I spend special attention to the edges and corners, making sure they’re smooth and nice to touch. For a plywood tabletop, the technique is often simpler, with the emphasis on sanding the edges and ensuring a flawless veneer finish.
After sanding, I often think of adding a decorative edge to the tabletop. This might be as basic as a slightly rounded over edge with a router or more intricate molding. I choose the sort of edge based on the overall style of the table. Finally, before moving on to the legs, I apply the desired finish on the tabletop, often in multiple coats with light sanding in between to obtain a long-lasting and attractive surface. The tabletop is the table’s major surface, therefore taking the time to build and finish it properly is critical.
Securing the Legs
Attaching the legs securely to the tabletop is essential for building a stable and useful kitchen table. Depending on the design and leg type, I may use one of various approaches. One usual method is to utilize mounting plates fastened to the underside of the tabletop, and then attach the legs to these plates. This procedure is relatively simple and offers good stability.
Another approach is to use mortise and tenon joints, which are extremely robust but need more exact carpentry abilities. To do this, a tenon (a projection on the top of the leg) fits snugly into a mortise (a slot) carved into the underside of the tabletop or an apron. To reinforce these seams, I frequently use glue and, on occasion, screws or bolts. An apron can provide additional support and decorative interest to the table.
Regardless of the approach I choose, I always ensure that the legs are evenly spaced and that the connectors are robust and secure. I double-check that the table is level and does not wobble. A unstable table may be quite irritating to use, so taking the time to make a secure connection between the legs and the tabletop is well worth the effort. This stage turns the tabletop into a usable piece of furniture.
Applying Finishing Touches
Once the primary structure of the small kitchen table is completed, the finishing touches are what truly bring the project to life. This includes sanding any residual rough spots, smoothing all joints, and applying the desired finish to the legs and any exposed wood. I generally apply numerous coats of finish to the tables because it will be used the most and must be robust and water-resistant. Light sanding in between applications helps to achieve a smooth and even surface.
If I’ve decided to use paint on the table’s legs or other parts, I apply multiple thin coats, allowing each to dry completely before applying the next. For a painted finish, I frequently apply a primer first to help the paint adhere and produce a more consistent hue. After the final coat of paint or finish has dried, I could consider putting protecting felt pads to the bottoms of the legs to keep them from damaging the flooring.
The next step is typically a thorough cleaning of the table to eliminate any dust or fingerprints. I then set the table in its proper location in the kitchen and take a time to admire the finished product. Seeing a piece of furniture that I constructed with my own hands in my home is always a rewarding experience. The finishing touches not only protect the wood, but also bring out its natural beauty and make the table suitable for daily use.

Care for Your Handmade Table
After putting in the effort to make a little kitchen table, careful care will ensure that it lasts for many years. For a solid wood tabletop with a polyurethane finish, I normally recommend wiping up spills as soon as possible with a damp cloth and using coasters to keep the surface cool and dry. Avoid using harsh chemicals or abrasive cleaners since they might ruin the finish. To keep the wood shining and protected, use a little wood polish on occasion.
For tables with an oil or wax finish, regular re-oiling or waxing may be required to preserve the protective coating and keep the wood from drying out. The frequency will be determined by how often the table is used and the humidity levels. I’ve found that regular upkeep goes a long way toward preserving the wood’s beauty and integrity.
Ultimately, a handmade kitchen table is meant to be enjoyed. While maintaining it is crucial, I believe that the minor flaws and traces of wear that develop over time tell a story and add to its character. Knowing that I made this table and that it is now a part of my daily life in the kitchen provides a special sense of accomplishment. With a little maintenance, it will be a functioning and cherished piece for years to come.
What are some simple designs for a beginner woodworking project like a small kitchen table?
For a beginner, I suggest starting with a straightforward design like a simple rectangular table with straight legs. You can use readily available lumber and basic joinery techniques like screwing the legs directly to the underside of the tabletop or using L-brackets for added stability. Another easy option is a small round table with a center pedestal base made from a pre-cut wooden column. Focusing on clean lines and avoiding complex curves or joinery will make the project more manageable for someone new to woodworking.
How can I make a small kitchen table that can expand to seat more people?
One way to create an expandable small kitchen table is to incorporate drop leaves on either side of the main tabletop. These leaves can be supported by hinges and folding brackets that allow them to be easily raised or lowered as needed. Another option is to design the table with a removable leaf that stores separately. This leaf can be inserted into the center of the table when more seating is required. I recommend planning the expansion mechanism early in the design process to ensure it integrates smoothly with the rest of the table.

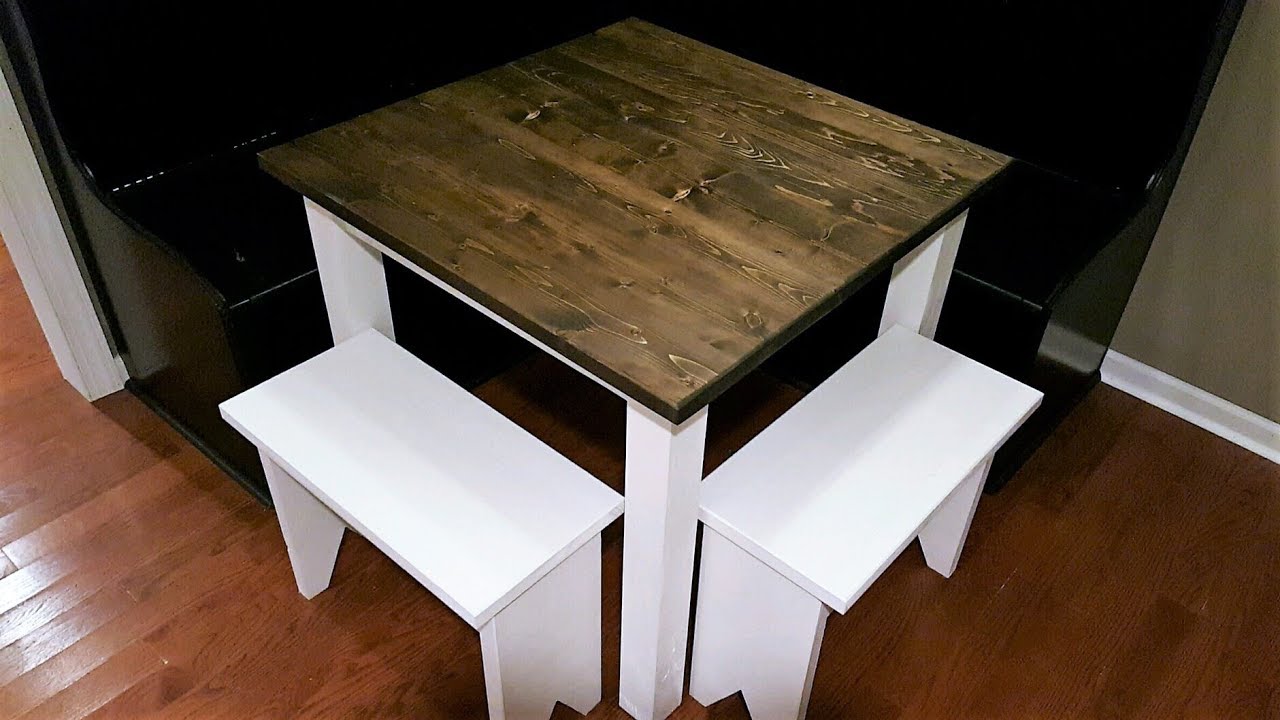
What are some space-saving design ideas for a small kitchen table?
For very small kitchens, consider a wall-mounted drop-leaf table that can be folded down and out of the way when not in use. Another space-saving idea is a narrow, counter-height table with stools that can be tucked underneath. A round table can also be more space-efficient than a rectangular one in tight corners, as it allows for easier movement around it. I always think about how the table will be used and how to minimize its footprint when it’s not needed.
What type of finish is best for a kitchen table that will see daily use?
For a kitchen table that will be used daily and exposed to spills and moisture, a durable and water-resistant finish is essential. Polyurethane is a popular choice for its hard, protective layer that is easy to clean. Another good option is a catalyzed varnish, which offers excellent durability and resistance to chemicals. I recommend applying several coats of your chosen finish and allowing it to cure fully to ensure maximum protection. For a more natural look, you can use a penetrating oil followed by a protective topcoat.

How can I add storage to a small kitchen table design?
Incorporating storage into a small kitchen table can greatly enhance its functionality. You can design the table with drawers built into the apron or underneath the tabletop. Another idea is to include open shelving below the tabletop, which can be used to store cookbooks, placemats, or other kitchen essentials. For a pedestal table, you could even design a cabinet into the base. Thinking about storage solutions during the design phase can help you maximize the utility of your small kitchen table.
What tools will I need to build a small kitchen table?
The tools you’ll need will depend on the complexity of your design, but some basics include a saw (hand saw, circular saw, or miter saw), a drill with various bits, a sander with different grits of sandpaper, measuring tape, a square, clamps, wood glue, and safety glasses. If you plan on using more advanced joinery techniques or adding decorative elements, you might also need tools like a router, a chisel set, or a planer. I always recommend gathering all the necessary tools before starting the project to ensure a smooth and efficient building process.
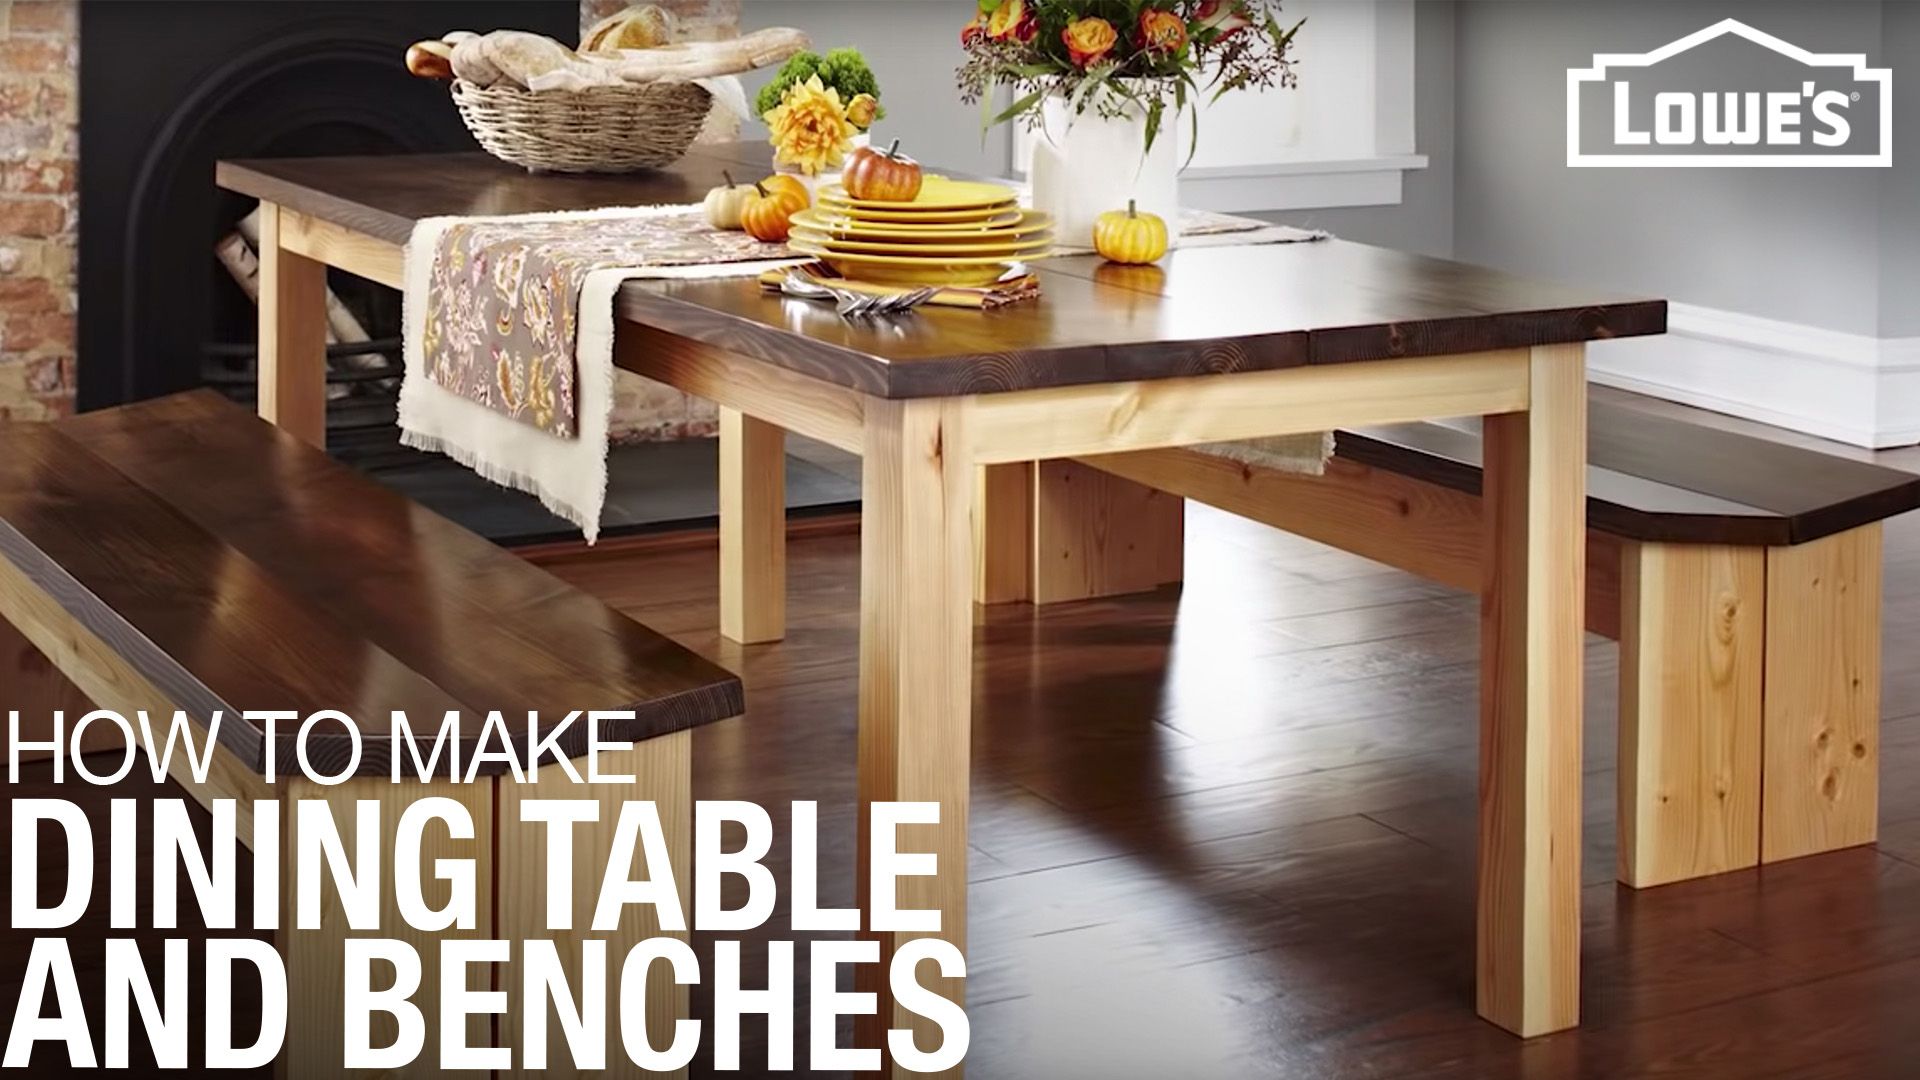
How to Make a DIY Dining Table Set
DIY Any of These 15 Small Dining Room Tables For Your Home
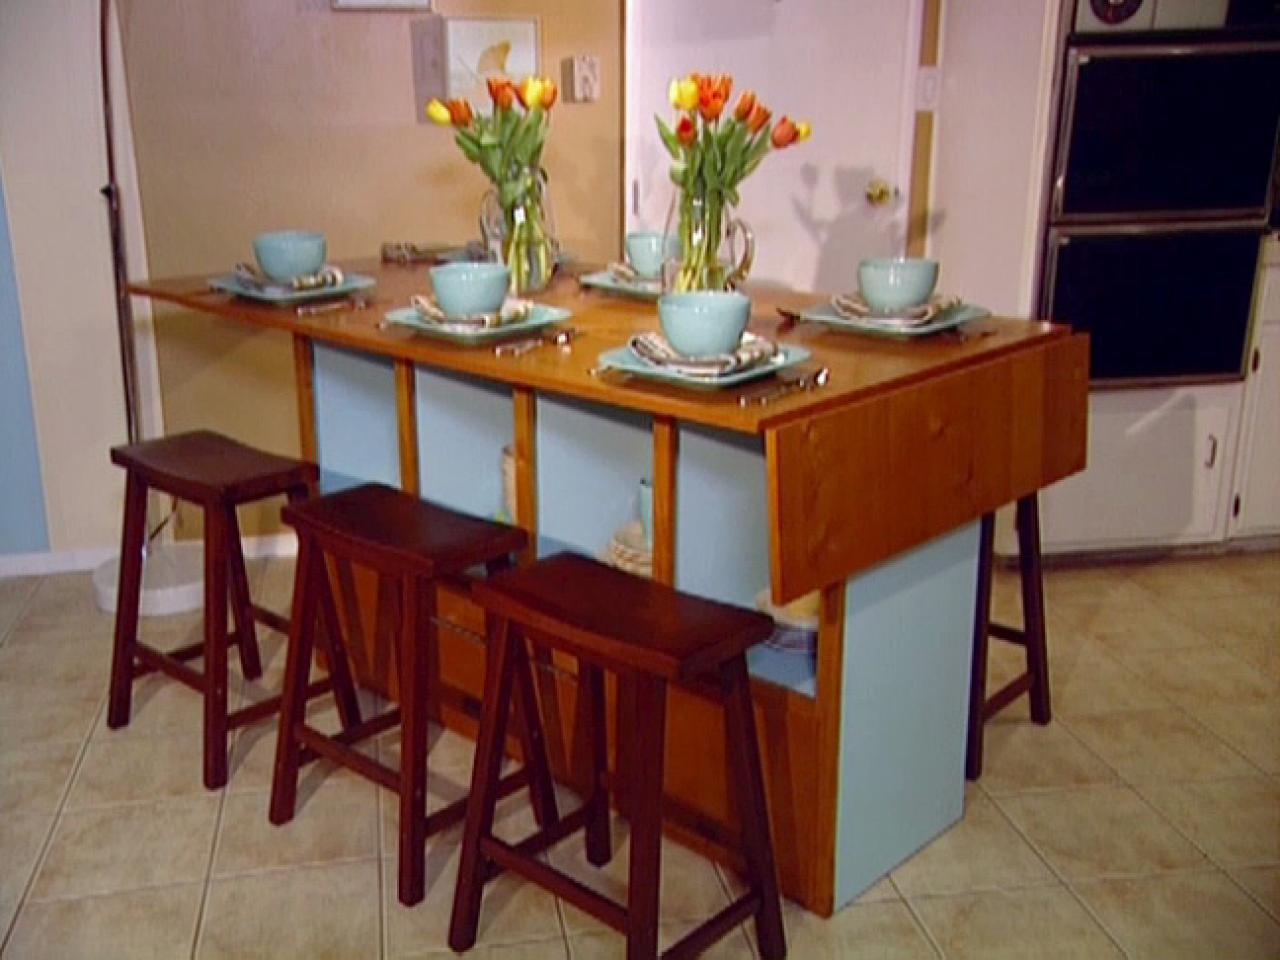
Build a Bar-Height Dining Table
Related Posts: