When I decided to renovate my outdated 1990s kitchen, I knew I wanted to capture that cozy farmhouse feeling that makes you want to linger over morning coffee and family dinners. After months of Pinterest scrolling and visiting countless tile showrooms, I realized that choosing the right floor tile would be the foundation of my entire design. The process taught me so much about balancing authenticity with practicality, and I made plenty of mistakes along the way. From selecting materials that could handle daily family life to finding the perfect color palette, my farmhouse tile adventure was both challenging and incredibly rewarding. Let me share what I learned about creating that perfect country kitchen floor.
Choosing Between Ceramic, Porcelain, and Natural Stone
My first major decision involved understanding the fundamental differences between tile materials and how each would work in my busy family kitchen. Ceramic tiles initially caught my attention because of their affordability and wide variety of farmhouse-appropriate patterns. However, I quickly learned that ceramic can be more porous and prone to staining, which worried me given my kids’ tendency to spill everything from grape juice to spaghetti sauce.
Porcelain tiles became my middle-ground option after extensive research and conversations with tile professionals. These tiles offer superior durability and water resistance while still providing the authentic look I craved. I found porcelain options that perfectly mimicked vintage cement tiles, weathered wood planks, and even natural stone textures. The technology has advanced so much that many porcelain tiles are virtually indistinguishable from their natural counterparts.
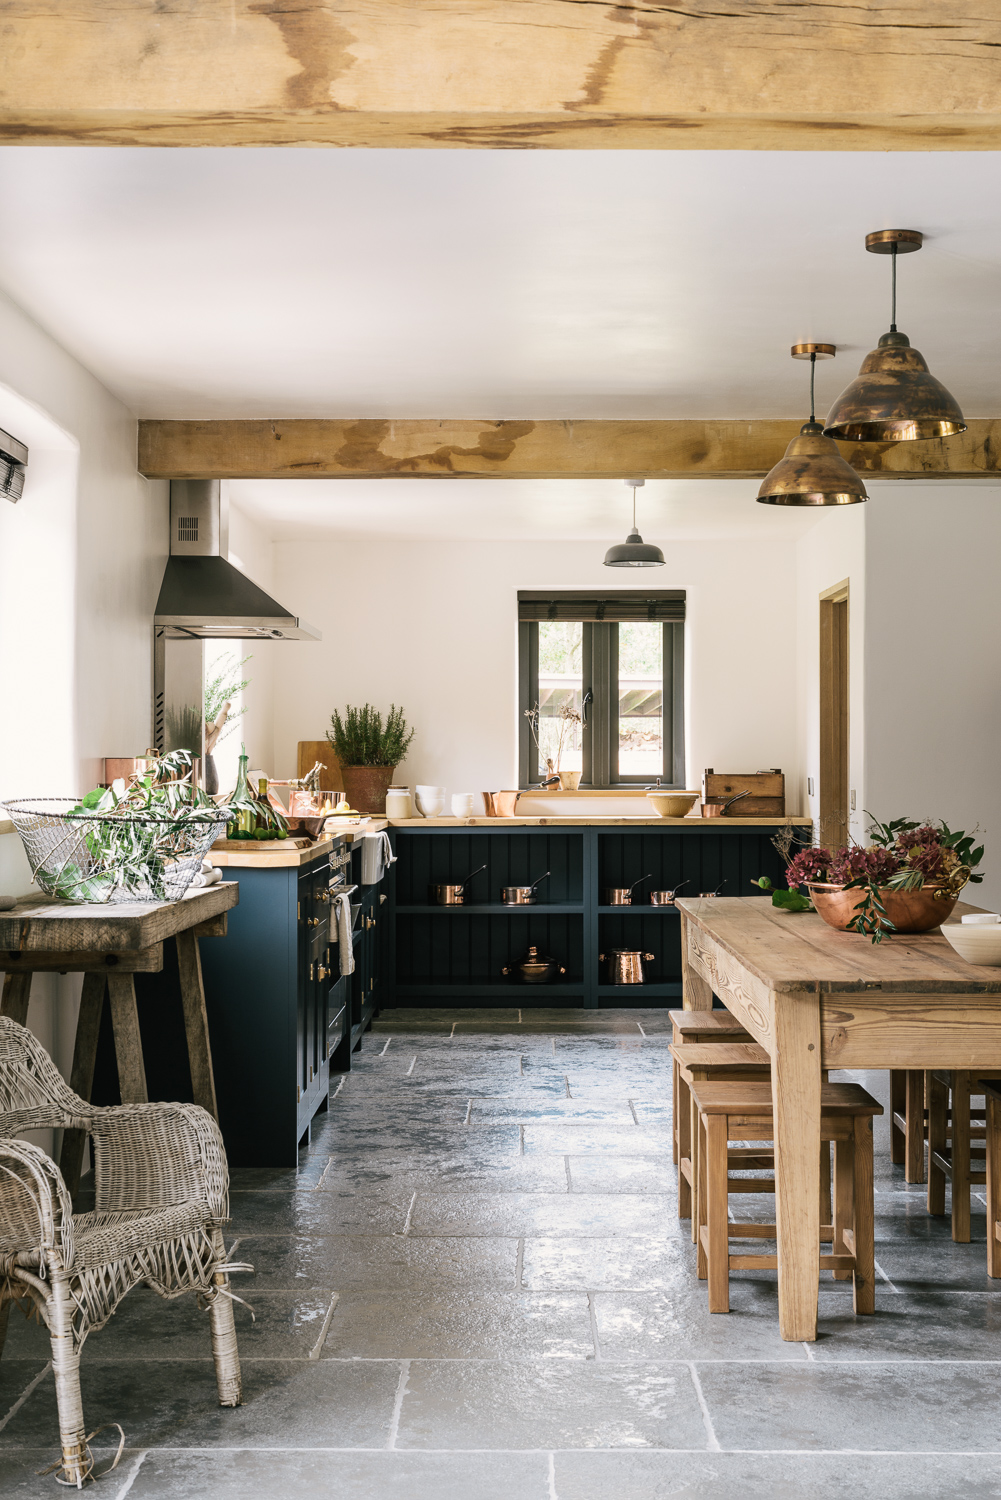
Natural stone tiles represented the ultimate in authenticity, and I spent weeks falling in love with limestone, travertine, and slate options. The unique variations in color and texture that come only from nature were absolutely stunning. However, the maintenance requirements and higher costs made me pause. After living with stone countertops for years, I understood the commitment involved in keeping natural materials looking their best in a high-traffic kitchen environment.
Exploring Classic Farmhouse Patterns and Layouts
Pattern selection became an obsession as I discovered the incredible variety of layouts that could completely transform my kitchen’s character. Subway tiles arranged in traditional running bond patterns offered timeless appeal, but I found that switching to herringbone or vertical stack patterns created much more visual interest while maintaining that classic farmhouse feel. The 3×6 subway size worked perfectly for my space proportions.
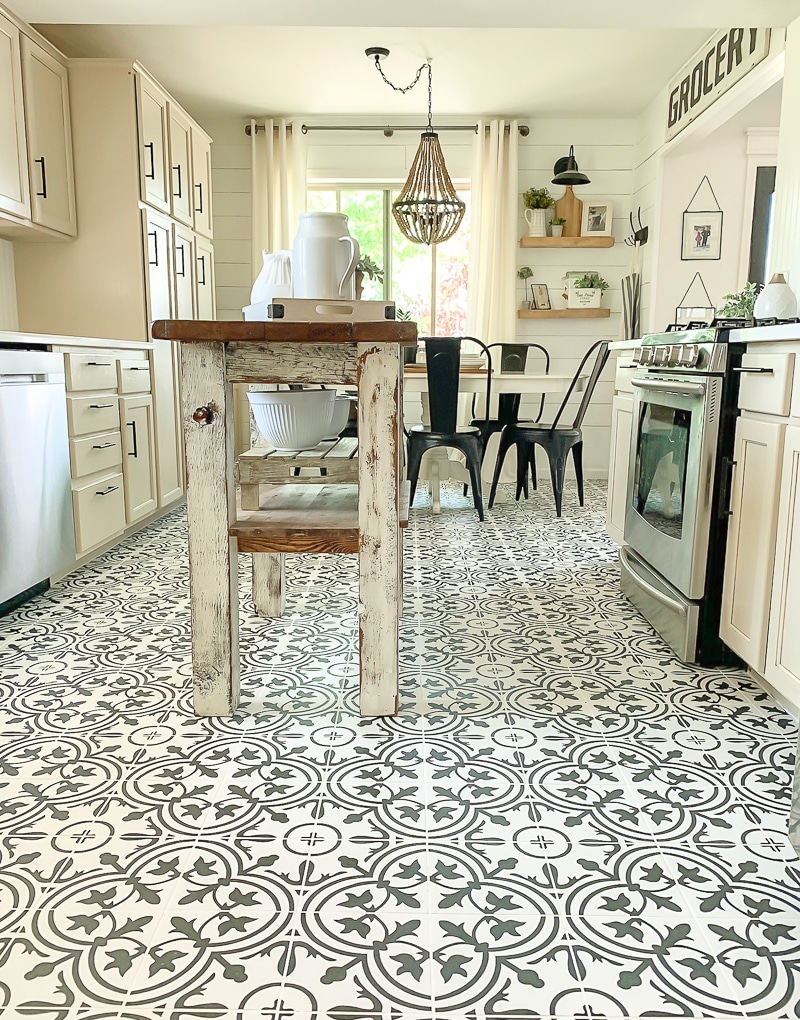
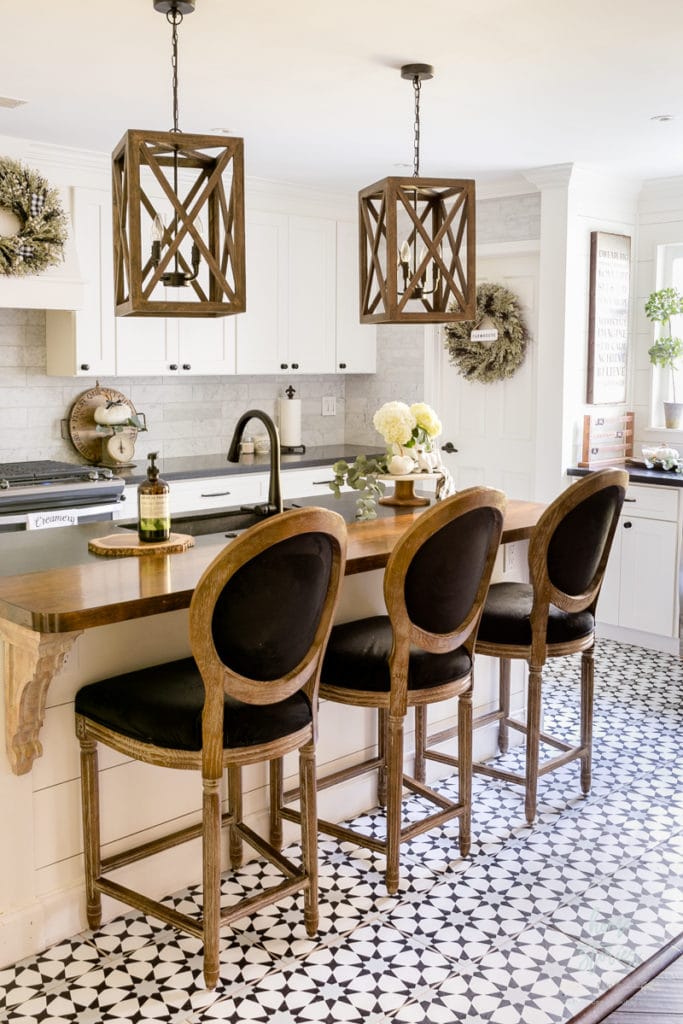
Hexagon tiles opened up a completely different aesthetic direction that I hadn’t initially considered. The vintage penny tile look, especially in larger 4-inch hexagons, created beautiful geometric interest while still feeling authentically farmhouse. I loved how hexagon patterns drew the eye across the floor and made my galley kitchen feel wider. The grout lines created natural pathways that helped define different functional areas within the space.
Checkerboard patterns represented the boldest option I considered, and after creating mockups with painter’s tape, I realized this classic farmhouse look could work beautifully in the right space. The key was choosing colors with enough contrast to define the pattern without being overwhelming. I found that cream and sage green created a sophisticated checkerboard that felt fresh and timeless rather than busy or dated.
Selecting Authentic Farmhouse Colors and Finishes
Color selection proved more complex than I anticipated, as I needed to balance authentic farmhouse aesthetics with colors that would hide the inevitable dirt and wear from daily family life. Crisp whites and creams initially appealed to me for their clean, fresh appearance, but I worried about maintenance in a household with three kids and two dogs. Light grays became my compromise, offering farmhouse charm while being more forgiving of everyday messes.
Matte finishes captured the authentic look I wanted much better than glossy options, which felt too modern and showed every footprint and water spot. The slightly textured surface of matte tiles provided better slip resistance, which became a crucial safety consideration around my kitchen island and sink areas. I found that matte finishes also helped hide minor imperfections and created a more relaxed, lived-in feeling.
Distressed and weathered finishes opened up exciting possibilities for achieving that authentic vintage farmhouse look. I discovered tiles with deliberately uneven edges, varied color tones within individual pieces, and subtle texture variations that mimicked decades of natural wear. These characteristics made the floor look like it had been part of the house for generations rather than freshly installed during a modern renovation.

Understanding Size Options and Their Visual Impact
Tile size dramatically affected how my kitchen felt spatially, and I spent considerable time with cardboard templates to understand these effects before making final decisions. Large format tiles, 12×24 inches and bigger, made my modest kitchen feel more spacious by reducing grout lines and creating cleaner sight lines. However, I worried that oversized tiles might feel too contemporary for my desired farmhouse aesthetic.
Medium-sized tiles in the 6×6 to 8×8 range struck the perfect balance for my space, providing authentic farmhouse proportions while still feeling current. These sizes worked beautifully with both traditional square layouts and more creative patterns like diagonal or offset arrangements. I found that 6×6 tiles felt particularly authentic when I chose options with slightly irregular edges and varied surface textures.
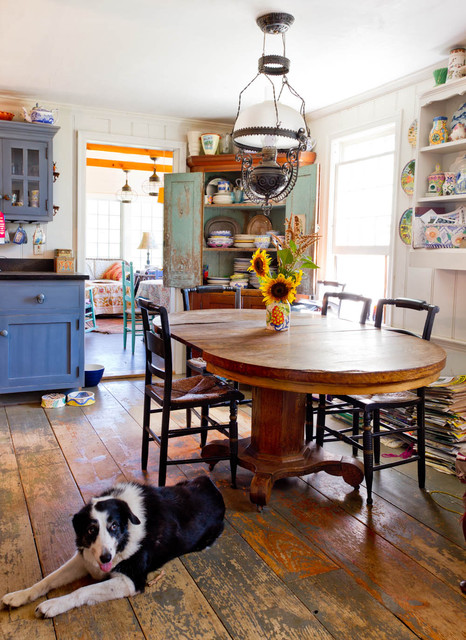
Small tiles created the most authentic vintage farmhouse feeling, especially when I looked at 2×2 and 3×3 options reminiscent of original farmhouse construction. However, the increased grout lines meant more maintenance, and I had to carefully consider whether the authentic look was worth the extra cleaning effort. Mosaic patterns using small tiles allowed me to create custom designs that felt truly unique and personal.

Installation Considerations and DIY Possibilities
The installation process taught me valuable lessons about preparation, patience, and knowing when to call professionals. I initially planned to tackle the entire project myself, but after researching subfloor requirements and proper waterproofing techniques, I realized that professional preparation would be worth the investment. Proper subflooring and moisture barriers proved essential for long-term success, especially around sink and dishwasher areas.
Layout planning became crucial for achieving professional-looking results, and I spent hours with chalk lines and tile spacers mapping out my preferred pattern. Starting from the center of the room and working outward helped ensure balanced borders and eliminated awkward, small cuts in highly visible areas. I learned that taking time for careful measurement and planning prevented costly mistakes and material waste.
Grout selection and application required more attention than I initially realized. The grout color dramatically affected the overall appearance, with darker grouts hiding stains better but potentially overwhelming lighter tiles. I chose a medium gray grout that complemented my tile color while providing enough contrast to define the pattern. Proper sealing became essential for maintaining the grout’s appearance over time.
Maintenance and Long-Term Durability
Living with my farmhouse floor tiles for two years now has taught me practical lessons about daily maintenance and long-term care that I wish I’d understood before installation. Regular sweeping and mopping with appropriate cleaners keeps the tiles looking fresh, but I learned that different materials require specific cleaning products to avoid damage or dulling of finishes.
Grout maintenance became my biggest ongoing challenge, despite choosing a quality grout and properly sealing it during installation. High-traffic areas around the sink and stove showed wear more quickly, and I developed a routine of deep cleaning and resealing grout lines every six months. This preventive maintenance has kept my grout looking nearly new and prevented staining from cooking spills.
Durability has exceeded my expectations, even with heavy daily use from cooking, kids’ activities, and pet traffic. The porcelain tiles I ultimately chose have shown no signs of wear or damage despite dropped pots, chair scraping, and countless family gatherings. The investment in quality materials and professional installation has paid dividends in both appearance and performance over time.
How do farmhouse tiles hold up to heavy kitchen use and spills?
My experience has been excellent with porcelain farmhouse tiles. They handle dropped pots, spilled wine, and daily foot traffic beautifully. I clean spills immediately and mop weekly with mild detergent. The matte finish hides minor scratches, and after two years of family use, they still look nearly new with proper care.
Should I choose light or dark grout for my farmhouse kitchen floor?
I went with medium gray grout and love the choice. It complements my cream tiles while hiding everyday dirt better than white grout would. Dark grout can look dramatic, but might overpower lighter tiles. Consider your tile color, cleaning habits, and desired contrast level when deciding.

Can I install farmhouse floor tiles myself or should I hire professionals?
I hired pros for subfloor prep and layout, but did some of the actual tiling myself. For kitchens, proper waterproofing around sinks and dishwashers is crucial. If you’re handy and have time, DIY can save money, but don’t skip professional consultation for preparation and complex areas.
What’s the best farmhouse tile size for a small kitchen?
Medium sizes like 6×6 or 6×12 work beautifully in smaller kitchens. They feel authentically farmhouse without overwhelming the space like tiny mosaics might. Large tiles can make small kitchens feel bigger, but choose patterns and colors that maintain farmhouse character. I used 8×8 tiles and they’re perfect.

How much should I budget for farmhouse kitchen floor tiles?
Plan $8-15 per square foot for quality porcelain farmhouse tiles, plus installation costs of $5-10 per square foot. Natural stone costs more but requires ongoing maintenance. Don’t forget underlayment, grout, trim pieces, and sealer in your budget. I spent about $2,000 total for my 200-square-foot kitchen.
Do matte finish farmhouse tiles show dirt and footprints easily?
Actually, matte finishes hide dirt and footprints much better than glossy tiles. The textured surface disguises minor soil and doesn’t show water spots like polished tiles do. I sweep daily and mop weekly, and my matte tiles always look clean. They’re perfect for busy family kitchens where perfect cleanliness isn’t always possible.

Small Kitchen Remodel Reveal! – The Inspired Room

Gorgeous Modern Farmhouse and Cottage Kitchen Tile Ideas
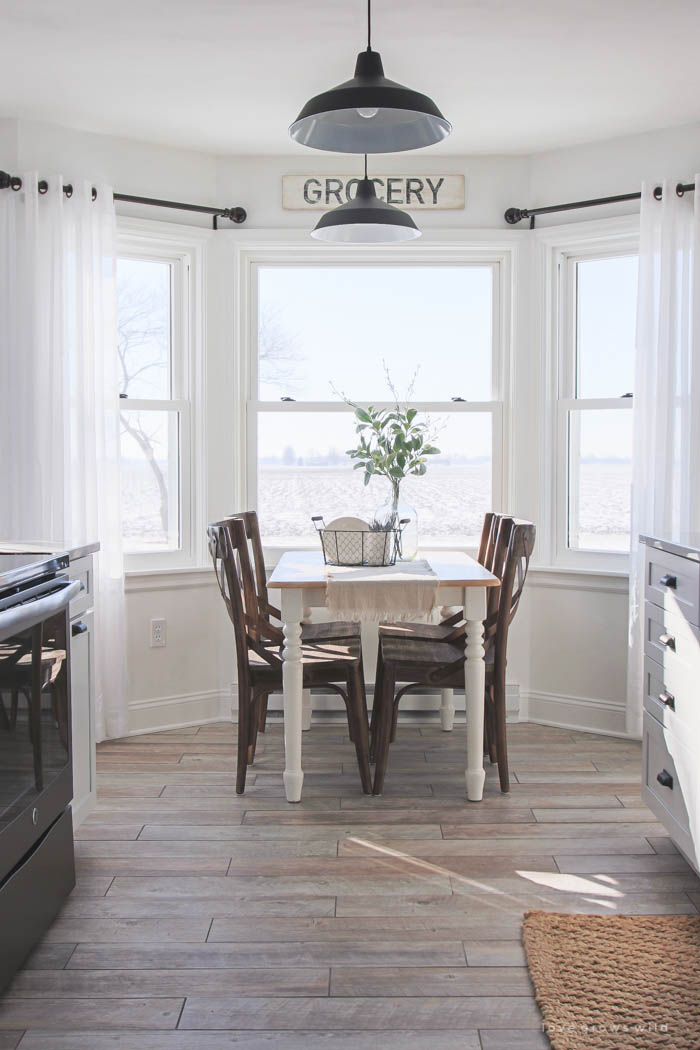
Kitchen Makeover – Flooring – Love Grows Wild
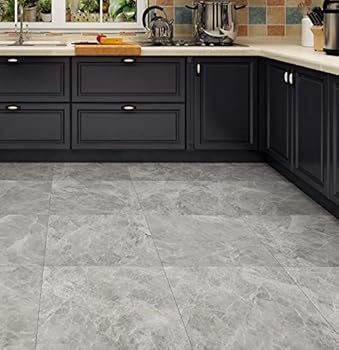
Concrete Grey Peel and Stick Floor Tile 12X12 Inch 16 Pack Vinyl Flooring Peel and Stick Waterproof Self Adhesive Floor Tiles for Bathroom
Classic Neutral Kitchen

Related Posts: