A stone backsplash can transform your kitchen into a stunning, organic-inspired space that combines durability with timeless appeal. I’ve installed countless stone backsplashes, and they consistently elevate kitchens by adding texture, depth, and natural elegance. From sleek marble to rugged slate, each stone variety brings unique character while protecting your walls from splatters and stains. Whether you prefer a full-height statement wall or subtle accents, stone creates a focal point that works with both traditional and contemporary designs. Let’s explore how to incorporate this beautiful element into your kitchen.
Choosing the Right Stone for Your Backsplash
Marble remains a classic choice for its elegant veining and luminous quality. I often recommend Carrara or Calacatta marble for their soft gray veins on white backgrounds. While marble requires regular sealing, its timeless beauty justifies the maintenance. For busy kitchens, I suggest quartzite – it offers similar aesthetics with greater durability and stain resistance. Honed finishes hide wear better than polished surfaces in high-use areas.
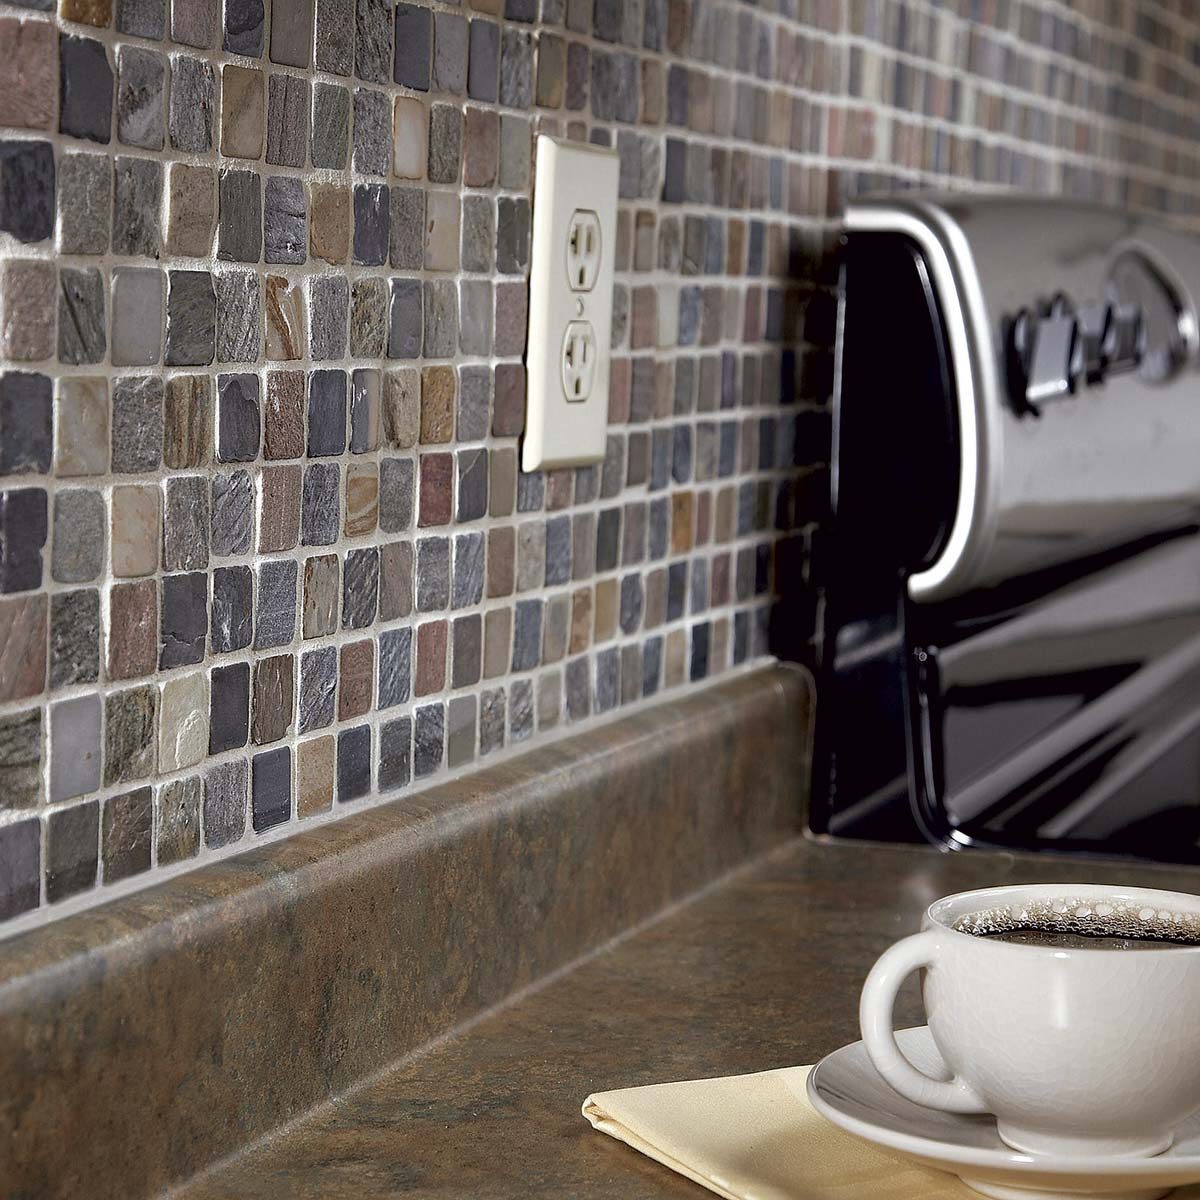
Natural slate brings rustic charm with its textured surface and earthy tones. I love using cleft-cut slate for its dimensional quality that catches light beautifully. Slate’s natural cleft surface resists showing water spots, making it ideal behind sinks. For contemporary spaces, I specify large-format limestone tiles with minimal grout lines. Their subtle variation adds interest without overwhelming the design.
Consider maintenance before selecting stone. Porous materials like travertine need frequent sealing, while granite resists stains more naturally. I always discuss lifestyle with clients – families with young children may prefer lower-maintenance options. Sample different stones in your actual kitchen lighting, as colors shift dramatically under various conditions.
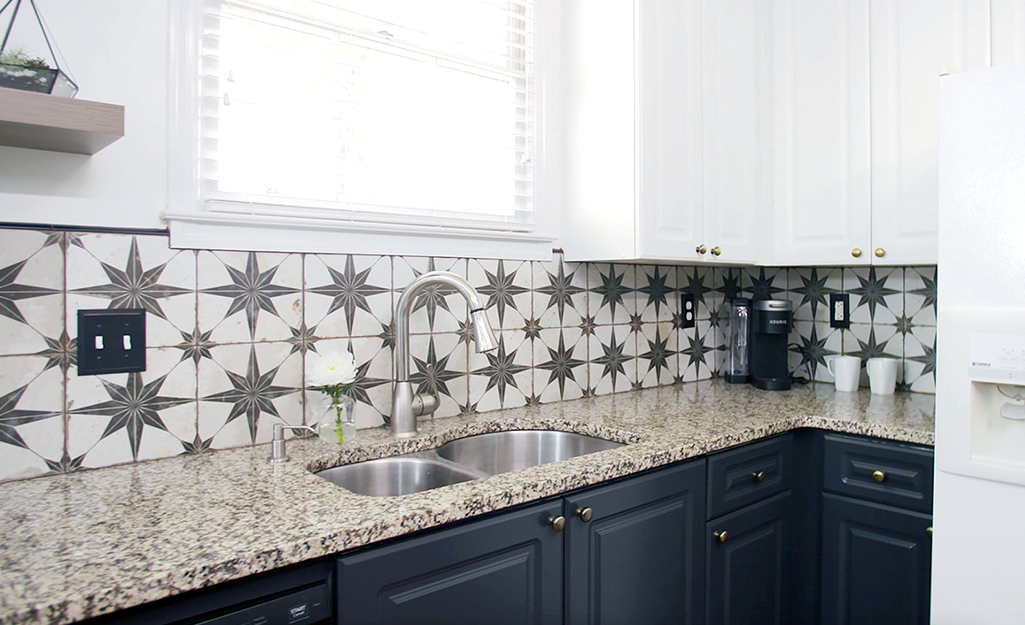
Design Approaches for Stone Backsplashes
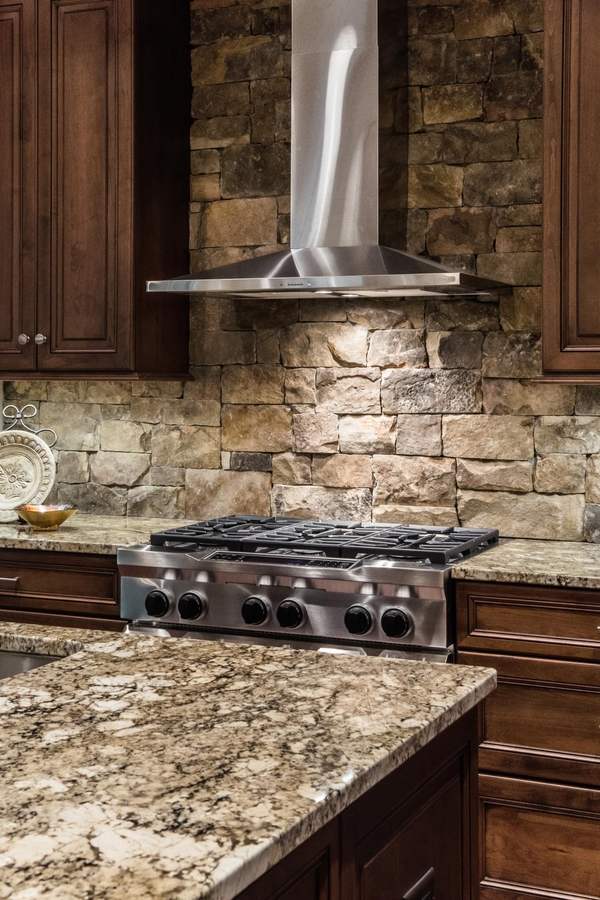
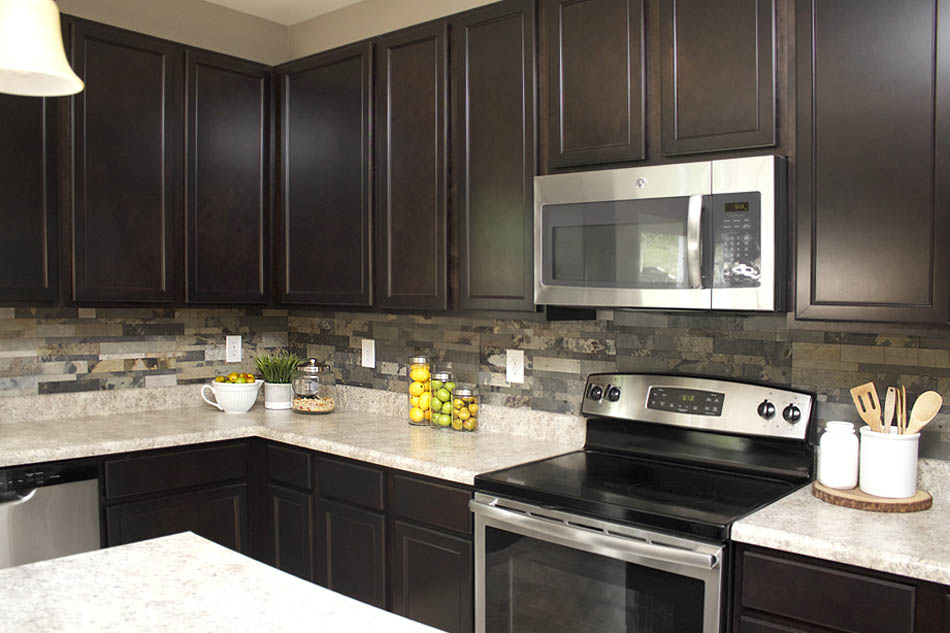
Full-height stone backsplashes create dramatic focal points. I often extend stone to the ceiling behind ranges, using the same material as countertops for continuity. This approach works particularly well with waterfall edges on islands. For a lighter look, I installed stone just between the upper and lower cabinets, pairing it with painted drywall above.
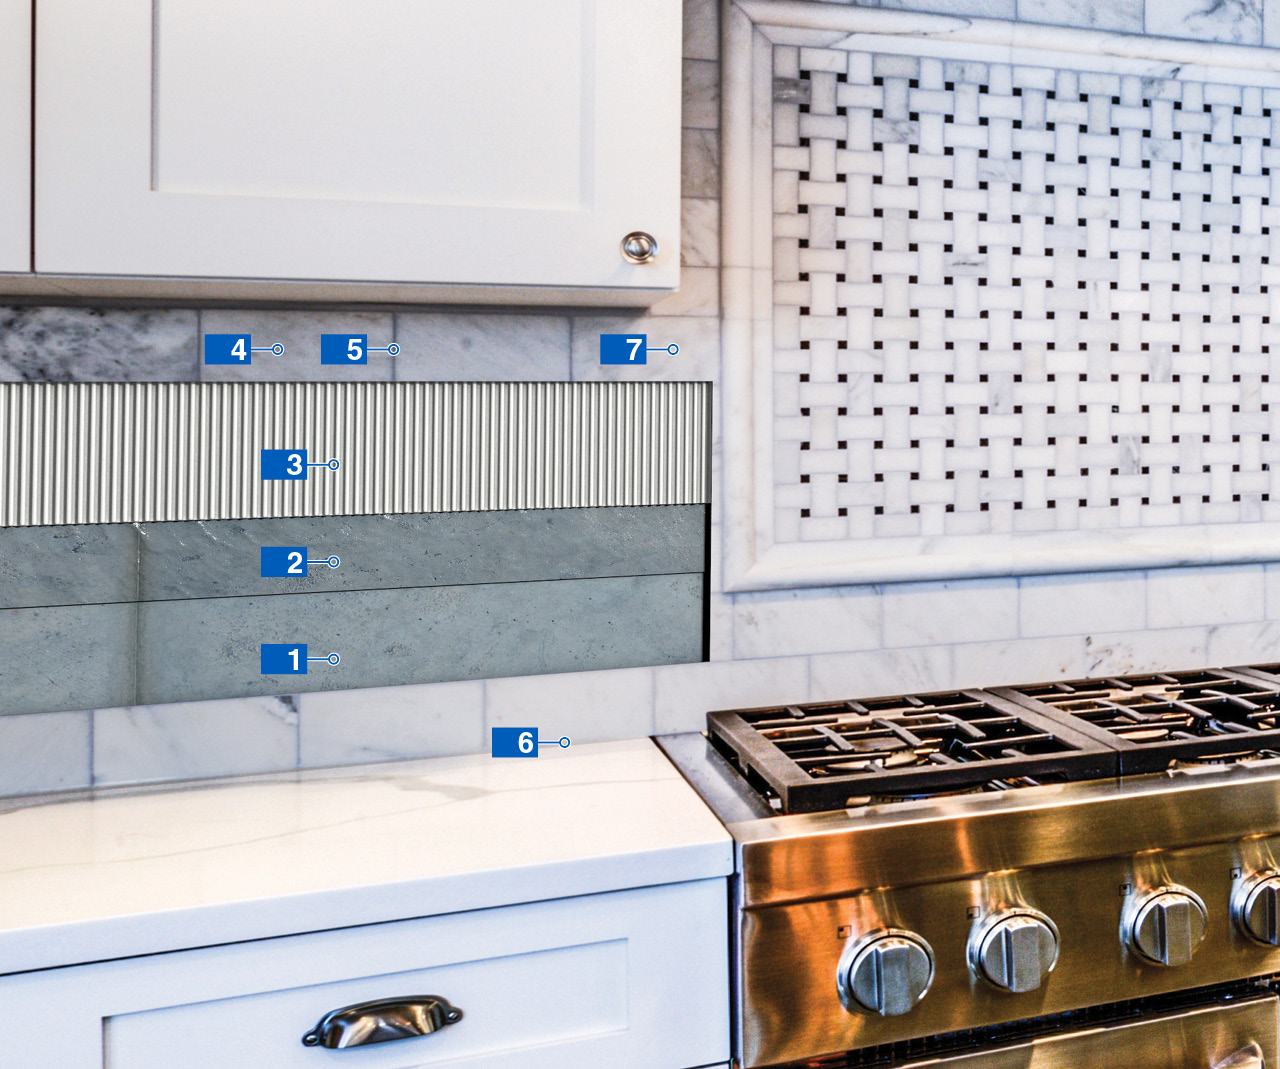
Mixed-material designs add depth and personality. I frequently combine stone with other elements – a stone slab behind the range paired with subway tile elsewhere. Another favorite technique uses stone as a framed “rug” pattern within a larger tiled area. For modern kitchens, I install thin stone slabs with barely visible seams for a sleek, monolithic appearance.
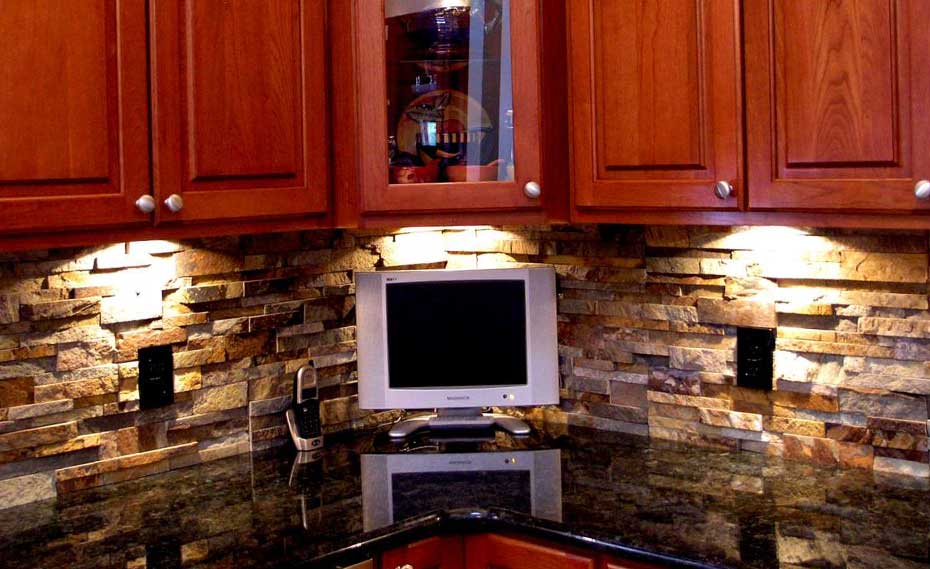
Consider scale and pattern carefully. Small kitchens benefit from larger stone pieces that don’t visually chop up the space. I use book-matched stone slabs to create symmetrical veining patterns behind cooktops. For rustic designs, irregular stone mosaics or stacked ledger panels add organic texture. Always lay out the stone before installation to balance color variations.
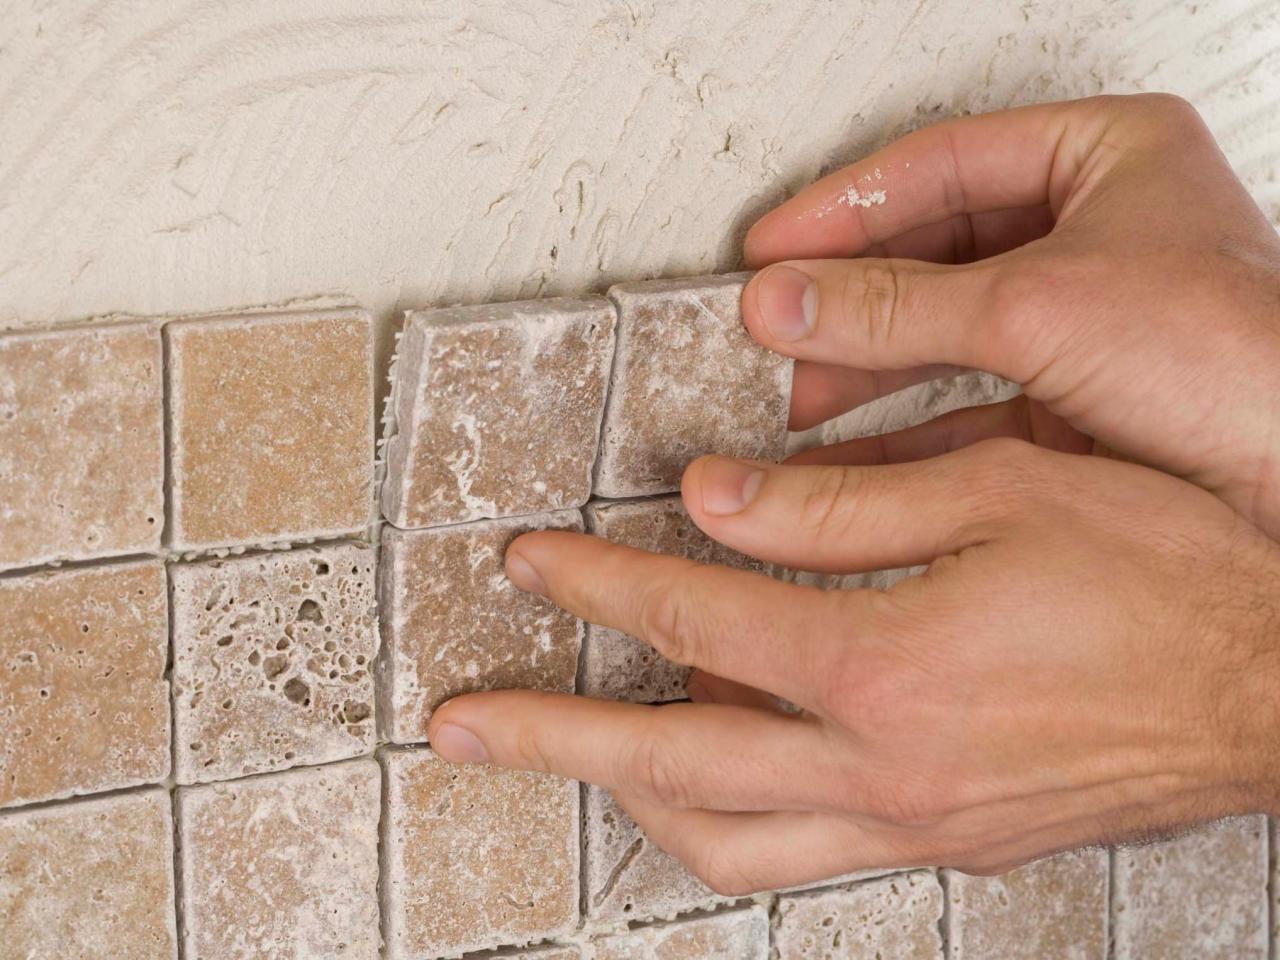
Installation Considerations for Stone Backsplashes
Proper substrate preparation ensures long-lasting results. I reinforce walls with cement backer board before installing heavy stone tiles. For slab backsplashes, the wall must be perfectly flat – any imperfections telegraph through the thin stone. I often skim-coat walls with leveling compound before slab installation.
Grout selection dramatically affects the final look. I prefer unsanded grout for smooth stone tiles with tight joints. Epoxy grout offers superior stain resistance in high-splash zones. For natural cleft stones like slate, I use wider joints filled with color-matched sanded grout. The grout color should complement rather than match the stone – slightly darker tones ground the design.
Edge details complete the installation. I specify bullnose, pencil, or metal trim pieces for tiled stone backsplashes. Slab installations need carefully mitered edges or complementary edge profiles. Always protect adjacent surfaces during installation – stone cutting generates considerable dust. Professional installers ensure precise cuts and proper sealing.

Pairing Stone Backsplashes with Other Elements
Countertop coordination creates harmony. Using the same stone for backsplash and countertop delivers seamless elegance. For contrast, I pair light stone backsplashes with dark counters or vice versa. Butcher block counters complement stone beautifully, adding warmth to the composition. Just ensure proper sealing where materials meet.
Cabinet colors should enhance the stone’s natural tones. White cabinets keep the focus on dramatic stone veining, while gray cabinets harmonize with cooler stone varieties. I often pull a subtle color from the stone’s patterning for cabinet finishes. Open shelving in natural wood breaks up stone expanses while displaying attractive dishware.
Hardware and fixtures should complement the stone’s character. Brushed brass hardware warms up cool marble, while iron finishes enhance slate’s rustic vibe. I look to the stone’s undertones when selecting metal finishes – some marbles have veining that pairs beautifully with polished nickel. Consistent metal finishes throughout the space create cohesion.

Maintaining Your Stone Backsplash
Regular cleaning preserves the stone’s beauty. I recommend pH-neutral stone cleaners and soft cloths – no abrasive pads or harsh chemicals. Immediately wipe up acidic spills like citrus or vinegar to prevent etching. For daily maintenance, a quick wipe with warm water keeps most stones looking fresh.
Sealing requirements vary by stone type. I seal porous stones like marble and travertine every 6-12 months with impregnating sealers. Less porous granite may need sealing only every few years. Always test sealers in inconspicuous areas first. Some stones like quartzite require minimal sealing, making them ideal for low-maintenance homes.
Address stains and etching promptly. Poultices can lift oil-based stains from porous stones. For etching on calcareous stones, I use specially formulated polishing compounds. Severe damage may require professional refinishing. With proper care, stone backsplashes maintain their beauty for decades, developing a desirable patina over time.
Budget-Friendly Stone Backsplash Options
Stone veneers offer affordable alternatives to full slabs. These thin stone panels provide an authentic look at a lower cost and weight. I often use them in rental properties or temporary installations. Manufactured stone veneers replicate natural stone convincingly while being easier to install.
Tile formats make stone accessible. Stone mosaic sheets create high-impact designs with minimal material cost. I mix expensive stone accents with more affordable field tiles for budget-conscious projects. Larger stone-look porcelain tiles offer durability without the natural stone’s maintenance.
Strategic placement maximizes impact while minimizing cost. I frequently use stone just behind key areas like the range or sink, complemented with less expensive materials elsewhere. A stone “rug” design framed by simpler tiles creates focus without breaking the bank. Salvaged stone pieces can be repurposed into unique backsplash designs.
How do I protect my stone backsplash behind the stove?
I recommend using a larger stone slab or tile behind the cooking area for easier cleaning. Apply a heat-resistant sealant for extra protection. Install a properly sized range hood that captures grease before it reaches the stone. For daily care, wipe splatters immediately with a damp cloth. Avoid abrasive cleaners that can damage the stone’s surface. Consider using a matching stone slab rather than tiles in this area to minimize grout lines where grease can accumulate.
Can stone backsplashes be installed over existing tile?
Yes, but with proper preparation. The existing tile must be firmly adhered, clean, and roughened for bonding. I apply a layer of cement backer board or use a premium thin-set mortar designed for overlay installations. Stone veneer panels work particularly well for this application. However, adding thickness may cause issues with outlet boxes and cabinet clearances, so assess these factors first. In most cases, removing old tile yields better long-term results.
Are stone backsplashes suitable for small kitchens?
Absolutely, when designed thoughtfully. I use larger-format stone tiles or slabs to prevent visual clutter in small spaces. Light-colored stones like white marble reflect light and make kitchens appear larger. For galley kitchens, I often run the same stone from counter to ceiling to create a sense of height. Just avoid busy patterns that can overwhelm the space. Mirroring stone on opposite walls can enhance the feeling of spaciousness.
How do I choose grout color for my stone backsplash?
I typically select grout one shade darker than the stone’s predominant color for definition. For a seamless look, match the grout to the stone’s lightest tone. With highly varied stones, I mix small grout samples to find the perfect neutral bridge. Epoxy grout offers color consistency and stain resistance. Always test grout colors on actual stone samples, as dried grout appears lighter than in the bag. For natural cleft stones, I prefer sanded grout that fills uneven surfaces completely.
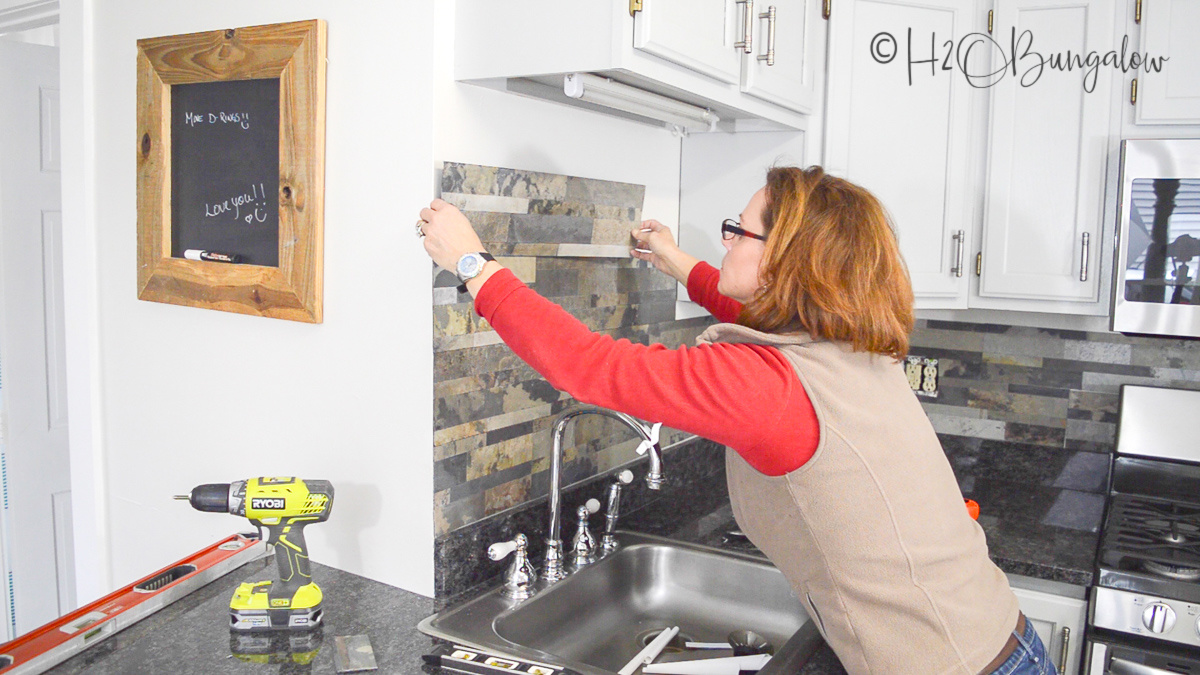
Can I install a stone backsplash myself?
Tile-form stone backsplashes are DIY-friendly with proper tools and preparation. I recommend starting with smaller stone mosaics or standard tiles. Slab installations require professional expertise due to precise cutting and handling needs. Always seal stone before grouting to prevent staining. Use quality thin-set mortar and follow manufacturer instructions carefully. For complex patterns or valuable stone, hiring a professional ensures proper installation and minimizes costly mistakes.
How does natural stone compare to porcelain stone-look backsplashes?
Natural stone offers unique variations and depth that manufactured products can’t fully replicate. However, porcelain tiles provide greater consistency, durability, and lower maintenance. I specify porcelain for high-traffic kitchens or budget-conscious projects. Natural stone develops a patina over time that adds character, while porcelain maintains its new appearance. Weight is another consideration – large stone slabs may require additional wall reinforcement that porcelain avoids. Both options can create beautiful backsplashes when selected appropriately for the space.
How to Install a Tile Backsplash
How To Install Peel and Stick Tile Backsplash
Natural Stacked Stone Backsplash Tiles For Kitchens and Bathrooms
The Backsplash Company St. Louis Wall Tile & Backsplash Installers

Related Posts:
- French Kitchen Backsplash Ideas
- Cottage Kitchen Backsplash
- Country Kitchen Backsplash
- Retro Kitchen Backsplash
- Rustic Wood Kitchen Backsplash
- Vintage Kitchen Backsplash Ideas
- Modern Farmhouse Kitchen Backsplash
- Mid Century Modern Kitchen Backsplash Tile
- Turquoise Kitchen Backsplash Tile
- Mediterranean Tile Kitchen Backsplash