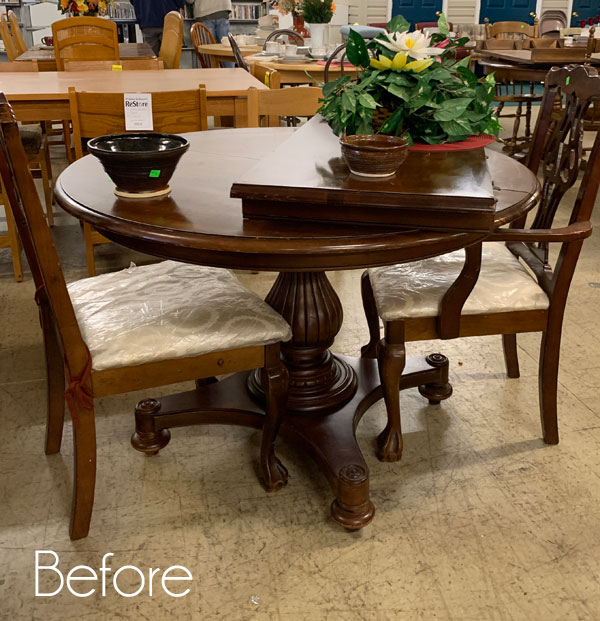
When I inherited my grandmother’s solid oak kitchen table two years ago, I was thrilled to have such a beautiful, sturdy piece of furniture, but absolutely horrified by the dark, scratched, and water-stained finish that had accumulated over decades of family meals and homework sessions. After spending weeks researching refinishing options and getting quotes from professionals that made my wallet weep, I decided to tackle painting the table myself, armed with YouTube tutorials, boundless optimism, and a determination to transform this beloved family heirloom into something that would work with my modern farmhouse aesthetic.
What I thought would be a simple weekend project turned into a month-long learning experience filled with mistakes, do-overs, and valuable lessons about preparation, patience, and the difference between cheap and quality materials. The final result exceeded my expectations and gave me confidence to tackle other furniture projects, but the journey taught me that successful furniture painting requires much more planning and technique than I initially realized.
Assessing Your Table’s Condition and Preparation Needs
The first step in my table painting adventure involved honestly evaluating the existing finish and underlying wood condition, which required more detective work than I anticipated when I initially thought I could just slap some paint over the old surface. I discovered that my table had multiple layers of different finishes applied over the years, from the original varnish to a polyurethane coating that someone had added in the 1990s, plus countless scratches, dents, and water rings that told the story of decades of family life.
Using a heat gun and scraper, I tested different areas to understand how each layer would react to paint and whether I needed complete stripping or could get away with thorough sanding. This assessment phase took longer than expected, but proved crucial for planning the right approach and avoiding the common mistake of painting over incompatible surfaces that would lead to peeling and failure later.
I learned that surface preparation is critical for long-lasting results, even though it’s the most tedious and time-consuming part of the entire project, which made me question my DIY commitment more than once. My table required extensive sanding to remove the glossy polyurethane finish and create the slightly rough surface that paint needs for proper adhesion, starting with 80-grit sandpaper for the heavy work and progressing through 120-grit and 220-grit for smoothing.
The sanding process revealed the beautiful oak grain beneath years of dark stain, and I briefly considered leaving it natural before remembering my goal of creating a bright, fresh piece that would lighten my dining space. This phase taught me the importance of dust collection and proper ventilation, as oak dust seemed to coat every surface in my garage despite my attempts at containment.
The cleaning and repair phase proved just as important as sanding, requiring wood filler for deep scratches and gouges, followed by additional sanding to create a perfectly smooth surface ready for primer application. I spent hours with tack cloths and mineral spirits removing every trace of sanding dust, learning that any remaining particles would show through the paint as bumps and imperfections that would drive me crazy every time I looked at the finished table.
The thorough cleaning also revealed areas where previous repairs had been made with wood putty that didn’t match the surrounding oak, requiring additional touch-up work to ensure uniform paint coverage. This preparation phase consumed nearly 60% of my total project time but created the foundation for professional-looking results that have held up beautifully through two years of daily use.
Primer Selection and Application Mastery
Choosing the right primer turned out to be one of the most crucial decisions of my entire painting project, though I initially viewed it as just another step between me and the pretty paint color I was excited to apply. After consulting with several paint store professionals and reading countless online forums, I selected a high-quality bonding primer specifically designed for furniture and cabinets that would create superior adhesion between the oak surface and my chosen paint. The primer cost nearly as much as the paint itself, which initially shocked my budget-conscious sensibilities, but I learned that skimping on primer is one of the fastest ways to ruin an otherwise carefully executed painting project. This primer was formulated to grip onto difficult surfaces and provide a uniform base that would prevent bleed-through from the oak’s natural tannins.
The application technique for primer required more finesse than I expected from my experience painting walls, demanding thin, even coats applied with high-quality synthetic brushes that wouldn’t leave brush marks in the final finish. I learned to work in manageable sections, maintaining a wet edge to prevent lap marks and using long, smooth strokes that followed the wood grain direction whenever possible. The first coat revealed every imperfection in my surface preparation, from missed scratches to dust particles I thought I had removed completely, requiring additional touch-up sanding and cleaning before applying the second coat. This process taught me patience and the value of taking breaks to assess my work with fresh eyes rather than rushing through steps when fatigue and impatience threatened the quality of my results.
The curing time between primer coats tested my patience more than any other aspect of the project, as I wanted to rush ahead to the fun part of applying color while the primer needed full cure time for optimal performance. I learned that proper curing involves more than just surface dryness, requiring the primer to fully bond with the wood fibers and develop its maximum hardness and adhesion properties over 24-48 hours, depending on temperature and humidity conditions. This waiting period proved valuable for planning my paint application strategy and gathering the necessary tools and materials for the next phase. The properly primed surface felt silky smooth and provided the perfect foundation for achieving the professional-looking finish I was determined to create.
Paint Type Selection and Color Confidence
Selecting the right type of paint for a kitchen table that would endure daily use, spills, and cleaning required research into durability characteristics that went far beyond simply choosing a pretty color from the paint store display. I ultimately chose a high-quality acrylic enamel paint specifically formulated for furniture and trim work, prioritizing durability and cleanability over the lower cost of standard wall paints that wouldn’t withstand the demands of table use. The paint store professional explained the differences between various formulations, helping me understand why furniture paints cost more but provide superior hardness, stain resistance, and long-term performance. This education proved invaluable for making an informed decision that would protect my time investment and create lasting results rather than requiring touch-ups or complete repainting within a few years.
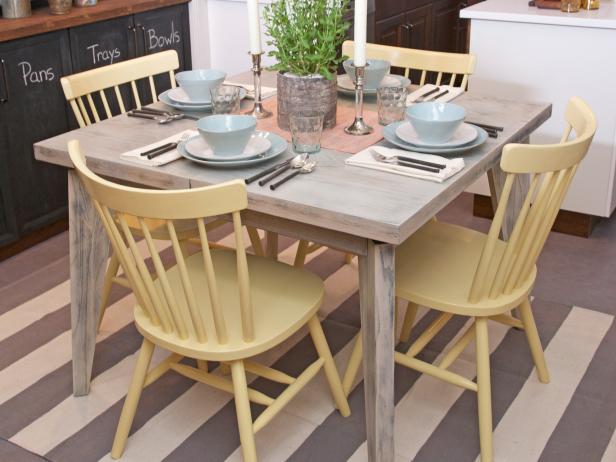
My color selection process involved testing multiple sample colors on hidden areas of the table and observing how they looked under different lighting conditions throughout the day, since kitchen lighting varies dramatically from morning sunlight to evening artificial illumination. I painted large sample patches rather than relying on tiny paint chips, learning that colors can look completely different on wood surfaces compared to paper samples, and that the primer and wood undertones influence the final appearance in subtle but important ways. The testing process took several days but saved me from committing to a color that I would have regretted once it covered the entire table surface. I ultimately chose a soft, creamy white that would brighten my dining space while showing less wear and water marks than stark white or darker colors.
The quality differences between premium and budget paint became apparent during application, with the higher-end paint flowing more smoothly, covering more evenly, and requiring fewer coats to achieve full opacity and rich color depth. The premium paint also had better working properties, staying wet longer for blending brush marks and self-leveling to reduce visible brush strokes that can make furniture painting look amateurish. I learned that the extra cost of quality paint pays dividends in easier application, better coverage, and superior final appearance that looks more professional and lasts longer. The investment in premium materials proved wise when friends began asking if I had hired professionals to paint the table, validating my decision to prioritize quality over initial cost savings.
Application Techniques for Professional Results
Mastering brush technique proved essential for achieving the smooth, streak-free finish I envisioned, requiring practice and patience to develop the muscle memory and consistency that create professional-looking results. I learned to load my brush properly with paint, removing excess on the rim of the can while retaining enough product for smooth, even coverage without drips or dry spots that would require excessive back-brushing. The key breakthrough came when I discovered the importance of maintaining consistent pressure and angle throughout each stroke, working systematically across the surface in manageable sections rather than jumping around randomly. My technique improved dramatically once I slowed down and focused on quality over speed, taking time to smooth out brush marks before the paint began to tack up.
The foam roller technique for achieving ultra-smooth surfaces revolutionized my painting approach after my initial brush-only attempts left visible texture that looked handmade rather than professionally finished. I learned to apply paint with a high-quality synthetic brush for cutting in edges and detailed areas, then immediately follow with a small foam roller to smooth out brush marks and create a uniform texture across larger surfaces. This combination approach required coordination and timing to maintain wet edges, but produced results that rivaled professional spray finishes without the complexity and equipment requirements of spray painting. The roller technique worked especially well on the table top, which demanded the smoothest possible finish for both appearance and functionality.
Managing working time and environmental conditions became crucial skills as I learned how temperature, humidity, and air circulation affect paint application and drying characteristics in ways that can make or break the final result. I discovered that painting in moderate temperatures with low humidity and gentle air circulation produces the best results, while extreme conditions can cause problems like brush marks that won’t level out, premature skinning, or extended drying times that increase dust contamination risk. The timing of coats required careful attention to manufacturer recommendations and actual surface conditions, as applying subsequent coats too early can cause lifting and wrinkling, while waiting too long can prevent proper adhesion between layers. These environmental considerations influenced my project scheduling and helped me understand why professional painters are so particular about working conditions.
Protective Topcoat Strategies for Durability
The decision to apply a protective topcoat over my carefully painted finish sparked considerable debate among my DIY friends and online forums, with opinions ranging from “essential” to “completely unnecessary” depending on paint type and intended use. After extensive research and consultation with paint professionals, I decided that a kitchen table subjected to daily meals, homework sessions, and general family chaos needed the extra protection that only a quality topcoat could provide. I chose a water-based polyurethane specifically formulated for use over paint, prioritizing durability and easy maintenance over the slight amber tint that oil-based products can impart to white paint. This decision proved wise as the topcoat has protected my paint from chips, scratches, and stains that would have required touch-ups or repainting without this protective layer.
The application of the topcoat required even more precision than the paint itself, as any imperfections in brush technique or dust contamination would be permanently sealed under the protective layer and impossible to correct without complete refinishing. I learned to work in dust-free conditions with high-quality brushes designed specifically for clear coats, using techniques that minimized bubble formation and brush marks while ensuring complete coverage without thin spots. The process demanded patience for proper curing between coats, as rushing this final step would compromise all the careful work that preceded it. I applied three thin coats rather than attempting to build thickness quickly, allowing each coat to cure completely before light sanding with fine-grit paper to ensure proper adhesion of subsequent layers.
The performance of my topcoat choice has exceeded expectations through two years of heavy family use, protecting the painted surface from hot dishes, spilled drinks, homework projects, and the countless small impacts that accumulate over time. The water-based polyurethane has maintained its clarity without yellowing, while providing a surface that cleans easily with standard household cleaners and shows minimal wear despite constant use. The investment in quality topcoat and careful application has extended the life of my paint job significantly, proving that this final step is essential for furniture pieces that must withstand daily use. Friends who skipped the topcoat on their painted furniture projects have experienced chips, stains, and wear that required extensive touch-up work, validating my decision to complete this crucial final step.
Living with Your Painted Table Success
Two years after completing my kitchen table painting project, I can honestly say it has exceeded my expectations for both appearance and durability, transforming from a dated family heirloom into a bright, functional centerpiece that perfectly suits my home’s aesthetic. The painted surface has held up remarkably well to daily family life, including homework sessions with markers and glue, holiday meal preparations with serving dishes, and the general chaos that comes with teenagers and their friends gathering around our table for snacks and conversations. The smooth, sealed surface cleans effortlessly with standard household cleaners, and minor scuffs from chair bumps or dropped utensils blend into the finish rather than creating obvious damage that requires immediate attention. Most importantly, the table feels like a cohesive part of my kitchen design rather than an inherited piece I had to work around.
The maintenance routine I’ve established requires minimal effort while keeping the table looking fresh and new, validating my decision to invest time and money in quality materials and proper techniques during the original project. Weekly cleaning with mild soap and water removes everyday soil and prevents buildup that could dull the finish, while monthly applications of furniture polish maintain the protective topcoat and enhance the painted surface’s depth and richness. I’ve needed to do only minor touch-ups in high-wear areas where chair backs contact the table edge, quick fixes that blend seamlessly with the original finish, thanks to keeping leftover paint for exactly these situations. The durability has been impressive enough that several friends have asked me to paint furniture pieces for them, turning my project into a small side business opportunity.
The confidence I gained from completing this challenging project has encouraged me to tackle other furniture painting projects throughout my home, from kitchen cabinets to bedroom dressers, each building on the skills and knowledge I developed during the table transformation. I’ve refined my techniques and expanded my tool collection based on lessons learned, creating a painting setup that produces consistently professional results while making the process more enjoyable and efficient. The painted table serves as daily proof that DIY projects can achieve professional-quality results when approached with proper planning, quality materials, and attention to detail. Most satisfying is preserving a family piece while adapting it to modern needs, creating new memories around a table that continues to serve as the heart of our home while looking better than it has in decades.

How long should I expect a kitchen table painting project to take from start to finish?
Plan for 2-3 weeks, including prep work, curing time between coats, and proper drying. My project took about 25 hours of actual work spread over three weeks. Don’t rush the process; proper curing time between steps is crucial for durability. Weekend warriors should plan for multiple weekends rather than trying to complete everything in two days.
Can I paint over an existing finish, or do I need to strip the table completely?
You can often paint over existing finishes with proper preparation and bonding primer, which is what I did successfully. Sand thoroughly to remove gloss and create adhesion, clean meticulously, then use high-quality bonding primer. Complete stripping is only necessary for severely damaged or incompatible finishes that won’t accept paint properly.

What’s the most important factor for achieving professional-looking results?
Surface preparation is critical, consuming 60% of my project time, but making the difference between amateur and professional results. Don’t skimp on sanding, cleaning, or primer quality. Proper prep work, quality materials, and patience with curing times matter more than expensive tools or advanced techniques for achieving lasting, beautiful results.
How much should I budget for materials to paint a standard kitchen table?
I spent about $150 on quality materials, including primer, paint, topcoat, brushes, sandpaper, and supplies for a standard-sized table. Budget options might cost $75-100, but quality materials are worth the investment for durability and appearance. Don’t forget to factor in time value; this project requires significant labor investment even with quality materials.
Is a protective topcoat really necessary over furniture paint?
For a kitchen table, absolutely yes. The topcoat has protected my paint from chips, stains, and wear that would have required touch-ups or repainting within months. I used water-based polyurethane specifically designed for painted surfaces. The small additional cost and effort provide years of protection and easy maintenance that justify the investment completely.
What mistakes should I avoid to prevent having to start over?
Don’t rush preparation or curing times, use quality materials throughout, and maintain dust-free conditions during application. My biggest near-mistake was almost skipping primer to save time and money. Also, test your color thoroughly before committing to the entire table. Proper lighting evaluation prevents color regrets that require complete repainting to fix.
How To Paint a Dining Room Table

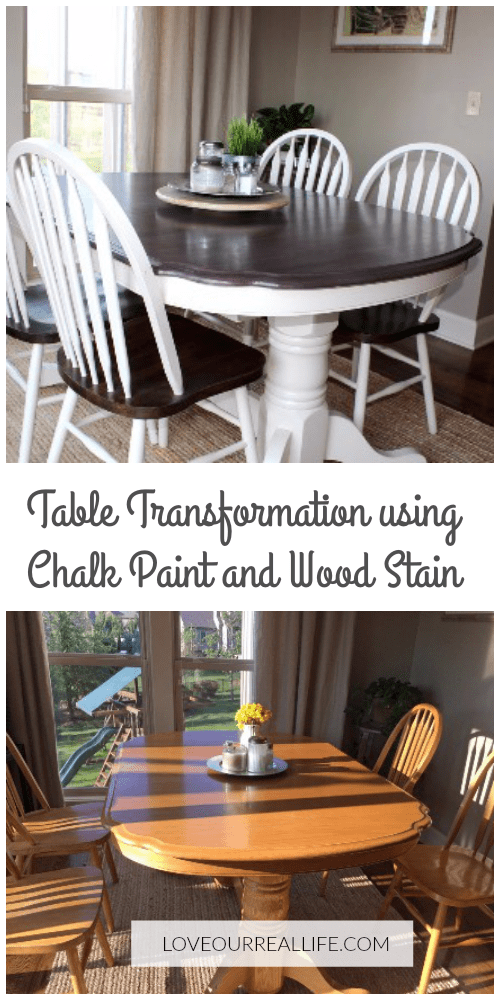
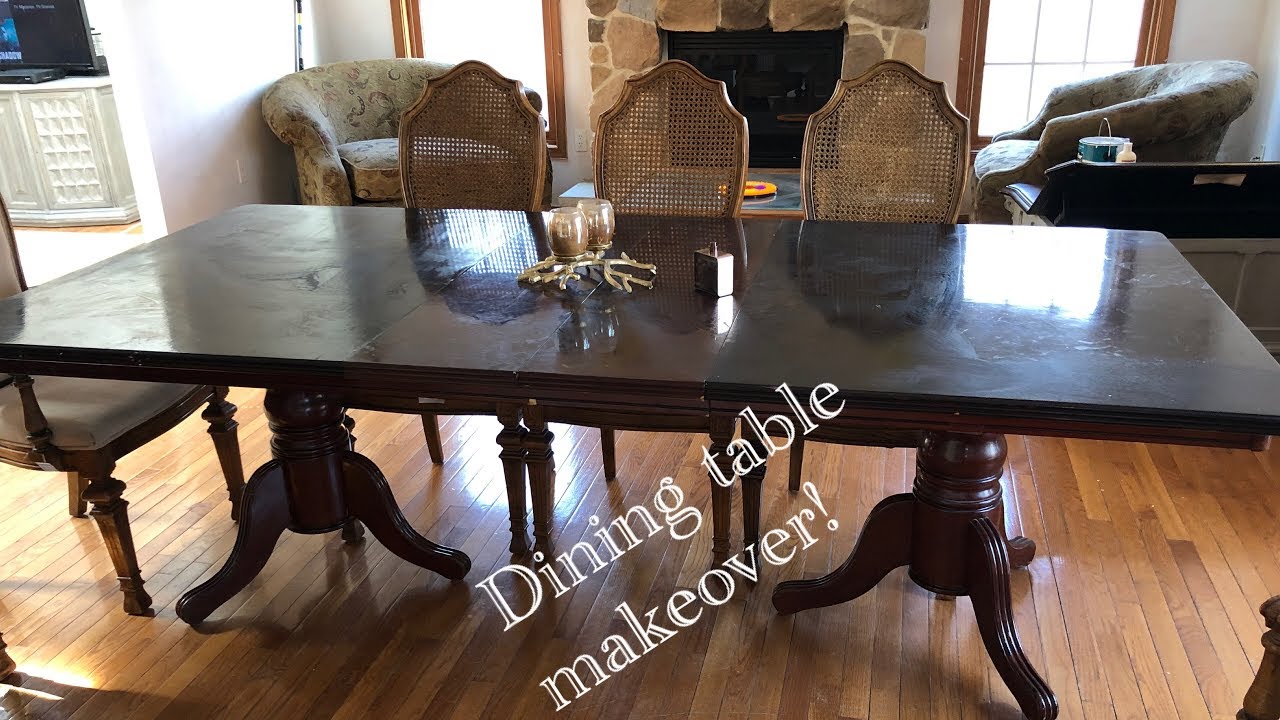
Dining Table makeover! DIY Chalk paint on dining table
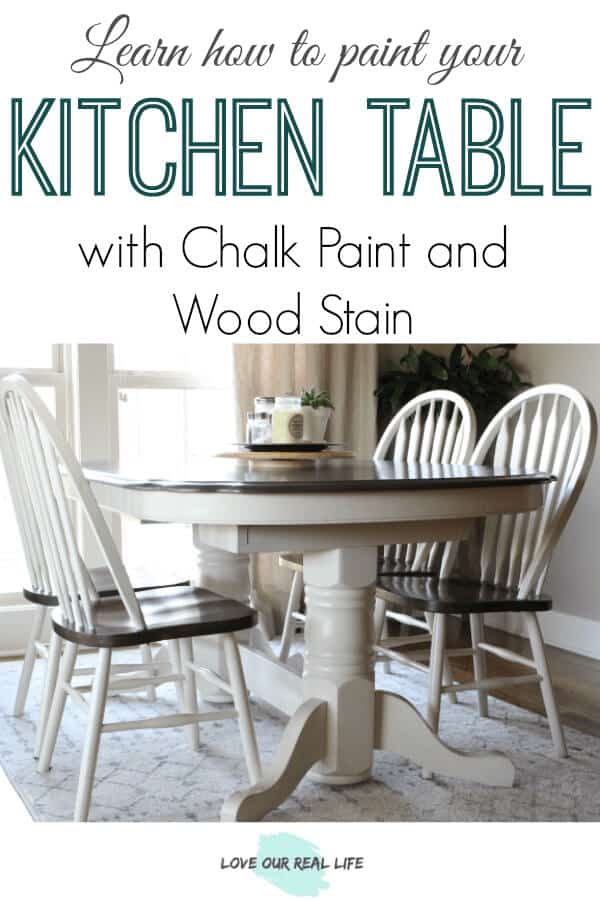
The Best Way to Paint a Dining Table and Chairs
Tips for Painting a Dining Room Table

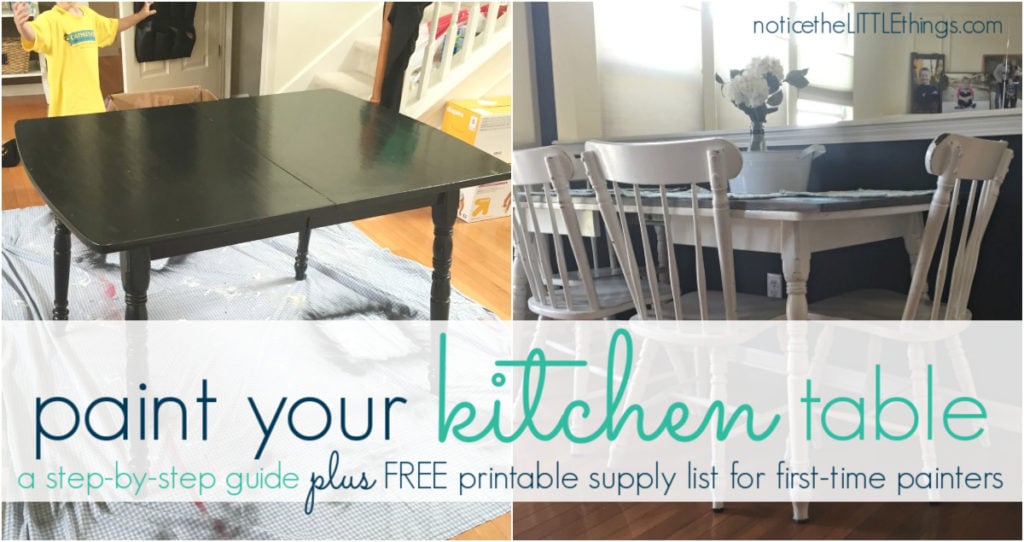
How to paint your kitchen table

Chalk Paint Table Makeover

Related Posts: