Installing a kitchen sink under a granite countertop requires careful planning and precise execution to ensure a watertight, professional-looking result. This process differs from standard sink installations due to granite’s weight and unique properties. Whether you’re replacing an old sink or completing a new kitchen, understanding the proper techniques will help you achieve a secure, long-lasting installation. Below, we’ll walk through six essential steps for successfully mounting a sink beneath a granite countertop.
Gathering the Necessary Tools and Materials
Before beginning, assemble all required tools to streamline the installation process. You’ll need a diamond-tipped hole saw for faucet holes, silicone sealant specifically formulated for granite, a support frame or clips, and a high-quality sink. Essential tools include a caulking gun, an adjustable wrench, a screwdriver set, and a helper to assist with the heavy lifting. Don’t forget safety equipment like gloves and eye protection when working with granite.
Select materials compatible with granite’s characteristics. Use 100% silicone sealant that won’t degrade from moisture exposure or cleaning products. The sink should have a lip or flange designed for undermount installation. For support systems, choose stainless steel brackets or a reinforced frame that can handle the sink’s weight when filled with water. Having everything prepared beforehand prevents interruptions during the critical installation phases.
Consider the sink’s dimensions relative to your cabinet space and granite cutout. Measure twice to confirm the sink fits properly beneath the existing opening. If this is a new installation, verify that the granite template matches your sink model’s specifications. Proper preparation with the right materials makes the physical installation much smoother and more successful.
Preparing the Granite Countertop
Begin by thoroughly cleaning the granite’s underside around the sink cutout area. Remove any dust, grease, or residue that could prevent proper adhesion of the sealant. Use a degreaser followed by isopropyl alcohol for optimal surface preparation. This step ensures maximum bonding strength when applying silicone later in the process.
Inspect the cutout edges for any chips or cracks that might compromise the installation. Minor imperfections can often be filled with epoxy resin colored to match the granite. For more significant damage, consult a stone professional before proceeding. The edges should be smooth and even to create a tight seal against the sink’s rim.
If your granite lacks pre-installed mounting points, mark locations for support brackets. These typically sit about 2-3 inches from the cutout edge, spaced evenly around the perimeter. Avoid areas with potential weakness or existing fractures. Proper preparation of the granite surface establishes the foundation for a secure, leak-free sink installation.
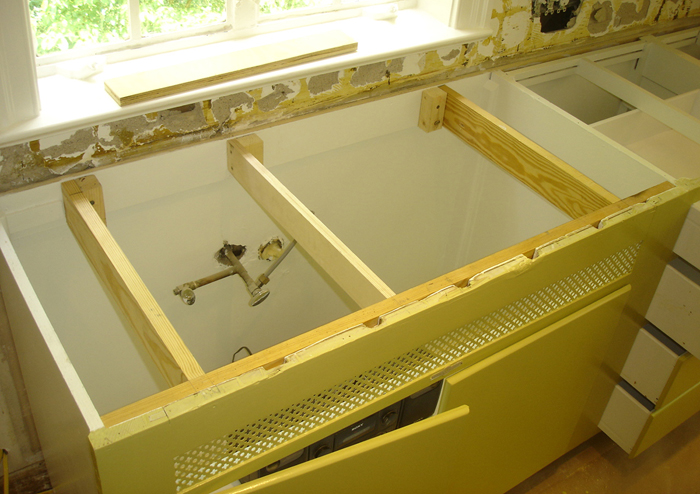
Installing the Sink Support System
Under-mount sinks require robust support due to their suspended nature beneath the granite. Begin by attaching metal brackets to the cabinet walls or installing a cross-brace system. Position these supports so they’ll contact the sink’s outer edges without interfering with plumbing connections. The system must be level in all directions to prevent stress points.
For granite with pre-drilled holes, insert the provided mounting clips according to the manufacturer’s instructions. These stainless steel clips typically screw into threaded inserts in the granite. Tighten them gradually in a star pattern to distribute pressure evenly. Avoid overtightening, which could crack the stone.
Test the support system’s strength before proceeding. Apply gentle downward pressure on all sides to check for movement or instability. The sink should feel completely secure with no flexing. A properly installed support system prevents sagging and protects the granite from stress fractures over years of use.

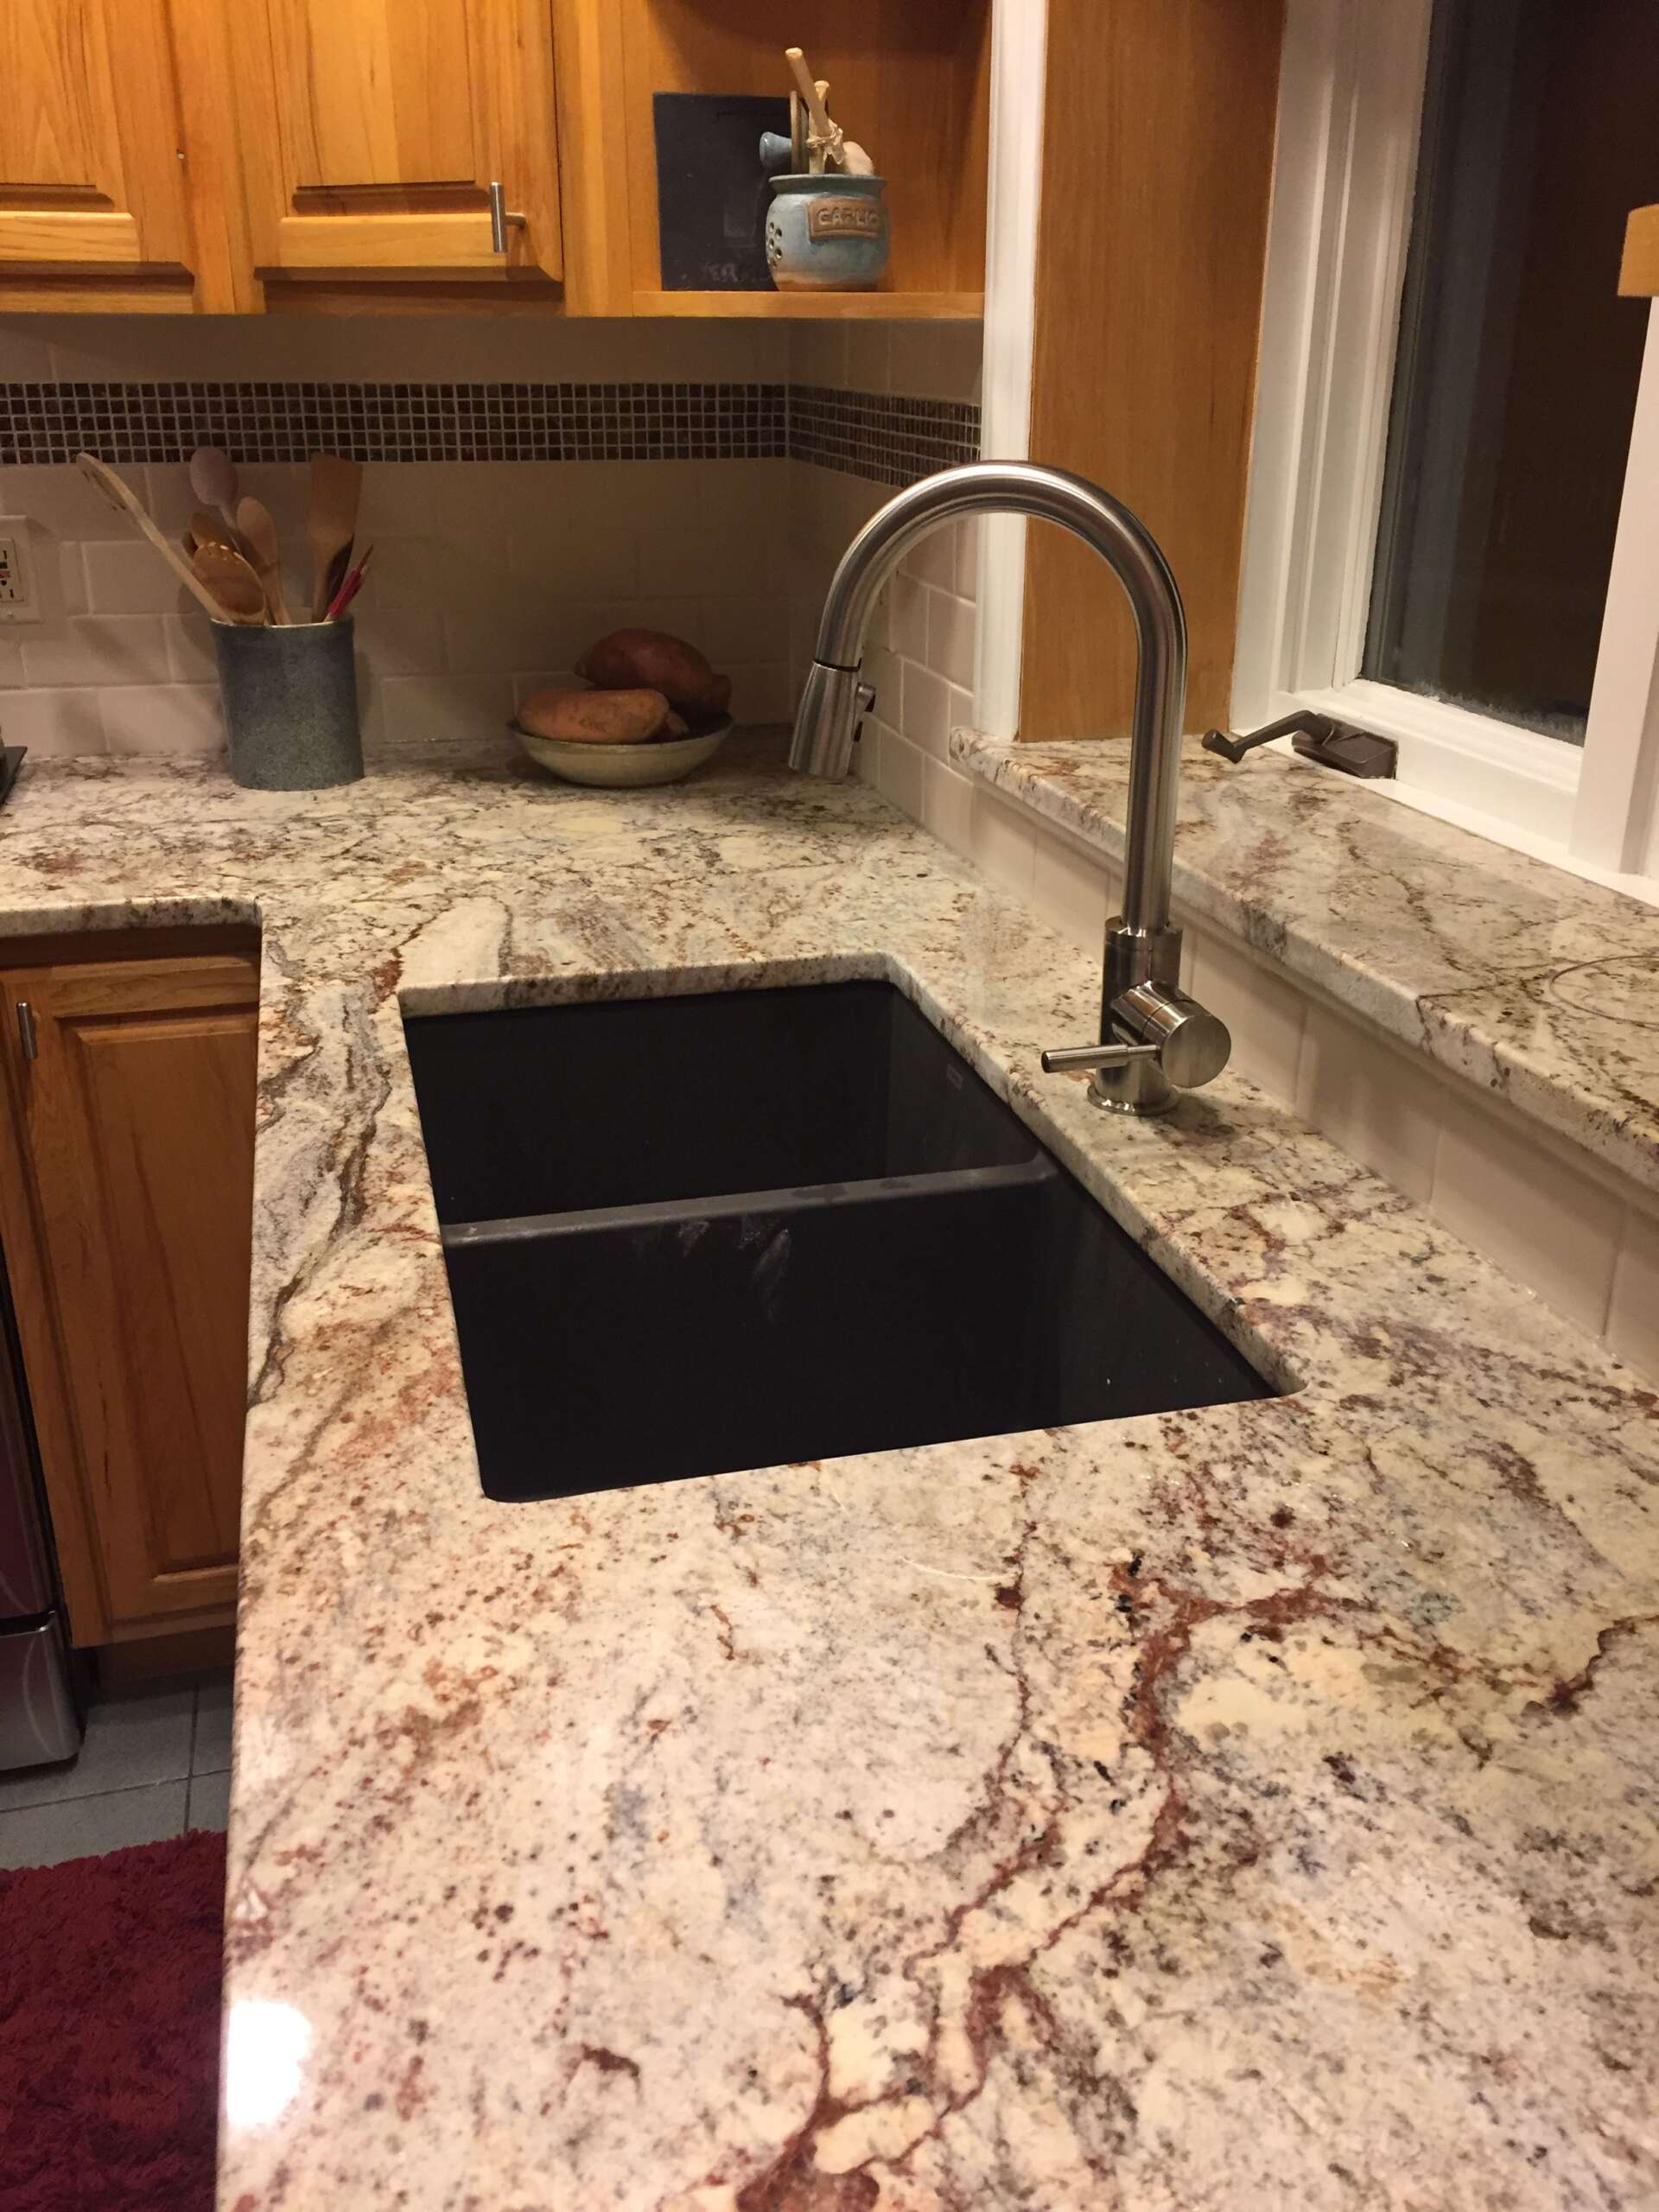
Applying Sealant and Setting the Sink
Run a continuous bead of silicone sealant along the top edge of the sink’s flange. Use a high-quality, mold-resistant formula designed for kitchen applications. Apply enough to create a complete seal when compressed, but not so much that excess will squeeze out excessively. A 1/4-inch bead generally works well for most sink designs.
Carefully lift the sink into position beneath the granite cutout. Align it perfectly before making contact with the sealant. Once positioned, press upward firmly to create a tight bond. Immediately wipe away any squeezed-out silicone with a plastic putty knife or your finger dipped in rubbing alcohol for a clean edge.
Secure the sink to the mounting brackets or clips according to the manufacturer’s instructions. Tighten all connections gradually and evenly to maintain proper alignment. Allow the silicone to cure fully (usually 24 hours) before connecting plumbing or putting weight on the sink. This patience ensures a waterproof bond forms between sink and granite.

Connecting the Plumbing Components
Once the sink is securely mounted and the sealant has cured, reconnect the water supply lines and drain assembly. Install the faucet either before or after this step, depending on your specific model’s requirements. Use plumber’s putty or silicone for faucet base seals to prevent leaks around the granite.
For the drain connection, apply pipe joint compound or Teflon tape to all threaded fittings. Hand-tighten first, then give each connection an additional quarter-turn with a wrench. Avoid overtightening plastic components. Install the P-trap with its cleanout facing the correct direction for future maintenance access.
Test all connections by slowly turning on the water supply while checking for leaks. Inspect both the plumbing joints and the perimeter where the sink meets the granite. Address any drips immediately by tightening connections or applying additional sealant as needed. Proper plumbing ensures your beautiful installation functions as intended.

Final Inspection and Maintenance Tips
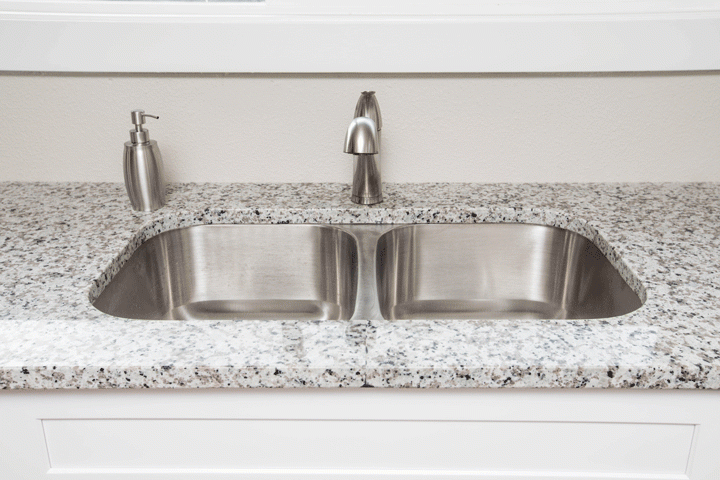
After the complete installation, perform a thorough inspection from multiple angles. Check that the sink sits level and flush with the granite surface. Examine the silicone bead around the perimeter for consistency and complete coverage. Test the sink by filling it with water and checking for proper drainage without pooling.
For ongoing maintenance, clean the silicone seal periodically with mild, non-abrasive cleaners to prevent mold growth. Avoid harsh chemicals that could degrade the sealant over time. Never use the sink edge as a lever point when moving heavy objects, as this could compromise the bond with the granite.
With proper installation and care, your under-mount granite sink should provide years of reliable service. The clean lines and seamless appearance will enhance your kitchen’s functionality and aesthetic appeal. Following these steps carefully helps ensure professional results that stand the test of time.

How to Install an Undermount Sink
How To Support Undermount Sinks

Sink and Undermount Sink Installation and Repair u2014 Fix-It Friend

How to Install Undermount Kitchen Sinks Concrete Countertop
How Do You Install Undermount Sinks?
Simple Ways to Install an Undermount Sink

Things You Need to Know About Undermount Kitchen Sinks
BFD Rona Products DIY INSTALL UNDERMOUNT SINK IN GRANITE

How to Install an Undermount Sink in Granite Mounting Sink to

Related Posts: