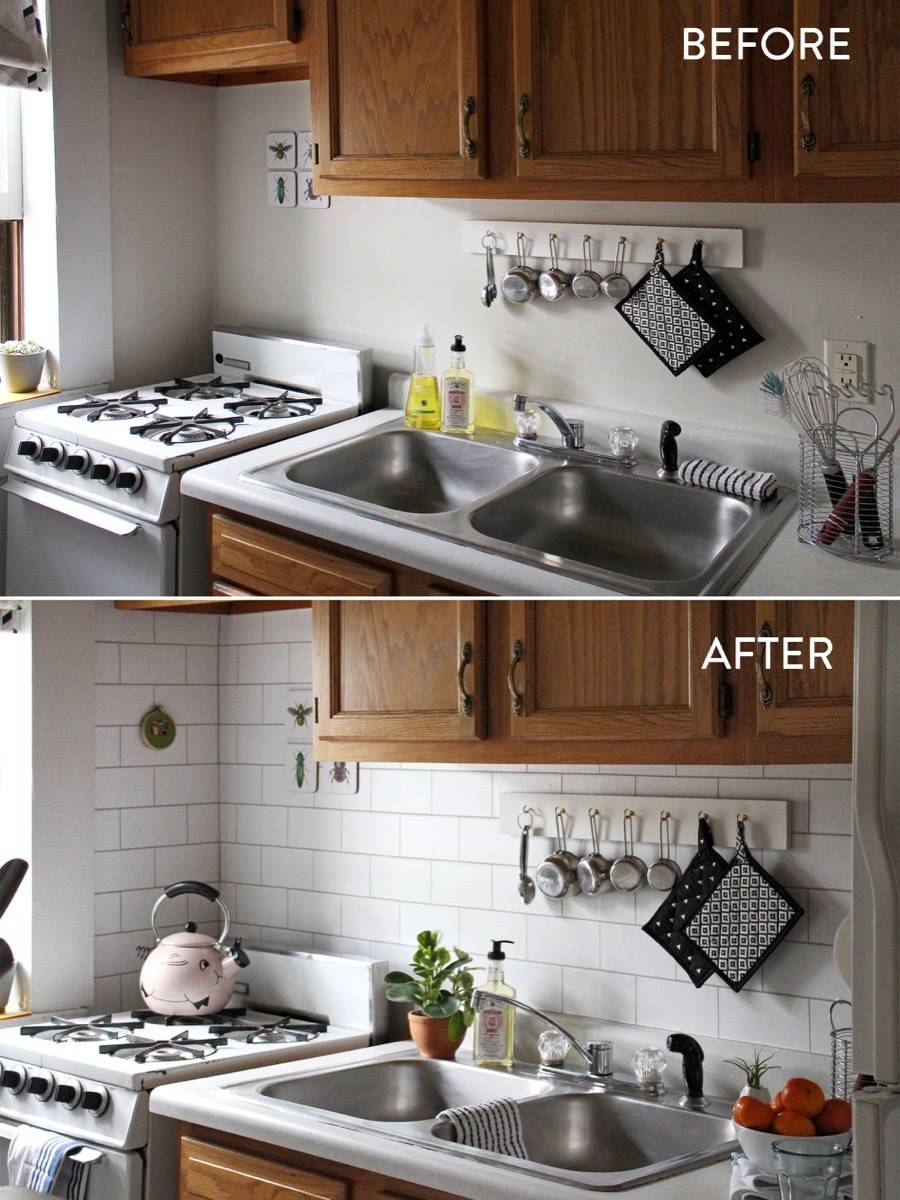
Living in an apartment has taught me to maximize every inch of space, particularly in the kitchen. One of the simplest things I discovered to make a tiny kitchen feel more personal and finished was to install a backsplash. Even with rental constraints, there are plenty of creative ways to add a bit of elegance behind the stove or sink. A backsplash is more than just attractive; it also shields the wall from splashes and simplifies cleanup. It became one of those minor improvements that made a significant difference in how I felt in the area.
Choosing the Right Material for Your Apartment Backsplash
When I first started thinking of a backsplash, I had to consider the constraints of apartment life. I couldn’t pull down walls or install anything permanent, so I had to get inventive with materials. Peel-and-stick tiles instantly drew my interest. They look remarkably similar to the genuine thing, whether you want the appearance of ceramic, marble, or subway tile. The best part is that they can be removed when it’s time to move.
Another material I examined was vinyl wallpaper made exclusively for kitchens. It comes in a variety of designs and finishes, including those that resemble tile or stone. I liked how it was lightweight and simple to apply with only a few tools. I could cut it to fit around outlets and corners, and it adhered neatly to the painted walls of my apartment. It was a low-risk technique to test out a design before committing to anything permanent.
I previously used metal contact paper to give my stove a sleek, brushed-steel sheen. It gave the kitchen a clean, polished appearance. It outperformed my expectations because to its water and heat resistance. Choosing the proper material came down to what matched my taste, how simple it was to install, and if I could remove it later without hurting the walls.
Planning the layout and measuring the space
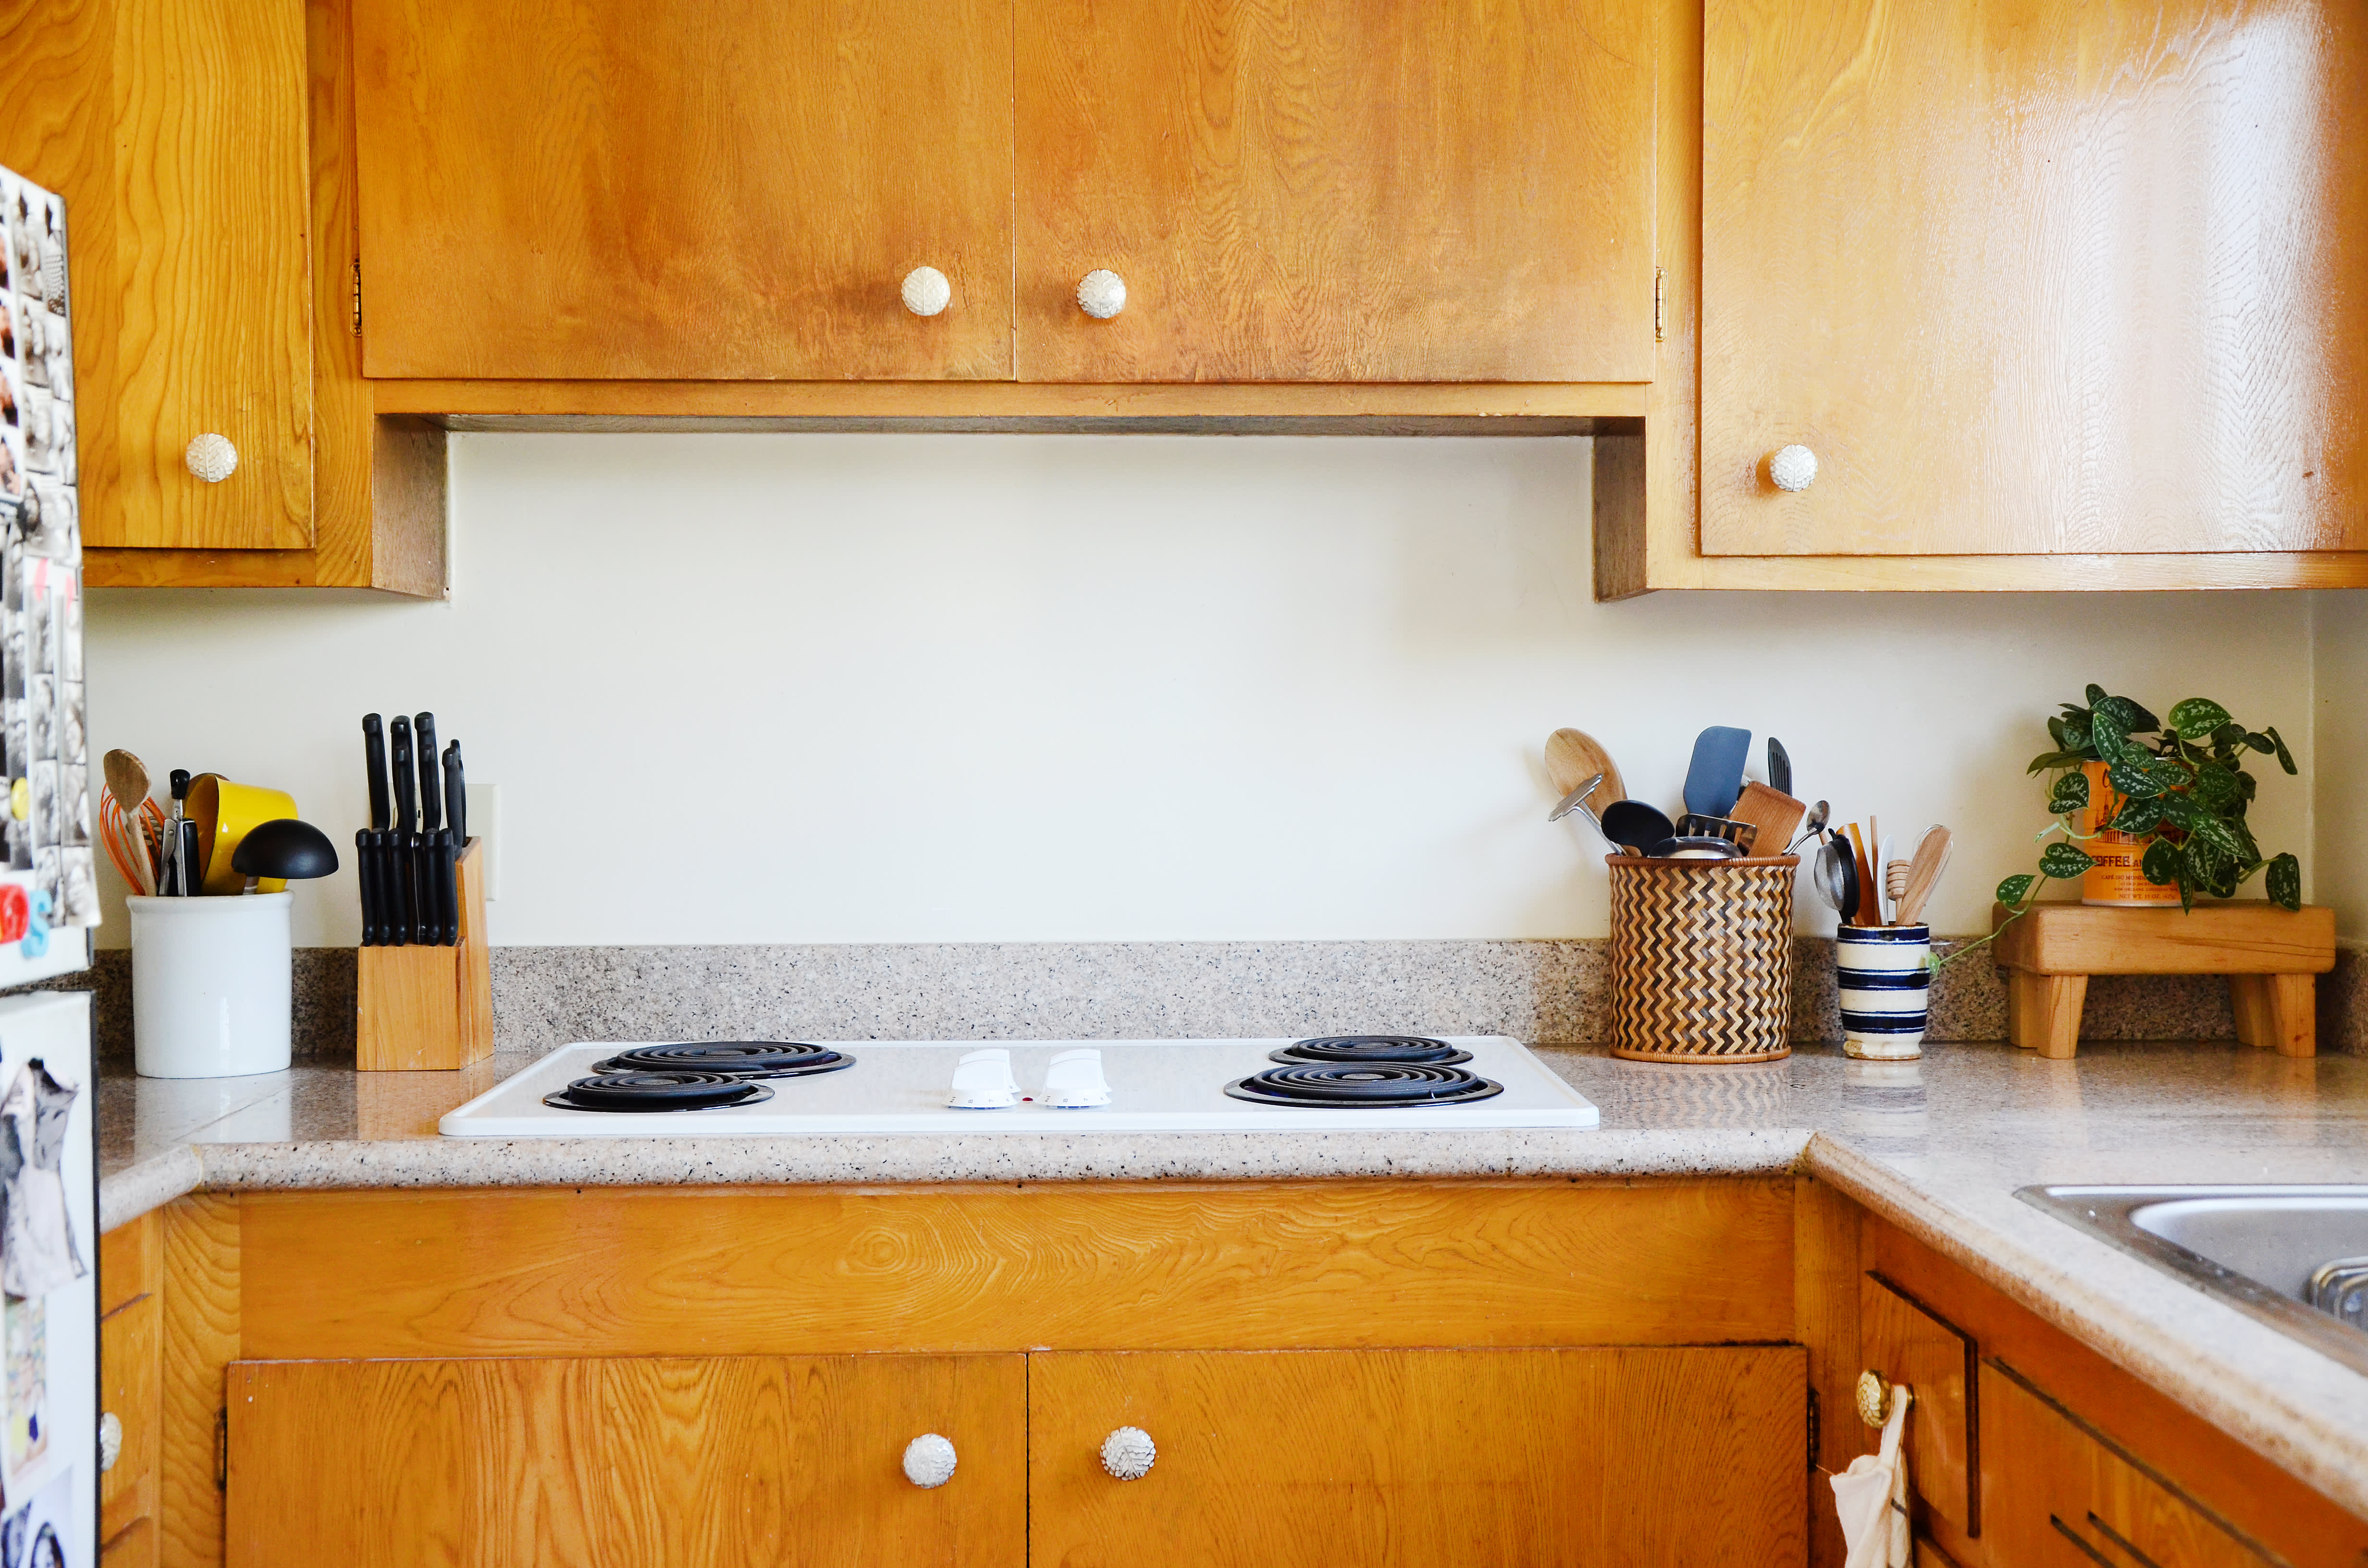
Before I started anything, I measured the wall sections where I wanted the backsplash to go. This helped me determine how much material I’d need and where to cut around outlets and cabinets. Even in a modest kitchen, measures made a significant effect. I marked out straight lines with a measuring tape, a level, and a pencil, then double-checked everything before sticking anything to the wall.
I opted to start beneath the sink because that was the place with the most splashes. Next, I expanded the backsplash to cover the wall behind the stove. It didn’t reach all the way to the ceiling, but it still made an interesting focal point. I also left a little extra material around the edges to trim and tweak after everything was in place. I avoided making blunders in the middle of a project by meticulously planning it.
While laying out the design, I considered how the backsplash would appear from various perspectives. Because my apartment kitchen is part of an open floor plan, it needed to seem tidy from the living area as well. Before committing, I taped up some sample tile patterns to evaluate them. This helped me choose a look that complemented my countertops and cabinets, and I felt confident moving forward.

Easy Installation Tips for Renters
Installing a backsplash in an apartment can be done quickly if you utilize renter-friendly materials. For my peel-and-stick tiles, I ensured that the wall was clean and dry. Any oil or dust can cause the glue to fail, so I washed everything down with a moist cloth and allowed it to completely dry. I also waited for a peaceful afternoon to avoid hurrying through the process.
I started on the bottom corner and worked my way up and across, firmly pressing each tile into place. Having a ruler and utility knife on hand made cutting simple, especially around outlets and cabinet edges. I also used a plastic smoother to remove air bubbles and keep the tiles flat. Patience was essential—I did not attempt to finish the entire wall in five minutes.
I liked how, if I made a mistake, I could just peel off the tile and replace it without leaving any marks. This provided me peace of mind as I worked. After everything was in position, I took a step back to check for any alignment difficulties. Even though I am not a professional, the finished backsplash looked neat and helped my kitchen feel more organized.

Create a Stylish Look on a Small Budget
One of my favorite aspects of this project was how inexpensive it turned out to be. I was able to update the entire kitchen wall for less than the cost of one supper out. Peel-and-stick tiles, vinyl sheets, and even blackboard contact paper are all affordable options to add individuality without breaking the bank. I also investigated local hardware stores and online retailers for sale items and trial packs.
To extend the design, I simply covered the places that required it. I skipped behind the refrigerator and concentrated on high-traffic areas such as the sink and stove. This allowed me to use fewer resources while maintaining the full visual impact. Small elements, like as matching the backsplash color to my dish rack and cutlery, made everything feel more coherent.
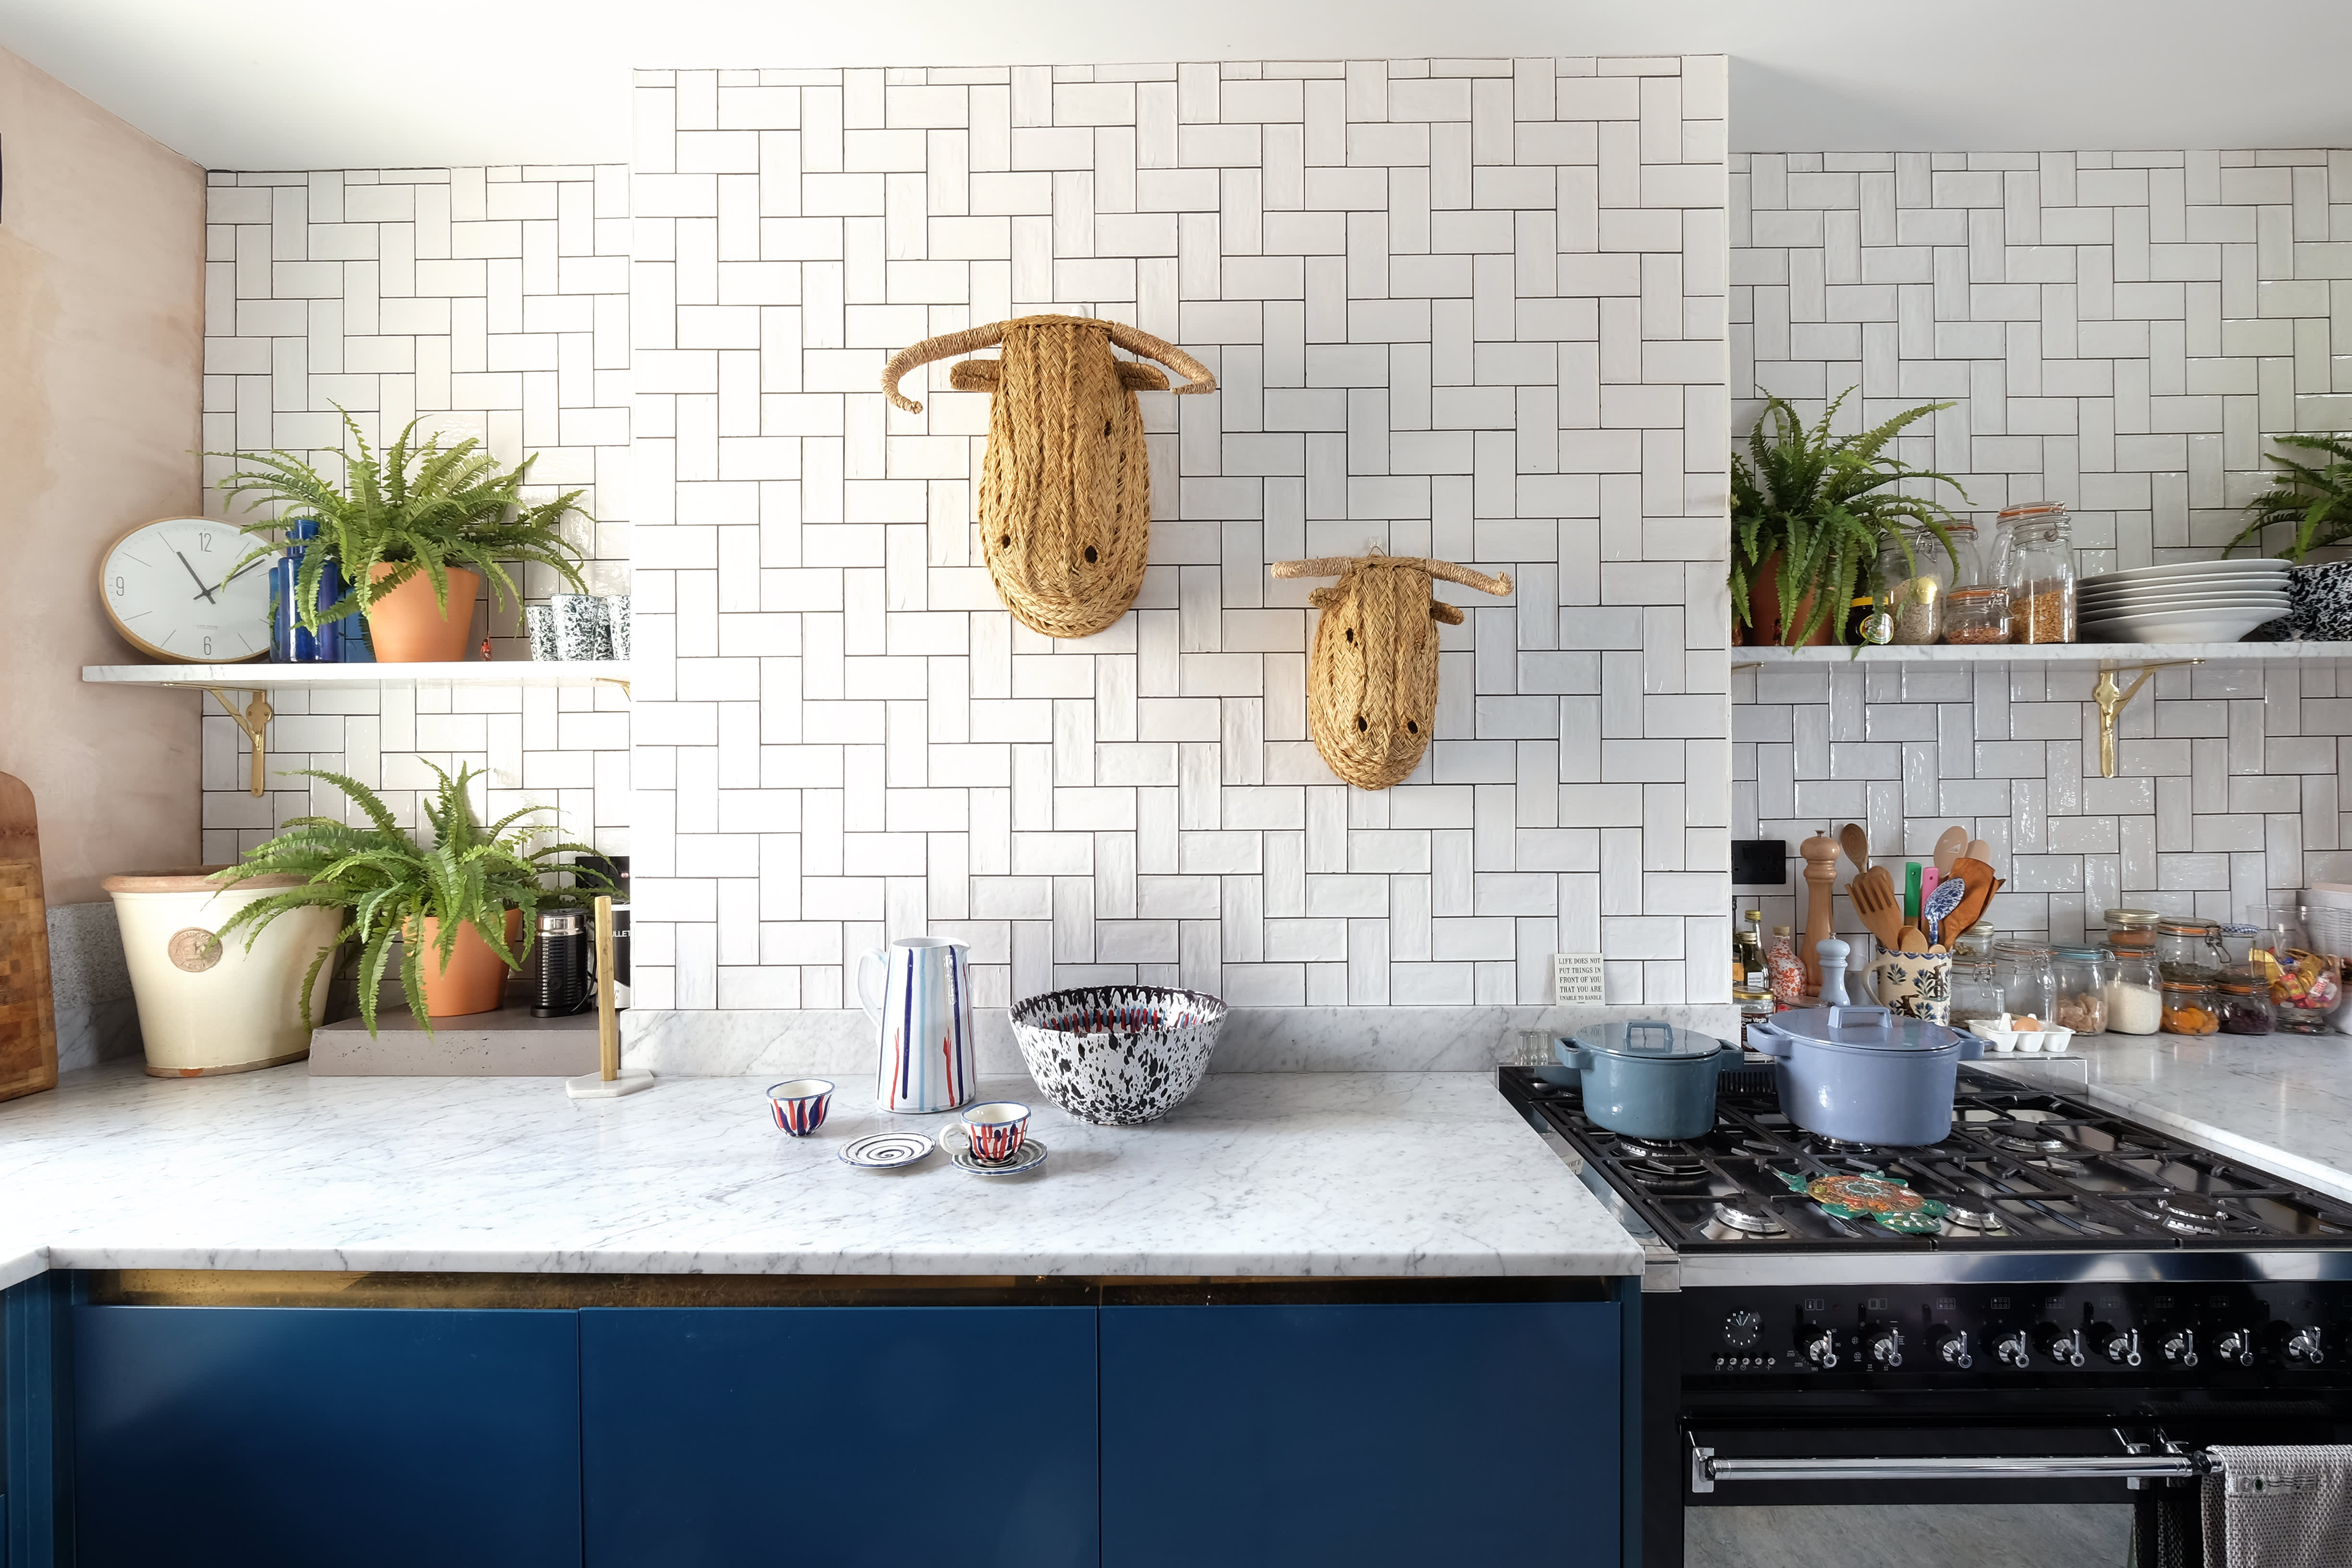
Another inexpensive trick I tried was combining materials. I used white subway tile stickers behind the sink and bordered it with patterned vinyl. It appeared planned and provided just the proper amount of detail. Even with a limited budget, I was able to create a more personal kitchen environment, which made cooking and cleaning much more fun.
Matching the Backsplash with Your Style
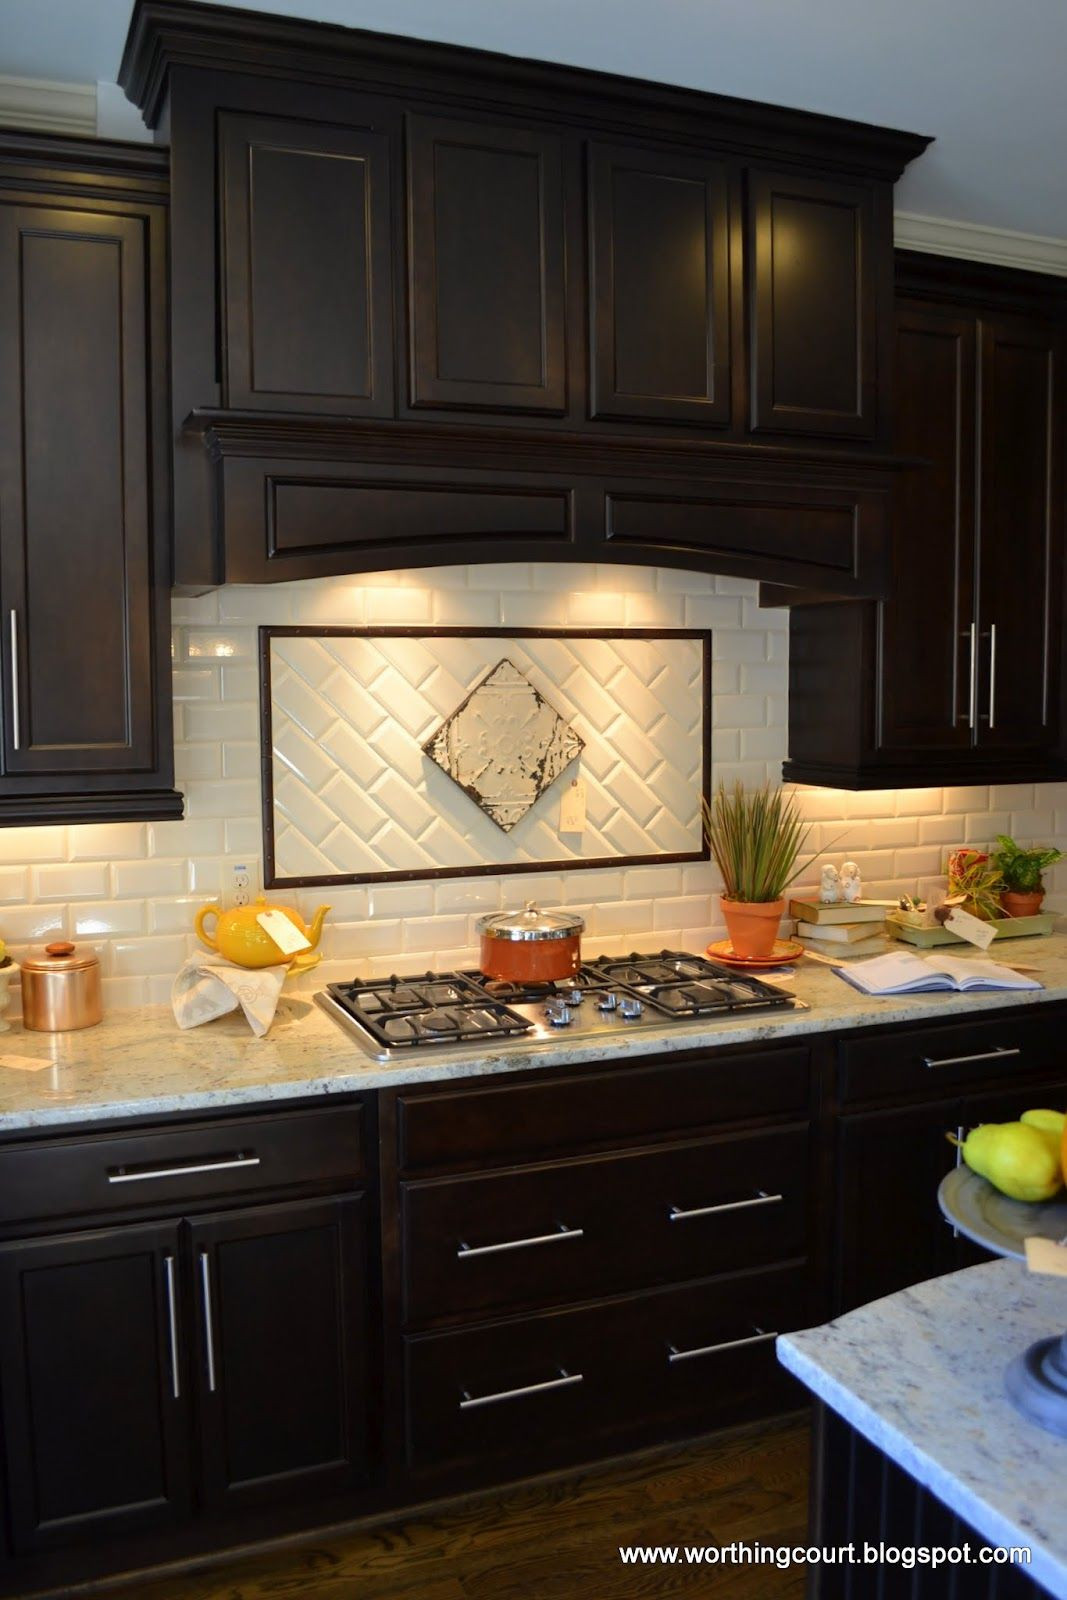
Choosing a style that complemented the overall aesthetic of my apartment made a significant difference. I didn’t want anything too overpowering that would contrast with the rest of the décor. For my initial try, I used basic white subway tiles. They are basic, clean, and will never go out of style. I enjoyed how they made my kitchen feel brighter and more open, especially for such a small room.
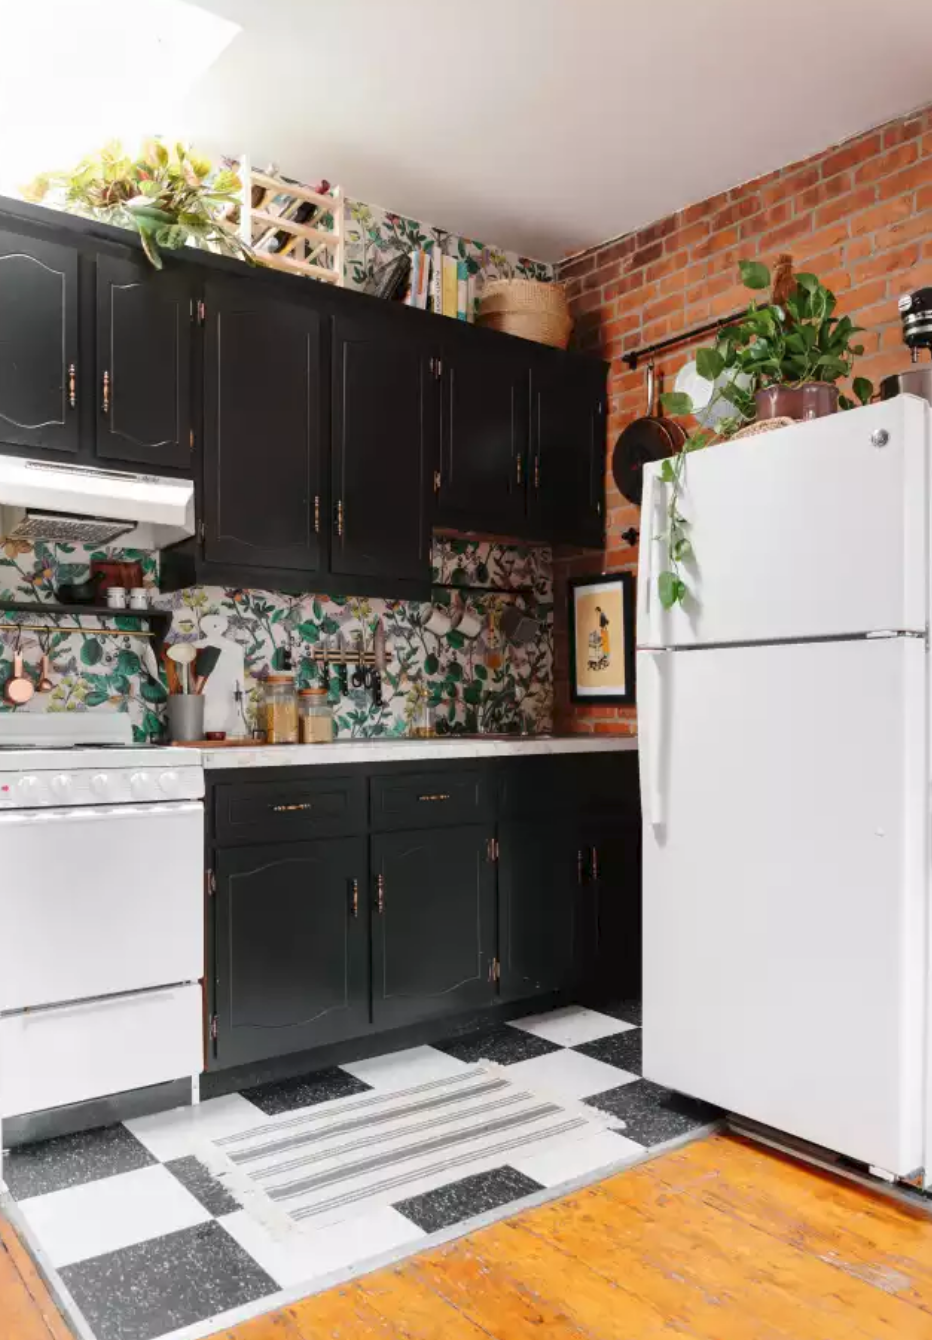
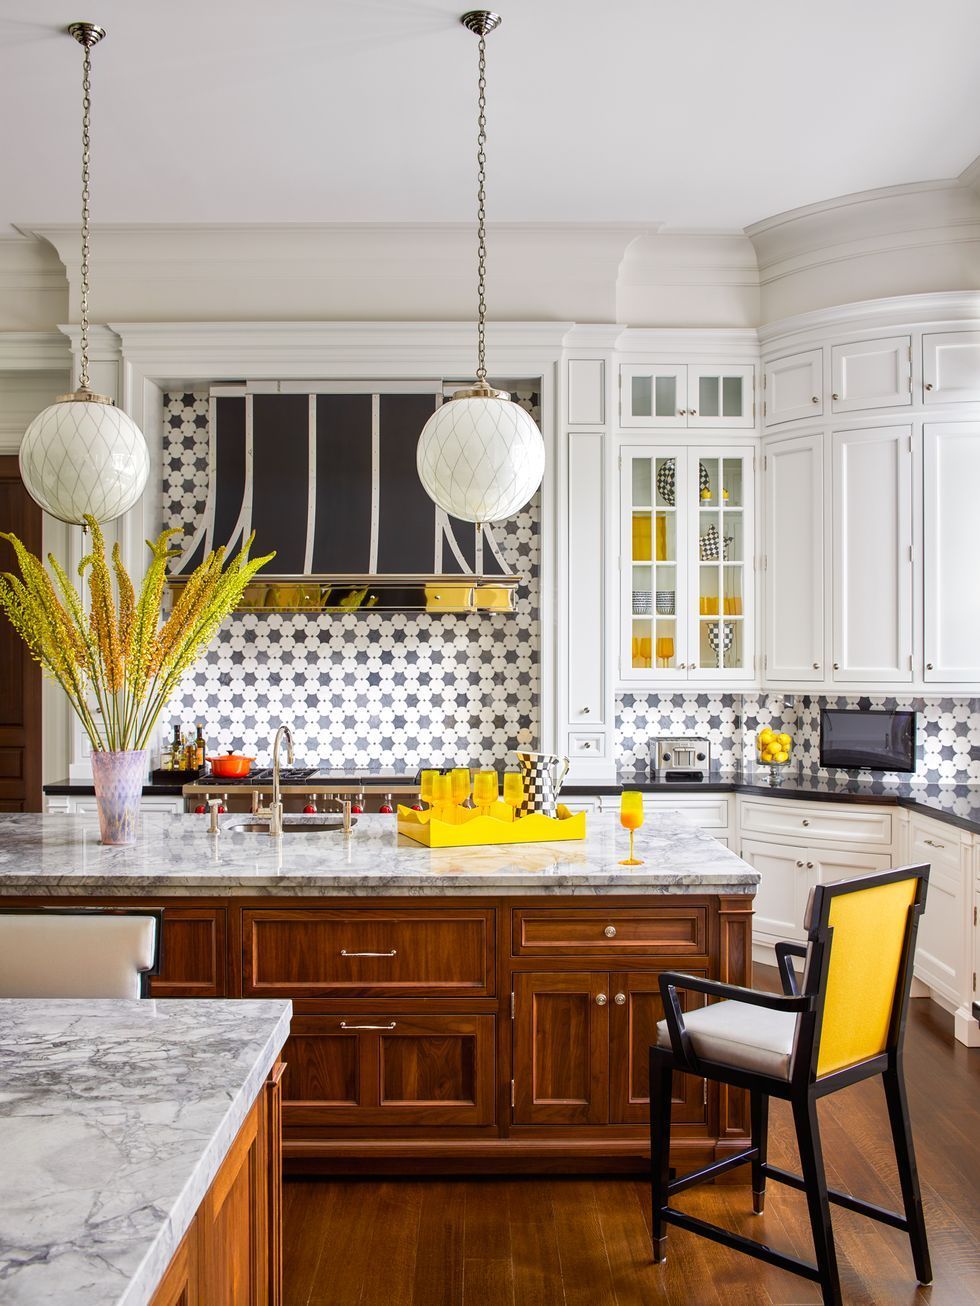
Later on, I tried a Moroccan tile print, which provided color and charm. It went beautifully with my wood shelves and green dishware. I discovered that even with a rental, there is potential for innovation. The trick was to keep the remainder of the area neutral so that the backsplash would stand out without making the kitchen appear busy. A pop of design makes the entire space more fascinating.
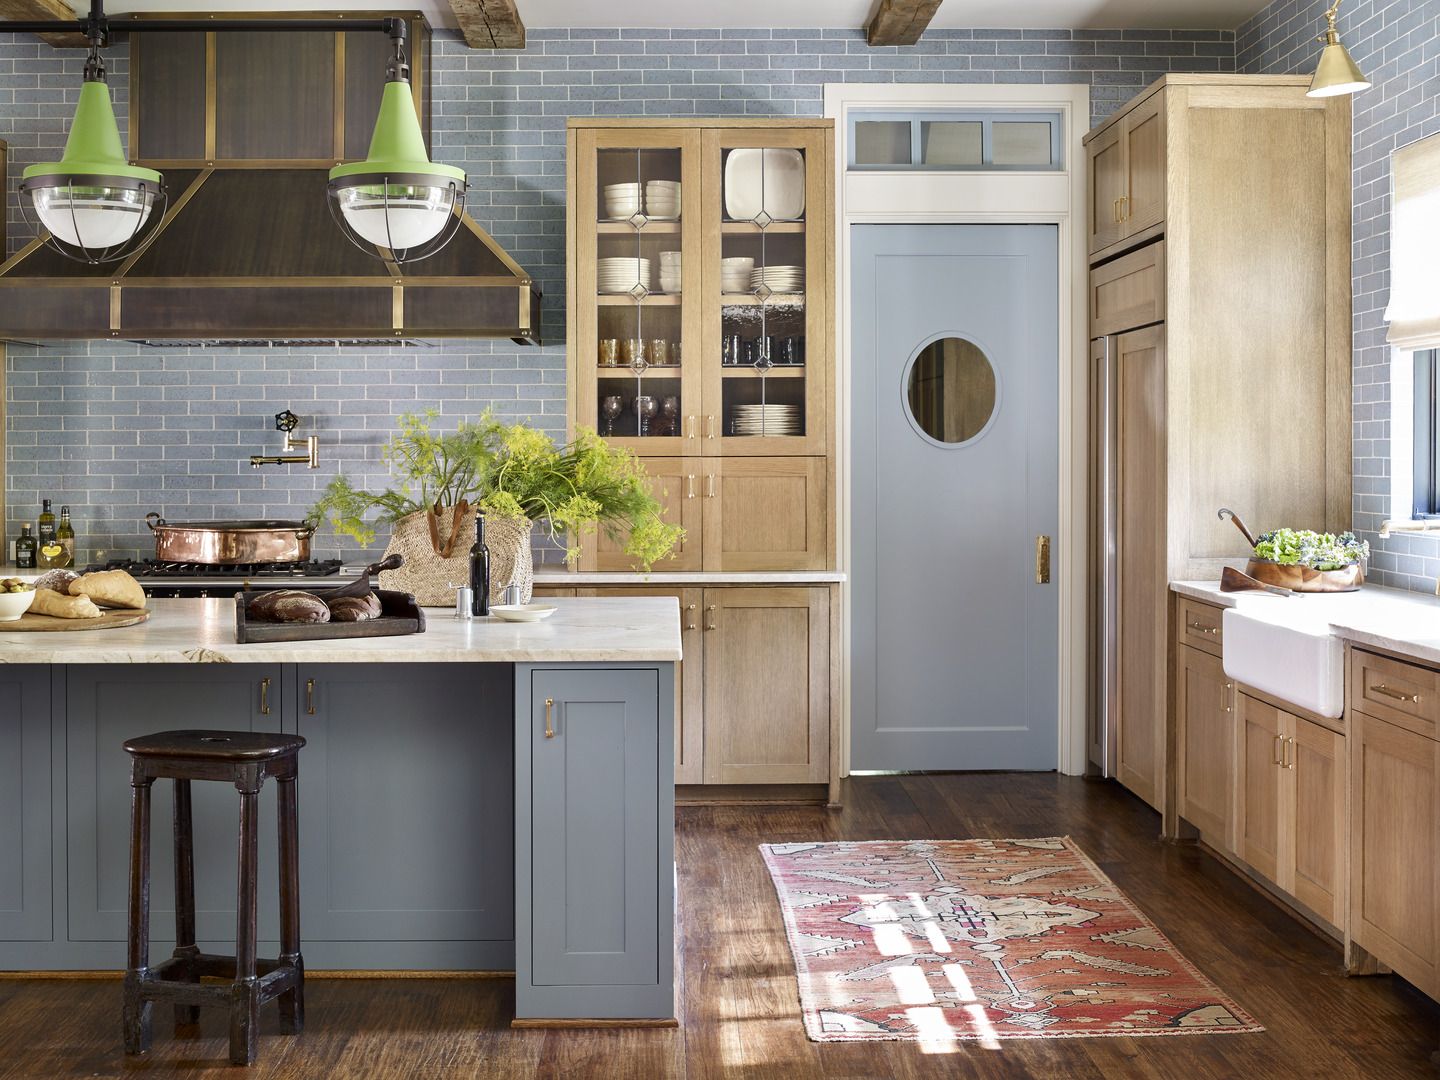
I also looked at how the backsplash complemented my counters. Because I had simple laminate counters, I used the backsplash to add some flair. If your counters are already bold or vibrant, something simpler may be better. Finding the perfect balance made everything seem planned rather than chaotic.
Maintaining and Removing Backsplash
Keeping the backsplash clean was easier than I anticipated. Most of the materials I used could be cleaned with a soft sponge and warm water. I avoided using anything abrasive, particularly peel-and-stick tiles. They fared fairly well against splashes and oil. I only made sure to clean on a regular basis to avoid any stains or residue.
When it was time to move out, I had to remove everything without breaking the walls. I began at the corners and gradually took each tile off. If there was any adhesive attached to the wall, I cleaned it with dish soap and warm water. In other circumstances, a hair drier helped release the glue, especially if it had been in place for a time. It came off clean, leaving no mess.
I was happy to discover that the wall beneath appeared precisely as it had previously. That’s the beauty of renter-friendly materials: they’re intended to be temporary while still giving you a completed look. Now, when I move into a new place, one of the first things I do is install a makeshift backsplash. It simply helps the kitchen feel more like home.
Can I do a backsplash in a rental apartment?
Yes, I did it myself with peel-and-stick tiles and vinyl wallpaper. These alternatives are intended to be detachable and will not damage your walls. As long as you clean the surface first and gently remove it later, you should be alright. It’s a simple method to personalize your area without violating lease terms.
What backsplash materials work best for apartments?
Peel-and-stick tiles, vinyl decals, and detachable contact paper are ideal. They are lightweight, inexpensive, and do not require any grout or hefty adhesives. All three have shown to be dependable and easy to clean. Simply ensure that the surface is smooth and dry prior to installation.
How long does it take to install a peel and stick backsplash?
For a small kitchen, it took me approximately two to three hours. I started by washing the wall, carefully measuring, and cutting tiles as needed. It wasn’t a hurry task, but it was easy enough to complete in one afternoon. Having the necessary tools made the process go more smoothly.
Will the backsplash hold up over time?
Yes, mine remained in place for more than a year with no difficulties. When applying the tiles, make sure the wall is clean and dry. I made cautious to press hard and avoid touching the adhesive too much during the application process. They stood up to regular cooking and cleaning.
Can I put a backsplash behind the stove?
Yes, I did, and everything worked well. Simply make sure the material is heat resistant. Peel-and-stick tiles designed for kitchens can usually withstand heat from a stove. I kept mine a little away from the burners, and it never bubbled or rip. Always double-check the product specifications to ensure accuracy.
How can I remove the backsplash without hurting the wall?
I cautiously removed from one corner, using a hair dryer to loosen the adhesive as needed. I gently cleaned the remaining residue with warm water and soap. It came off clean, and my walls appeared undamaged. This step increased my confidence in employing the same method in future apartments.

HOW TO APPLY PEEL & STICK BACKSPLASH TILE

Gorgeous Backsplash Ideas for Your Next Kitchen Makeover
Best Kitchen Backsplash Ideas – Tile Designs for Kitchen
Kitchen Backsplash for apartment with high heat and oil cooking

Related Posts:
- French Kitchen Backsplash Ideas
- Cottage Kitchen Backsplash
- Country Kitchen Backsplash
- Retro Kitchen Backsplash
- Rustic Wood Kitchen Backsplash
- Vintage Kitchen Backsplash Ideas
- Modern Farmhouse Kitchen Backsplash
- Mid Century Modern Kitchen Backsplash Tile
- Turquoise Kitchen Backsplash Tile
- Mediterranean Tile Kitchen Backsplash